
Vibrante Bigcommerce Theme Manual
Welcome to DIT Interactive's vibrant world of electronic equipment and gadgets! As an authorized BigCommerce partner agency, we are thrilled to introduce our cutting-edge eCommerce store, powered by the dynamic Vibrante theme. Our mission is to provide tech enthusiasts and gadget lovers with an unmatched online shopping experience, where they can explore an extensive range of top-notch electronic products at their fingertips.
Our theme is a fully responsive, customizable BigCommerce theme that is designed to help businesses of all sizes create beautiful and engaging online stores. The theme is built on the latest BigCommerce platform, and it includes a number of features that make it easy to create a high-converting store.
Our theme is also highly customizable, so businesses can easily change the look and feel of their store to match their brand. The theme also includes a number of pre-built pages and sections that can be used to create a store quickly and easily.
We are excited to offer our theme to the BigCommerce community, and we believe that it will be a valuable asset for businesses of all sizes.
Header & Footer
In your control panel, go to Storefront > My Themes, and click the blue "Customize" button to launch Theme Editor.
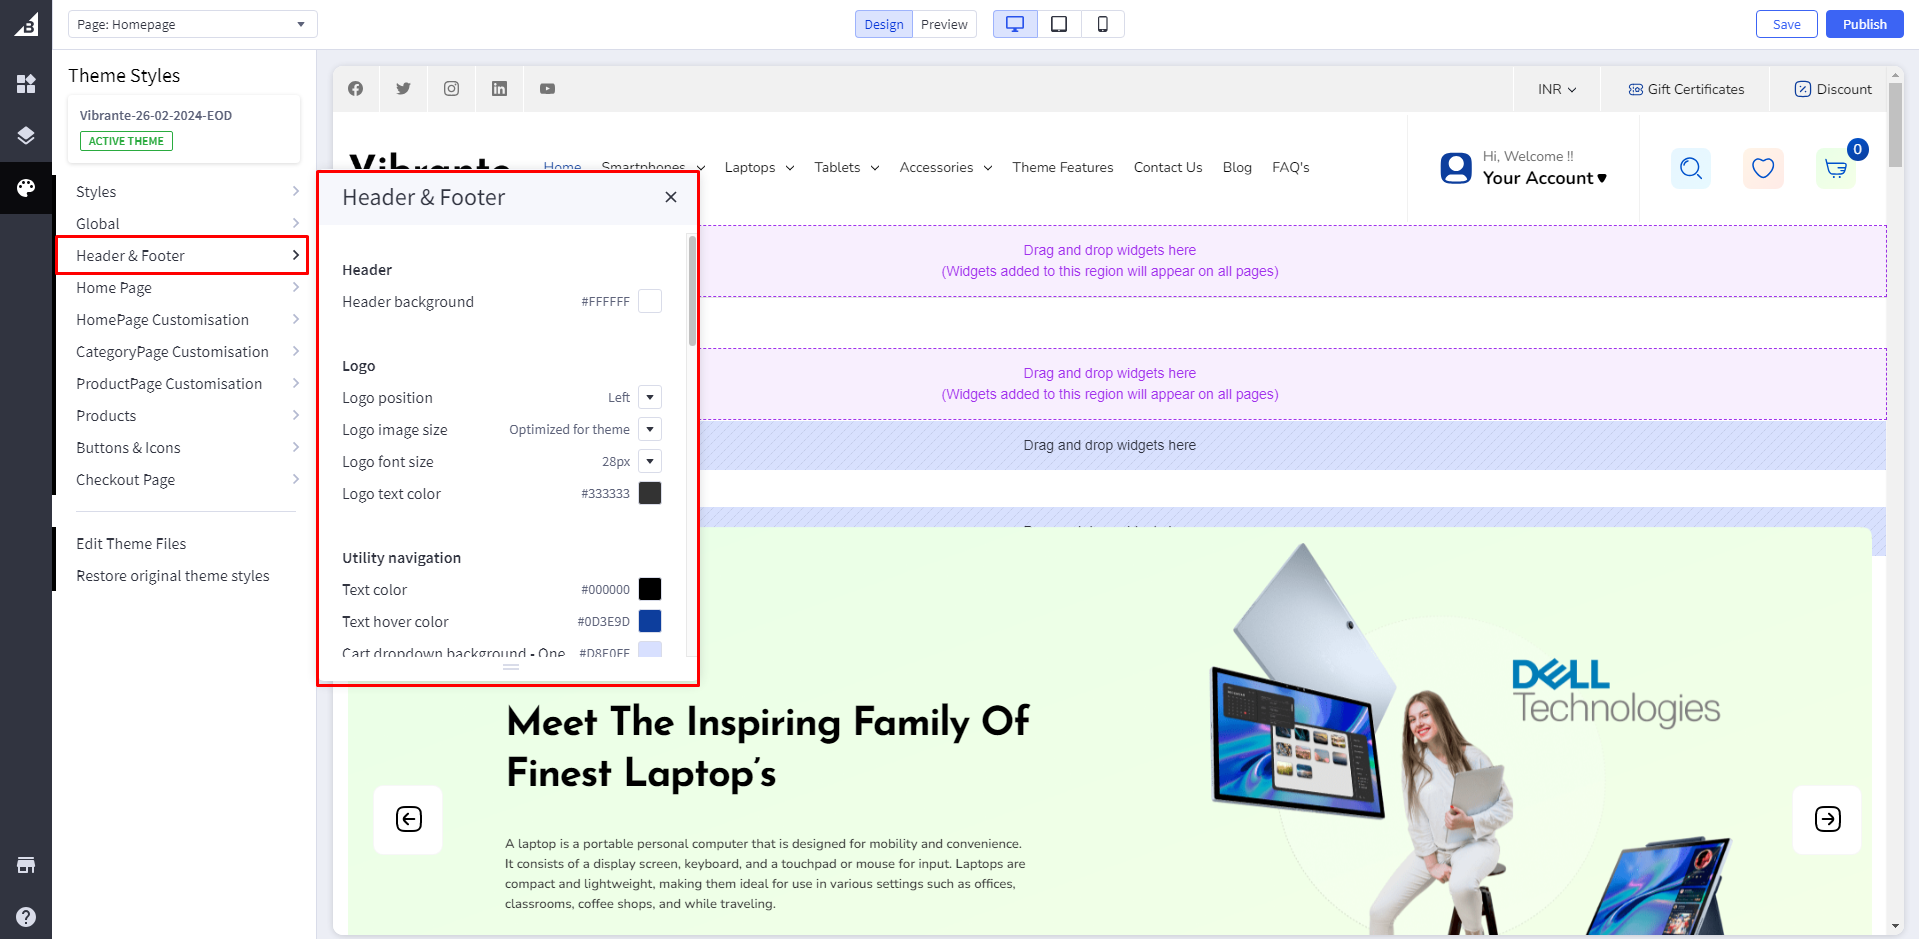
In the left hand column of the Theme Editor, click the panel labelled 'Header & Footer'. Here you can change the colors and settings for the header and footer section like Header background color, footer background color, logo position, utility navigation, main navigation, social media icons, payment icons, display settings etc.
Logo
Logo position: aligns the logo left, center or right. Applicable for both image and header content.
Logo Center View :
Electronics variant
toys variant
kids variant
Logo Left View :
Electronics variant
toys variant
kids variant
Logo Right View :
Electronics variant
toys variant
kids variant
Header
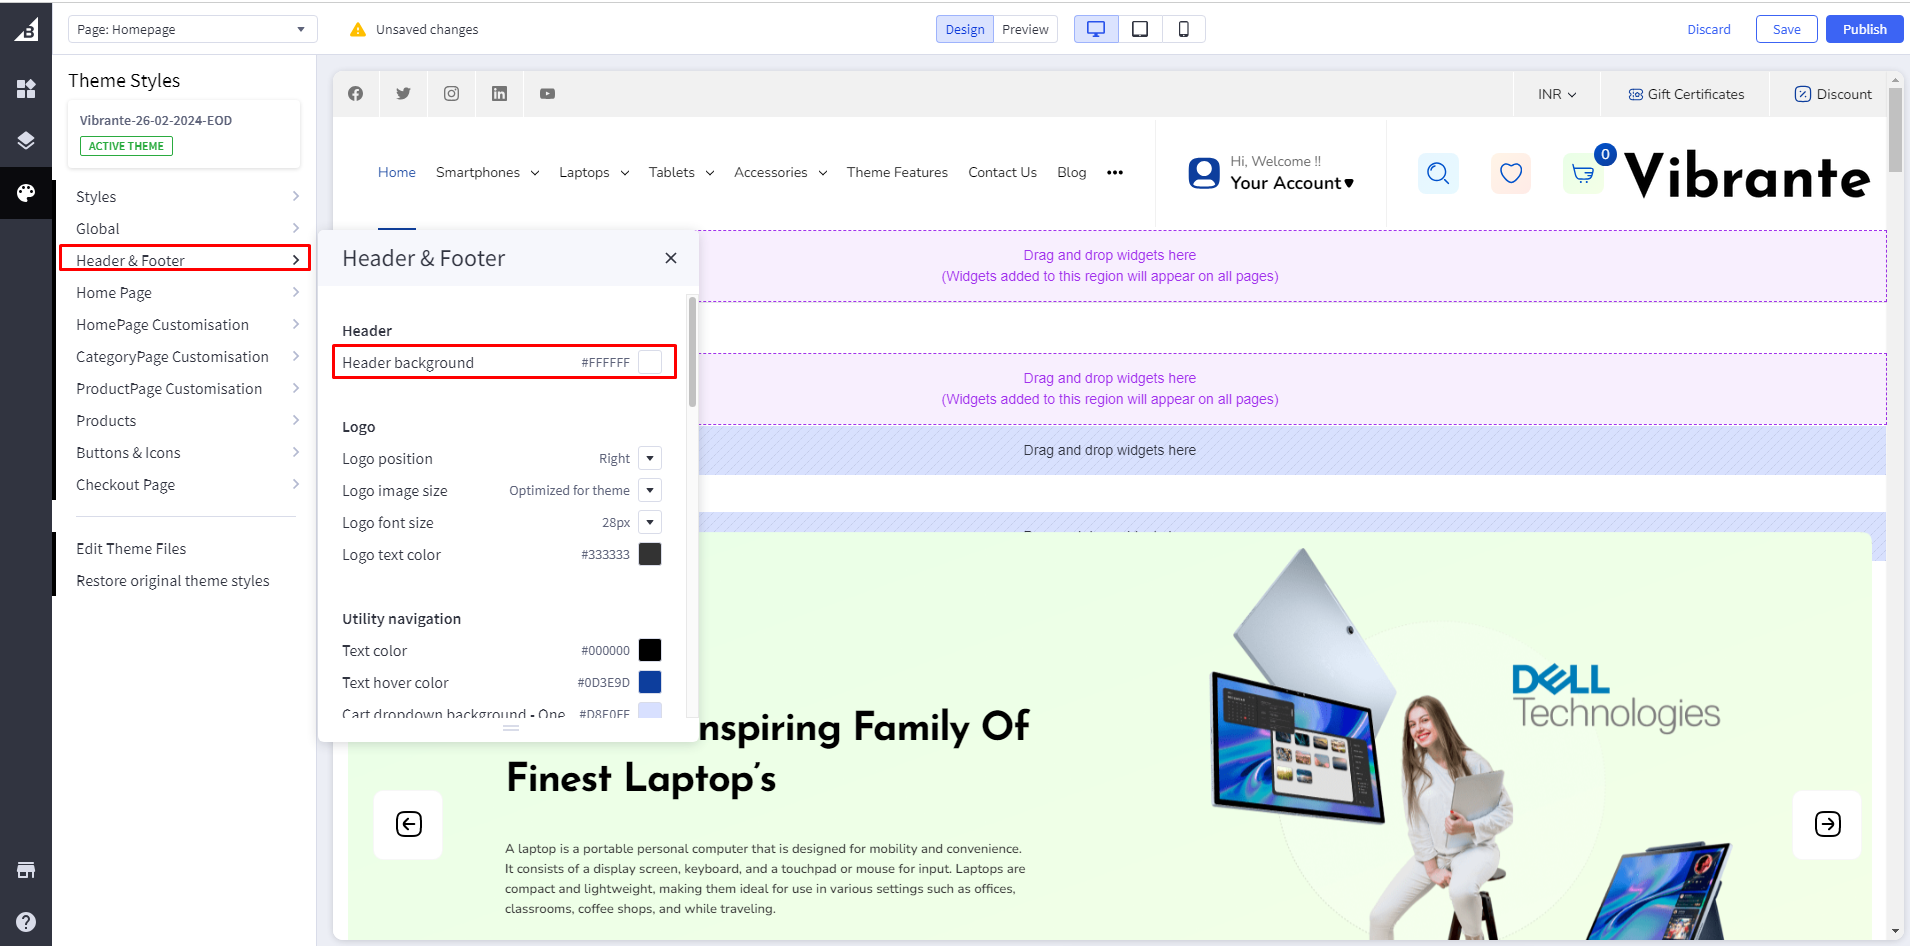
Header Background color: Set background color. It will appear behind the Logo.
Menu
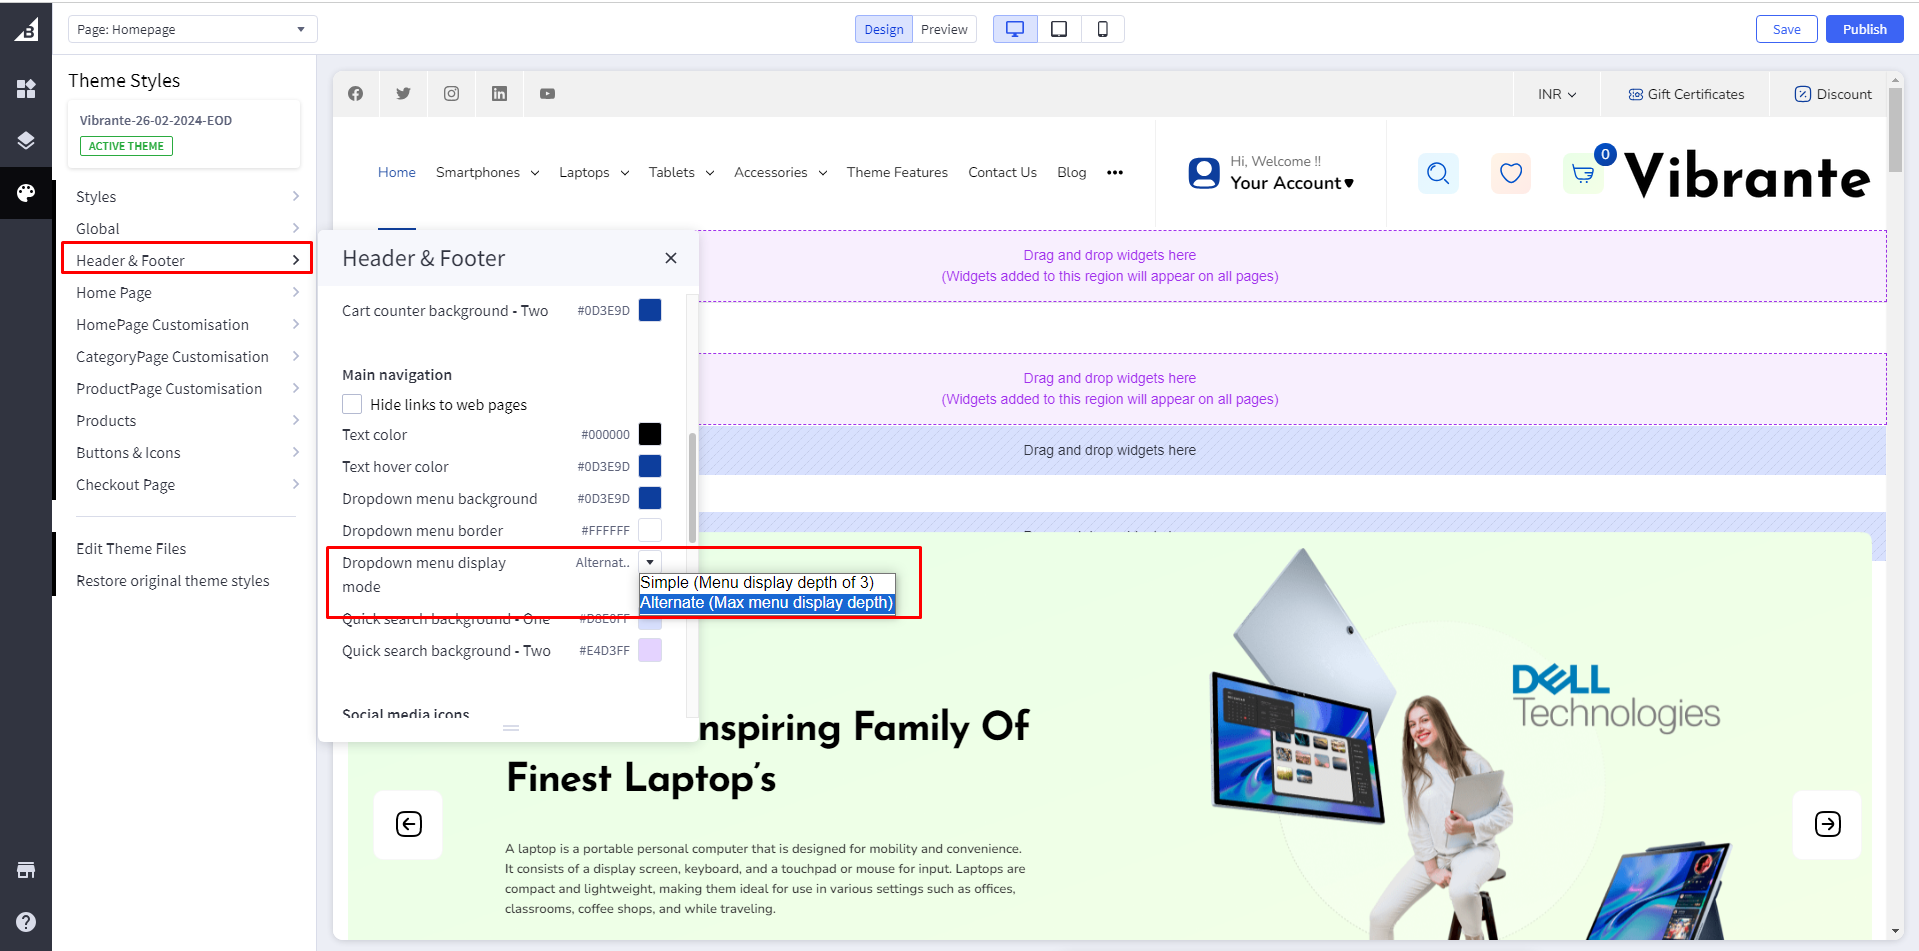
Dropdown menu display mode: Change Dropdown menu display Mode to Simple or Alternate
Simple Design: Alternate Design:
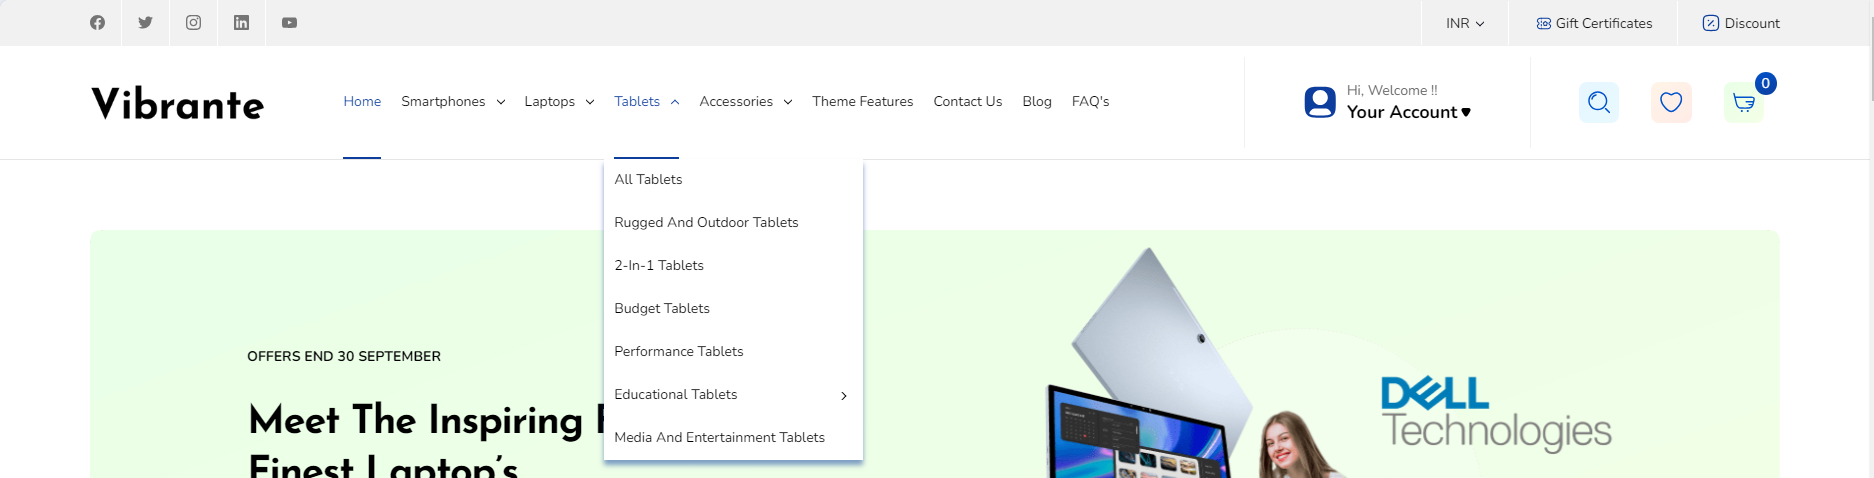
Search suggestions
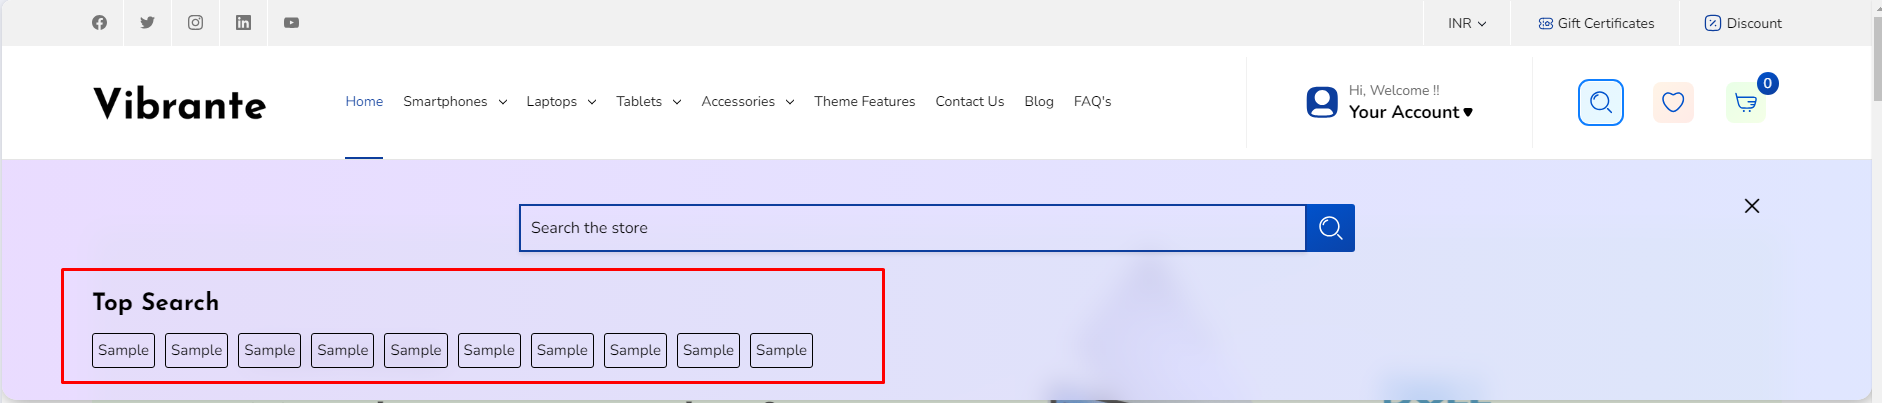
Search Suggestions: You can edit this text and add your Popular search categories or products
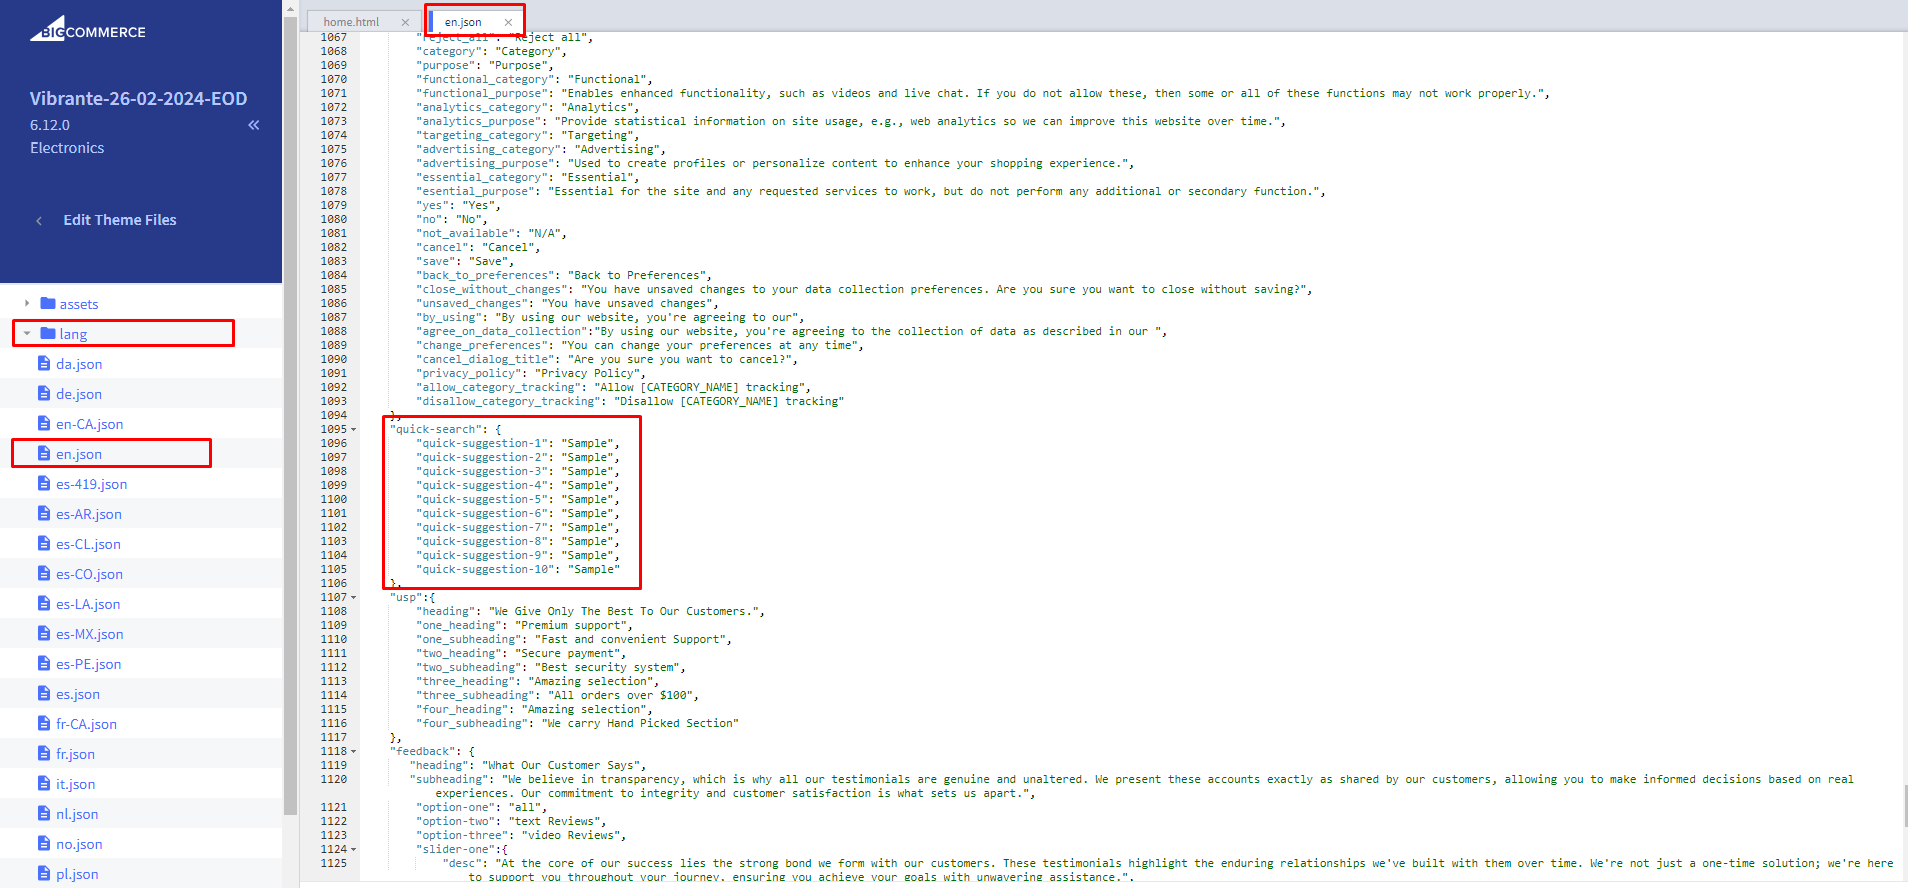
Manage suggestion text: For text change Go to channels > Themes > Advanced > Edit Theme Files > lang > en.json and update text in quick-suggestion-1 to quick-suggestion-10
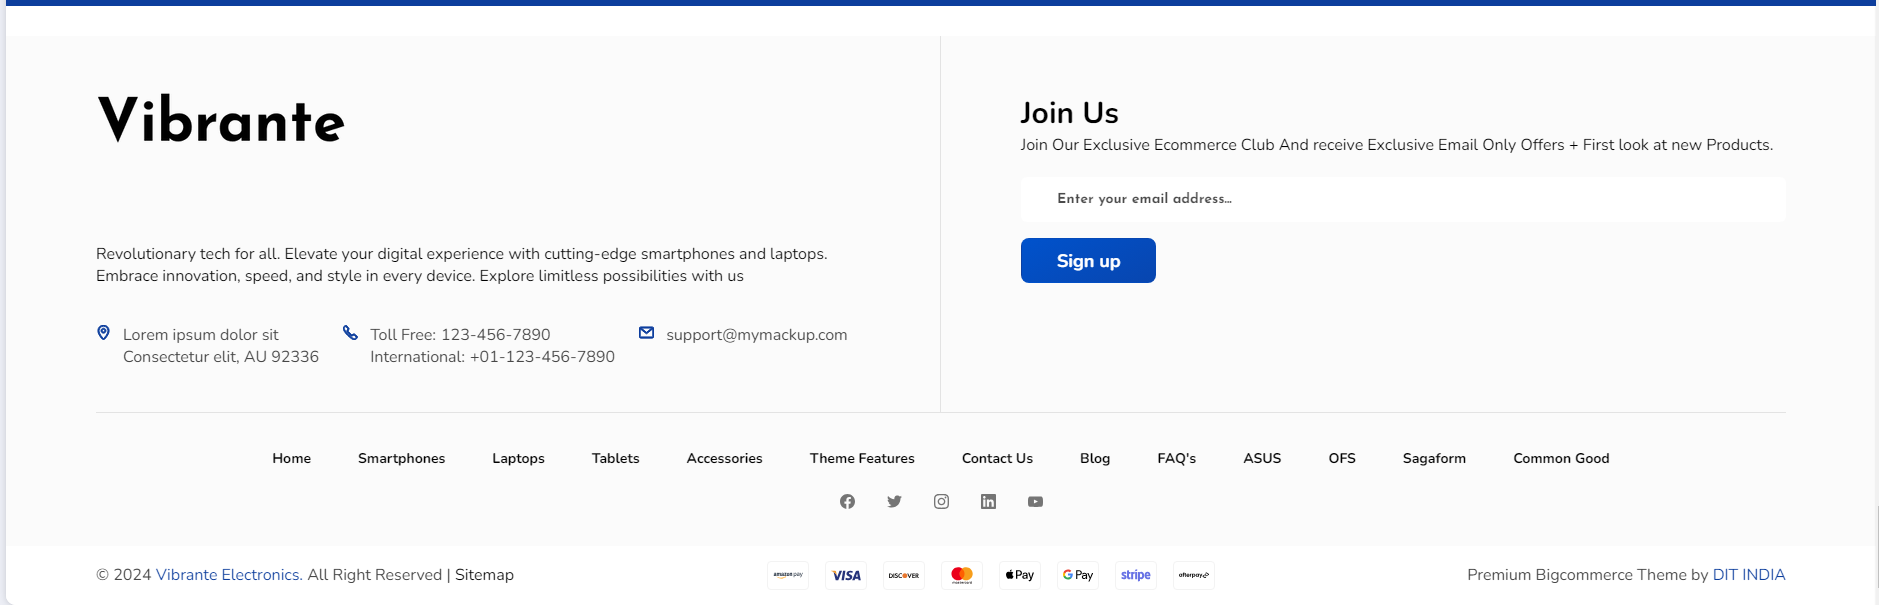
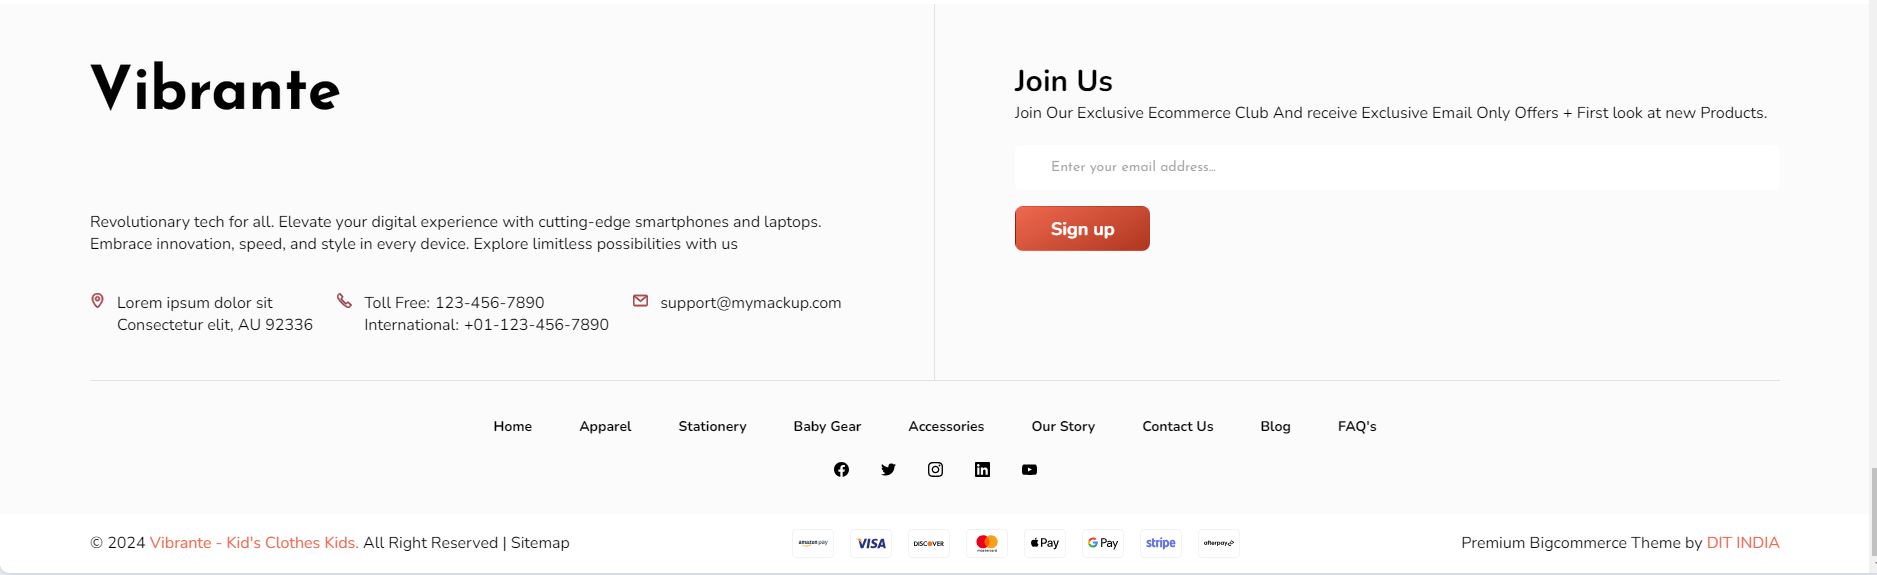
Footer
Electronics variant
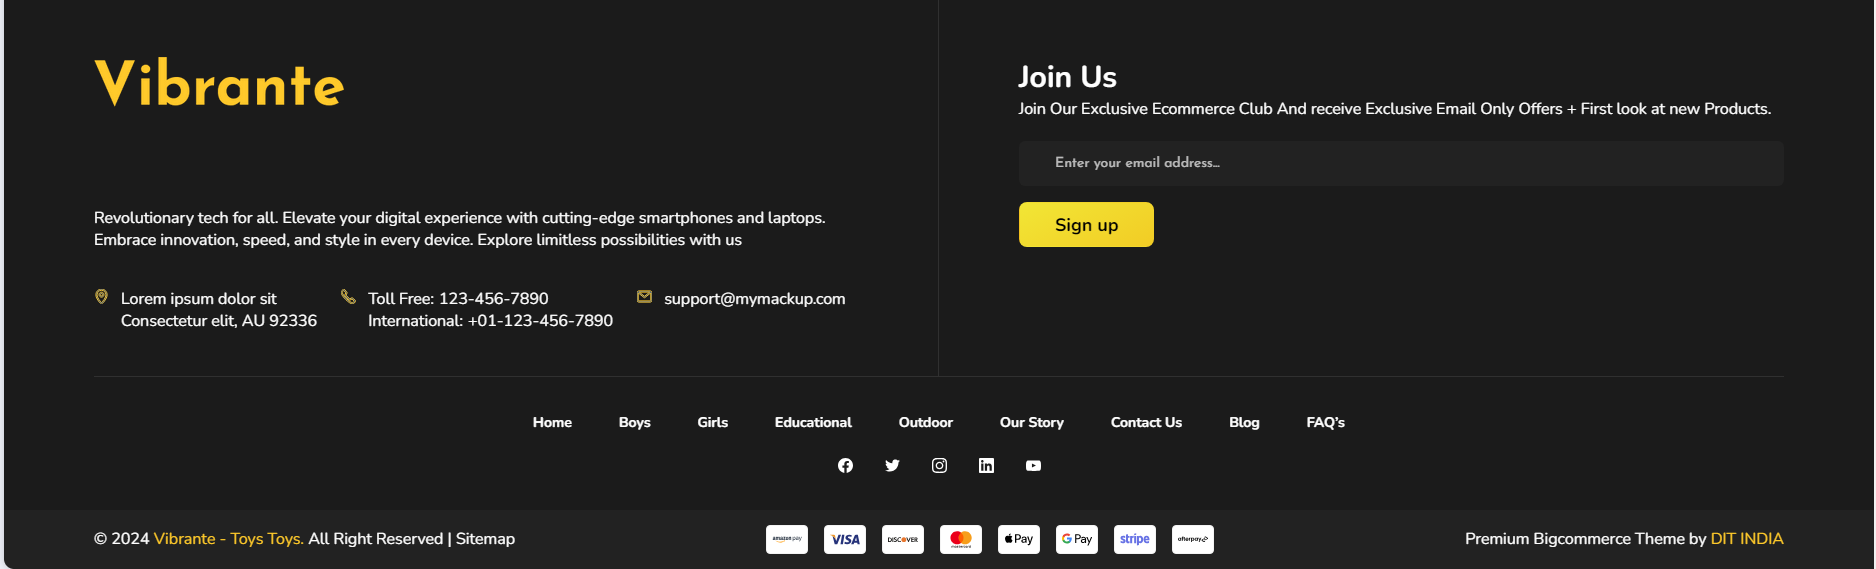
Toys variant
Kids variant
Footer background color
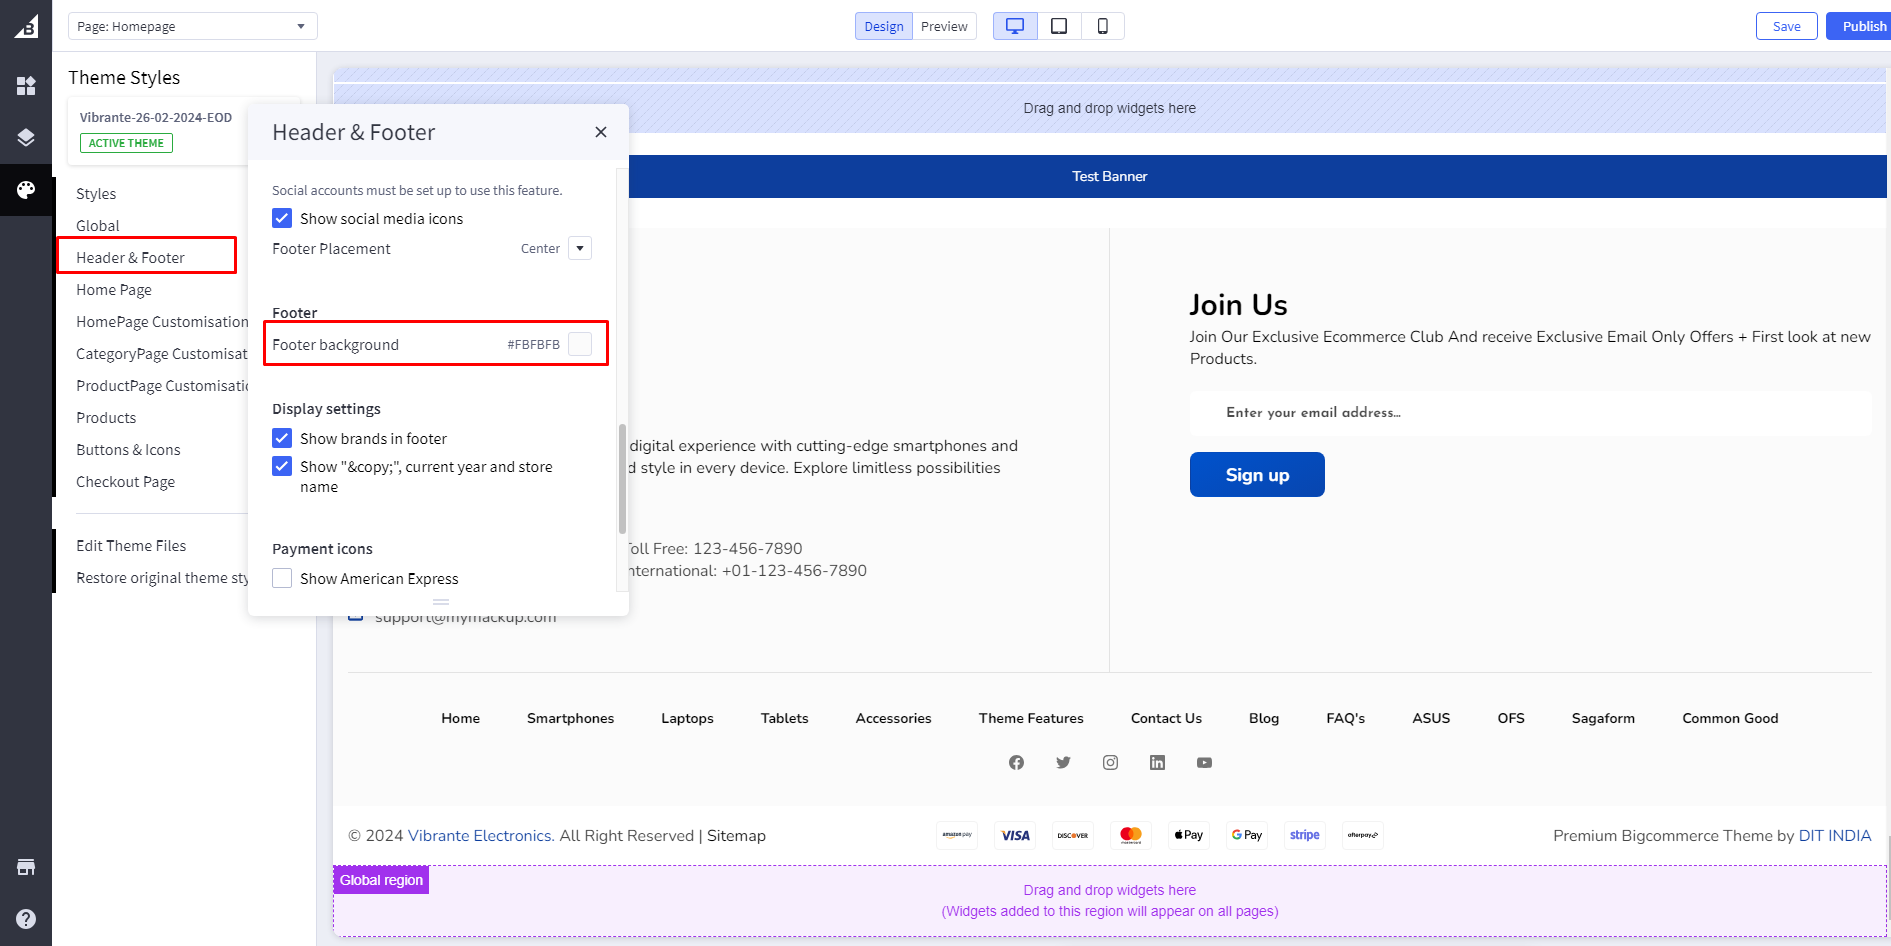
Footer Background color : Add color code in Footer background

Toll Free Phone number: Add phone number in Admin Panel settings > store profile.
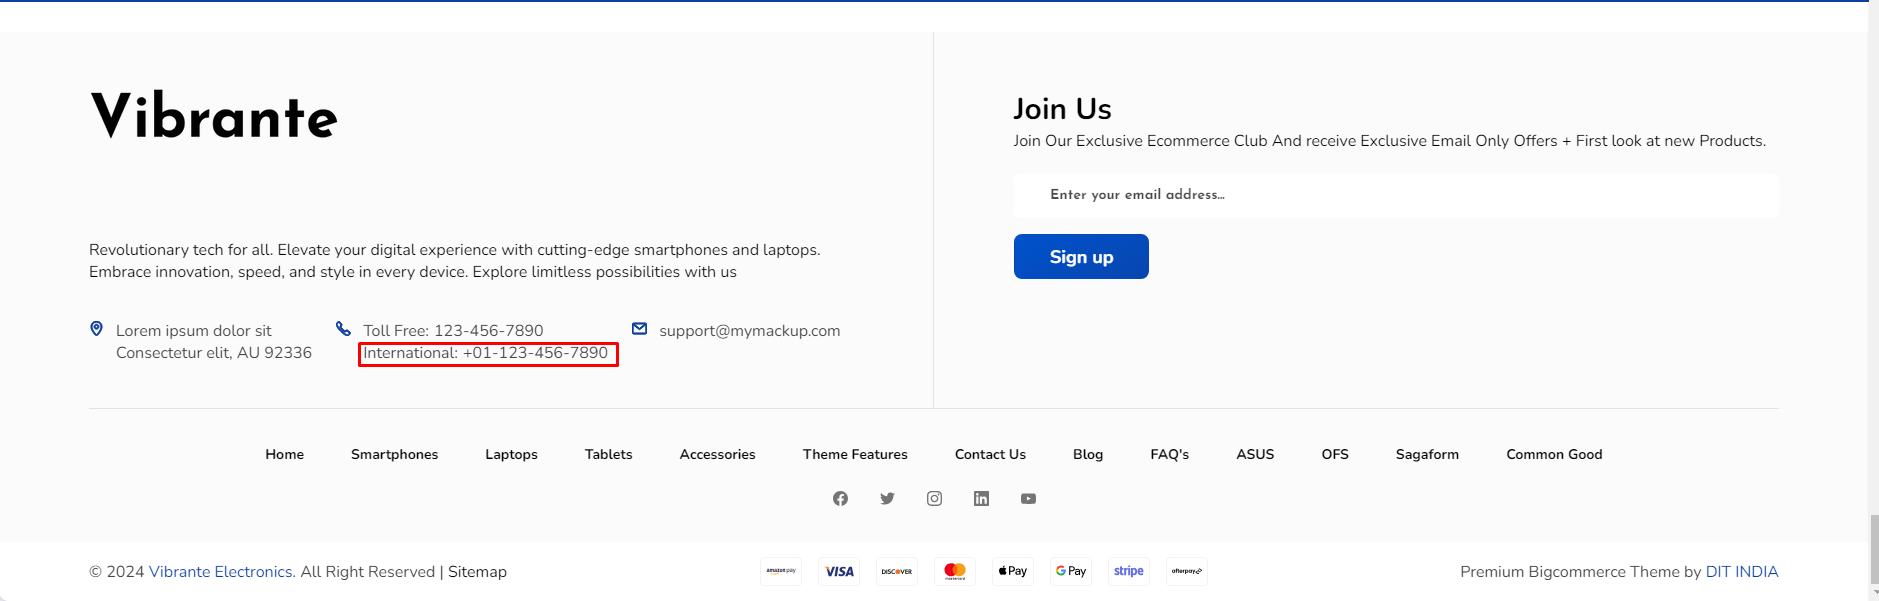

Manage suggestion text: For Number change Go to channels > Themes > Advanced > Edit Theme Files > lang > en.json and update number
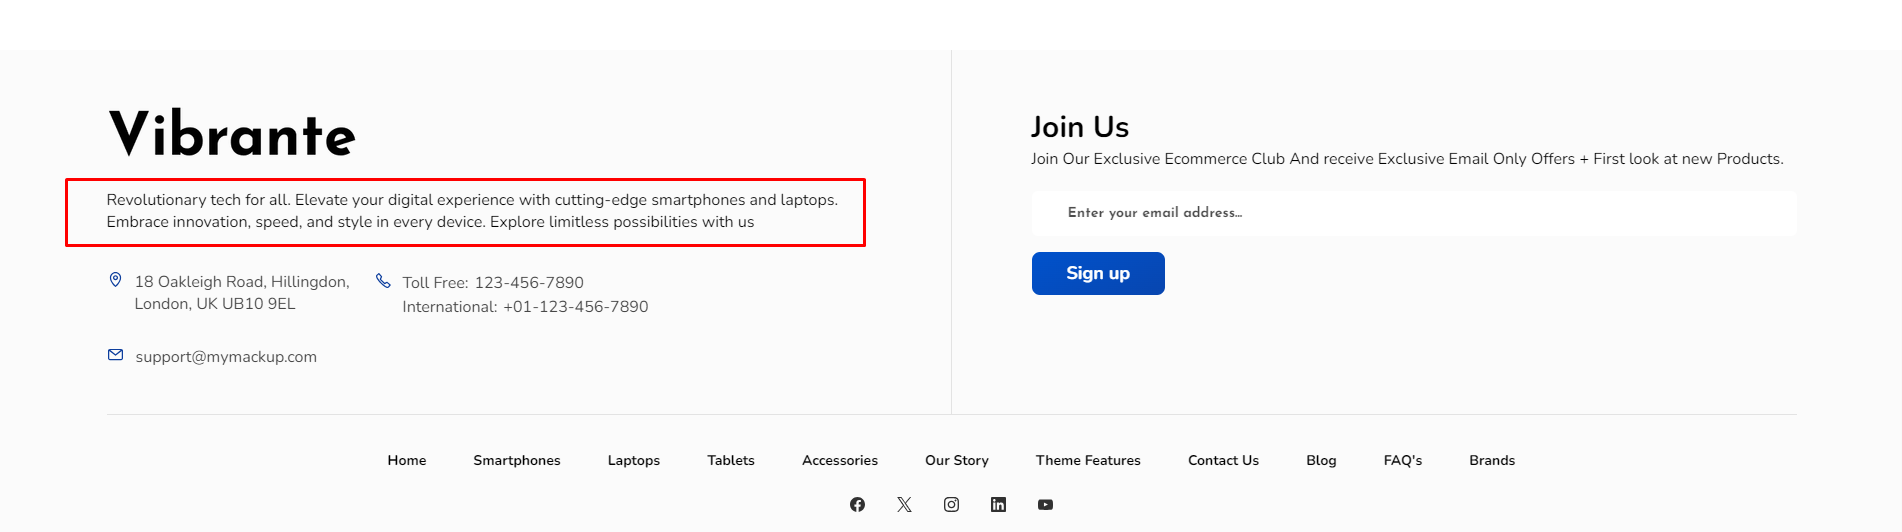
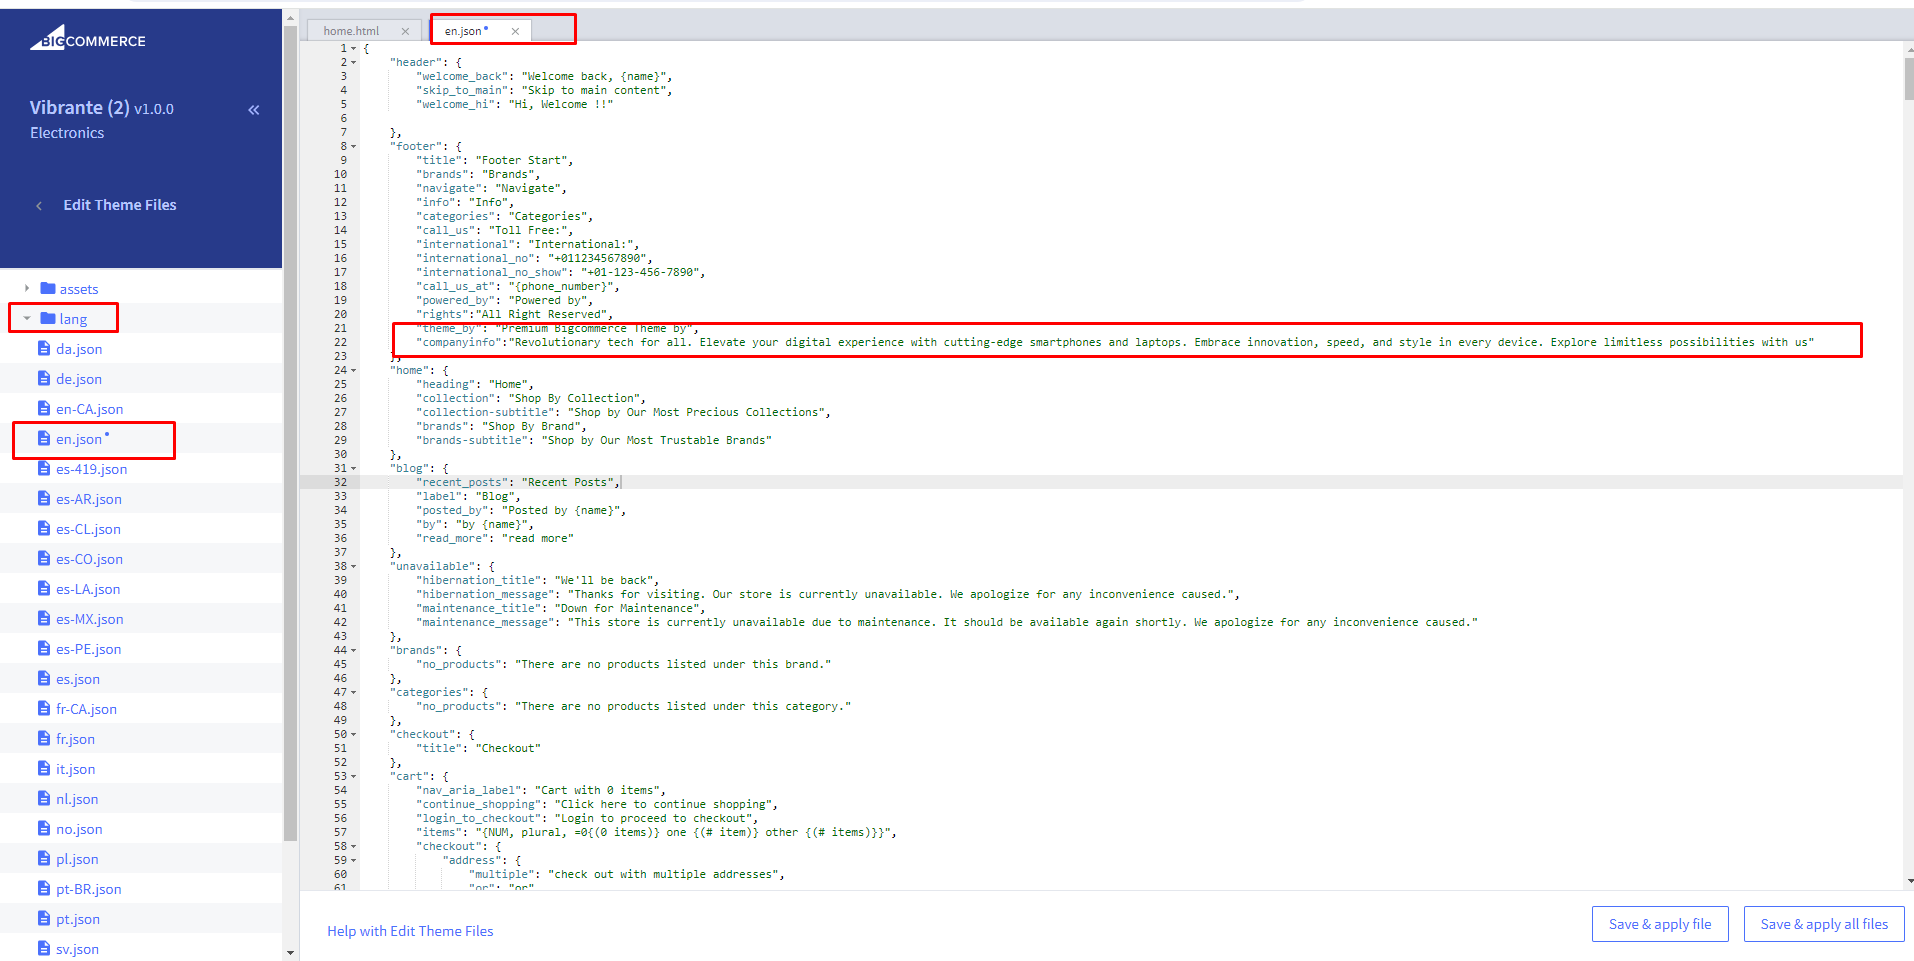
Company info: For Company info change Go to channels > Themes > Advanced > Edit Theme Files > lang > en.json and update Company info
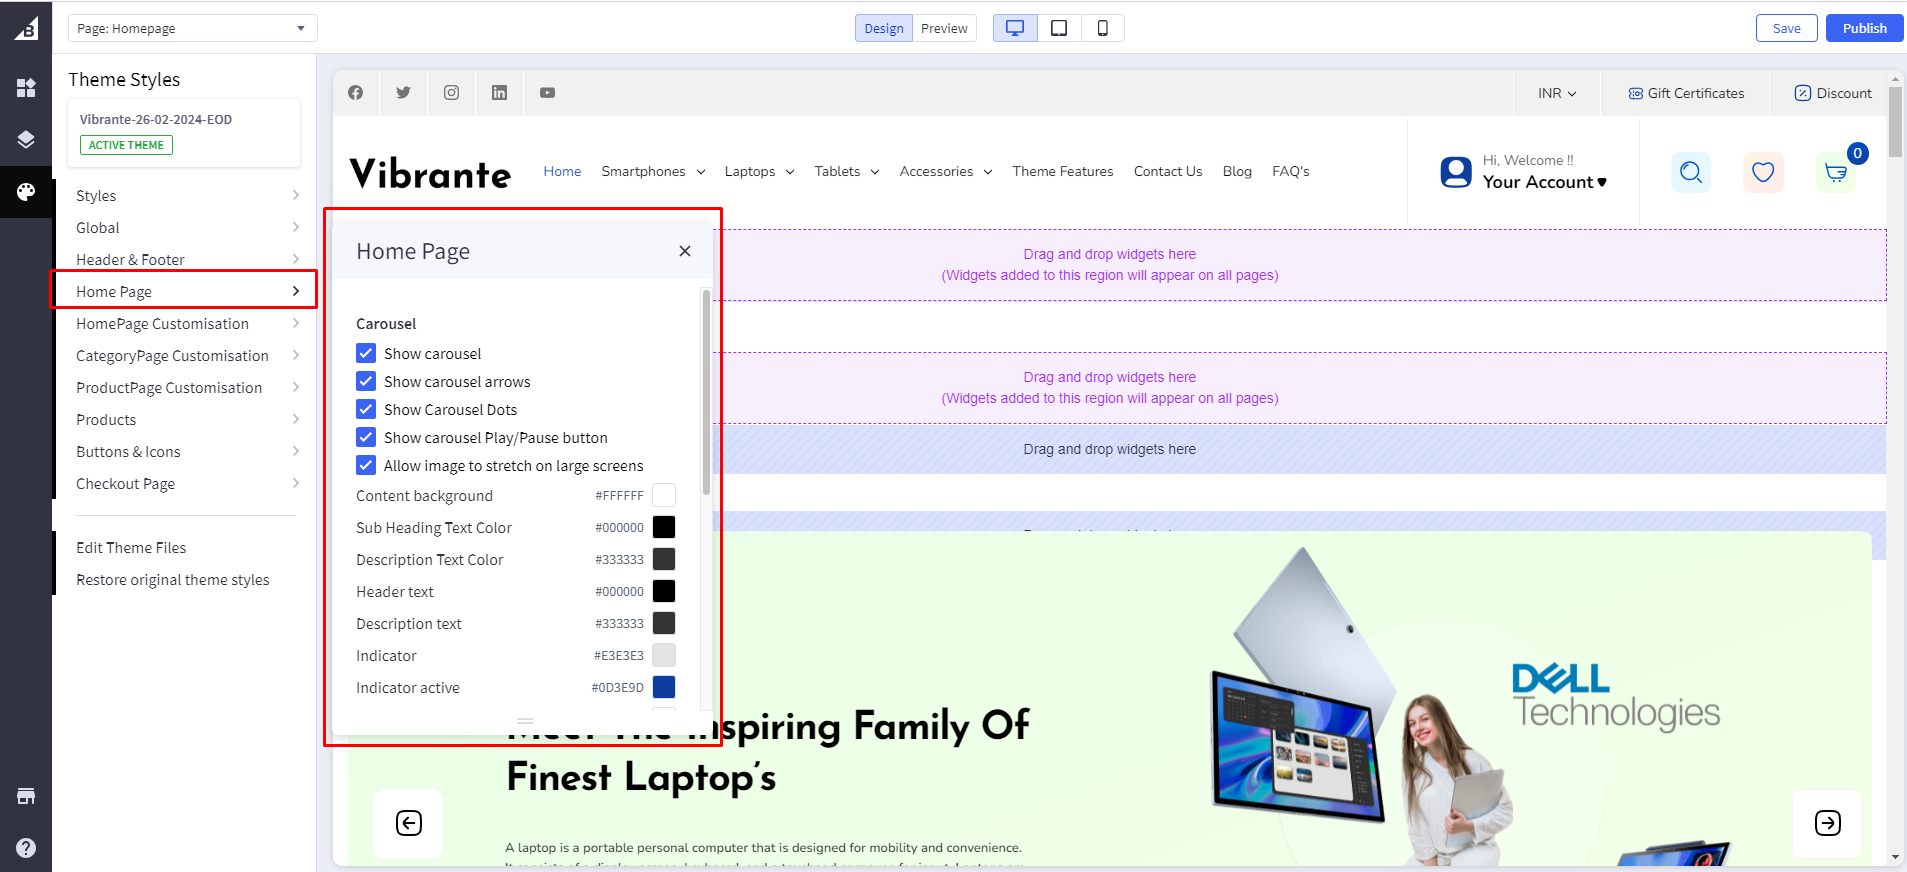
Home Page
In your control panel, go to Storefront > My Themes, and click the blue "Customize" button to launch Theme Editor.
In the left hand column of the Theme Editor, click the panel labelled 'Home Page'.
HomePage Customisation
Go to Storefront > My Themes in your control panel and click the blue "Customize" button to launch Theme Editor.
In the left-hand column of the Theme Editor, click the panel labeled 'HomePage Customisation'.

1. Header Discount
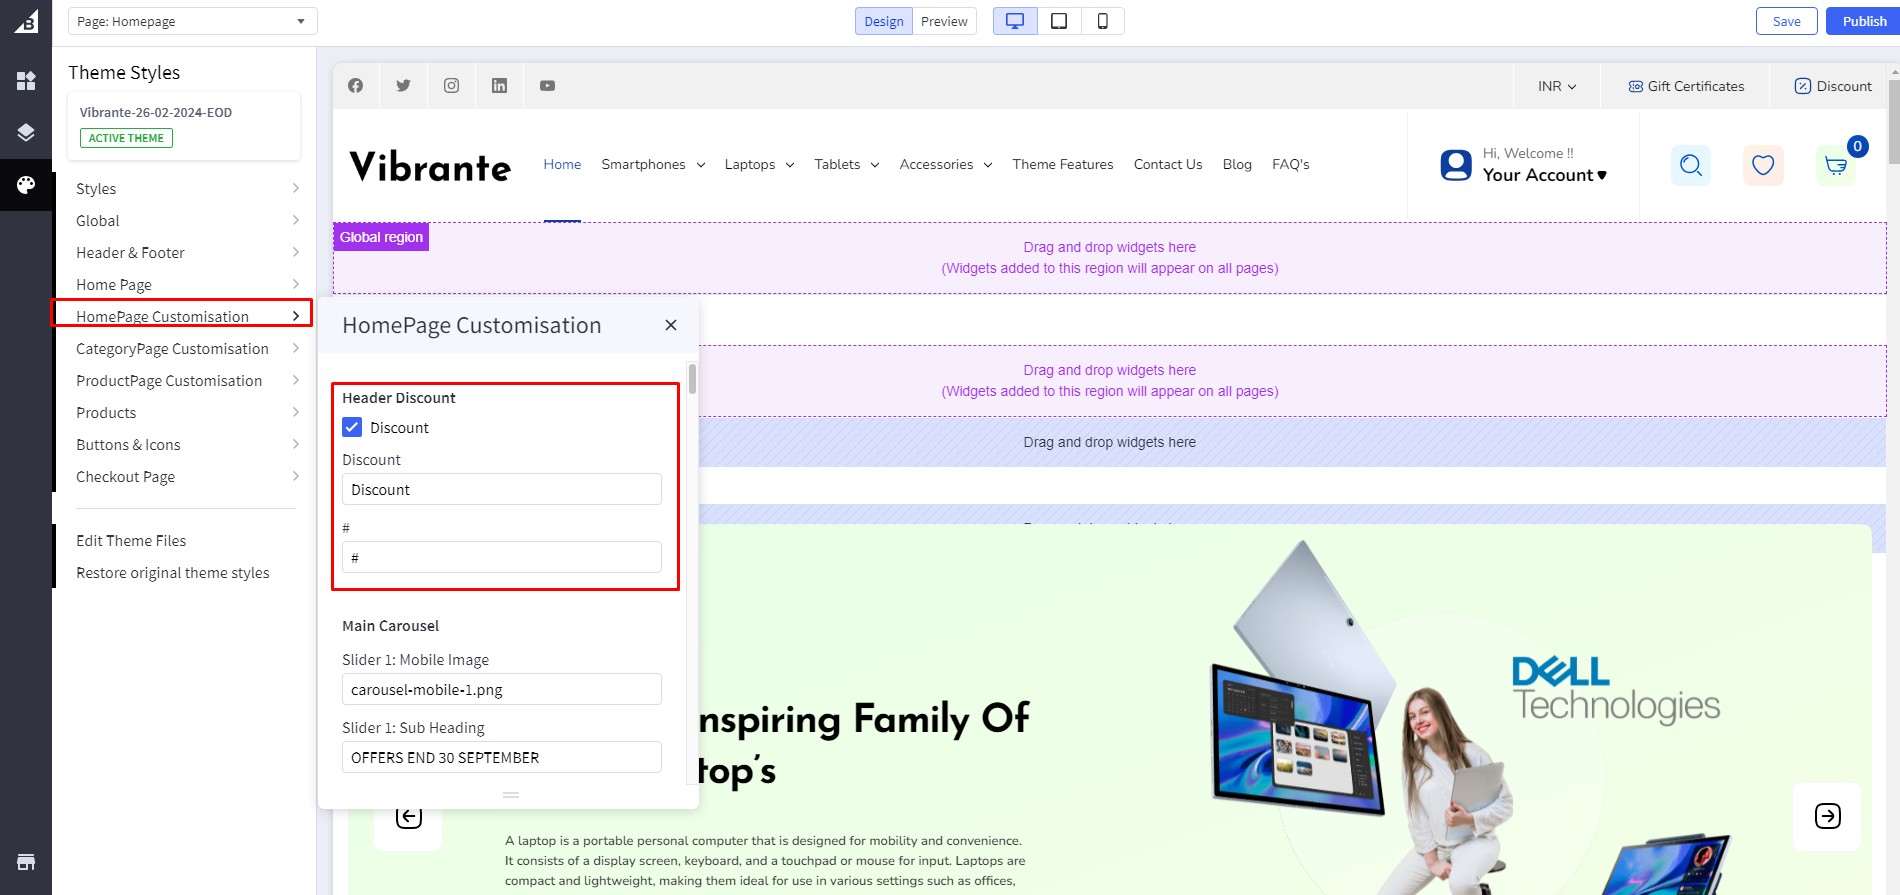
Header Discount Title: Add Header Discount Title.
Header Discount Link: Add Header Discount Link .
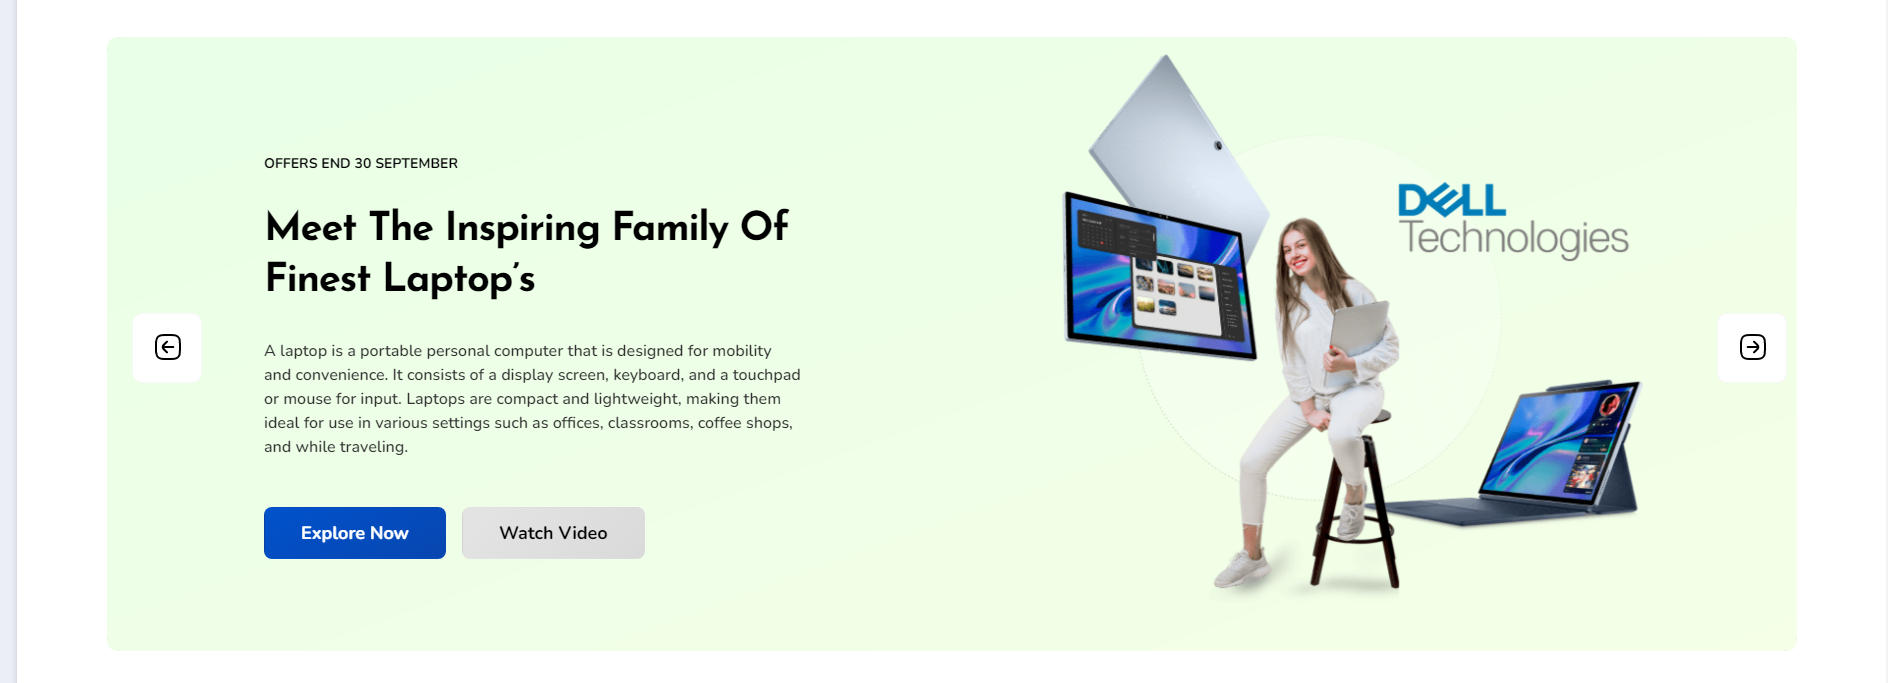
2. Main Carousel
Manage Main Carousel Mobile View:In vibrante theme, You can upload separate images for the carousel in mobile view.

First, you need to head over to "Storefront > Image Manager" and then upload your images here.
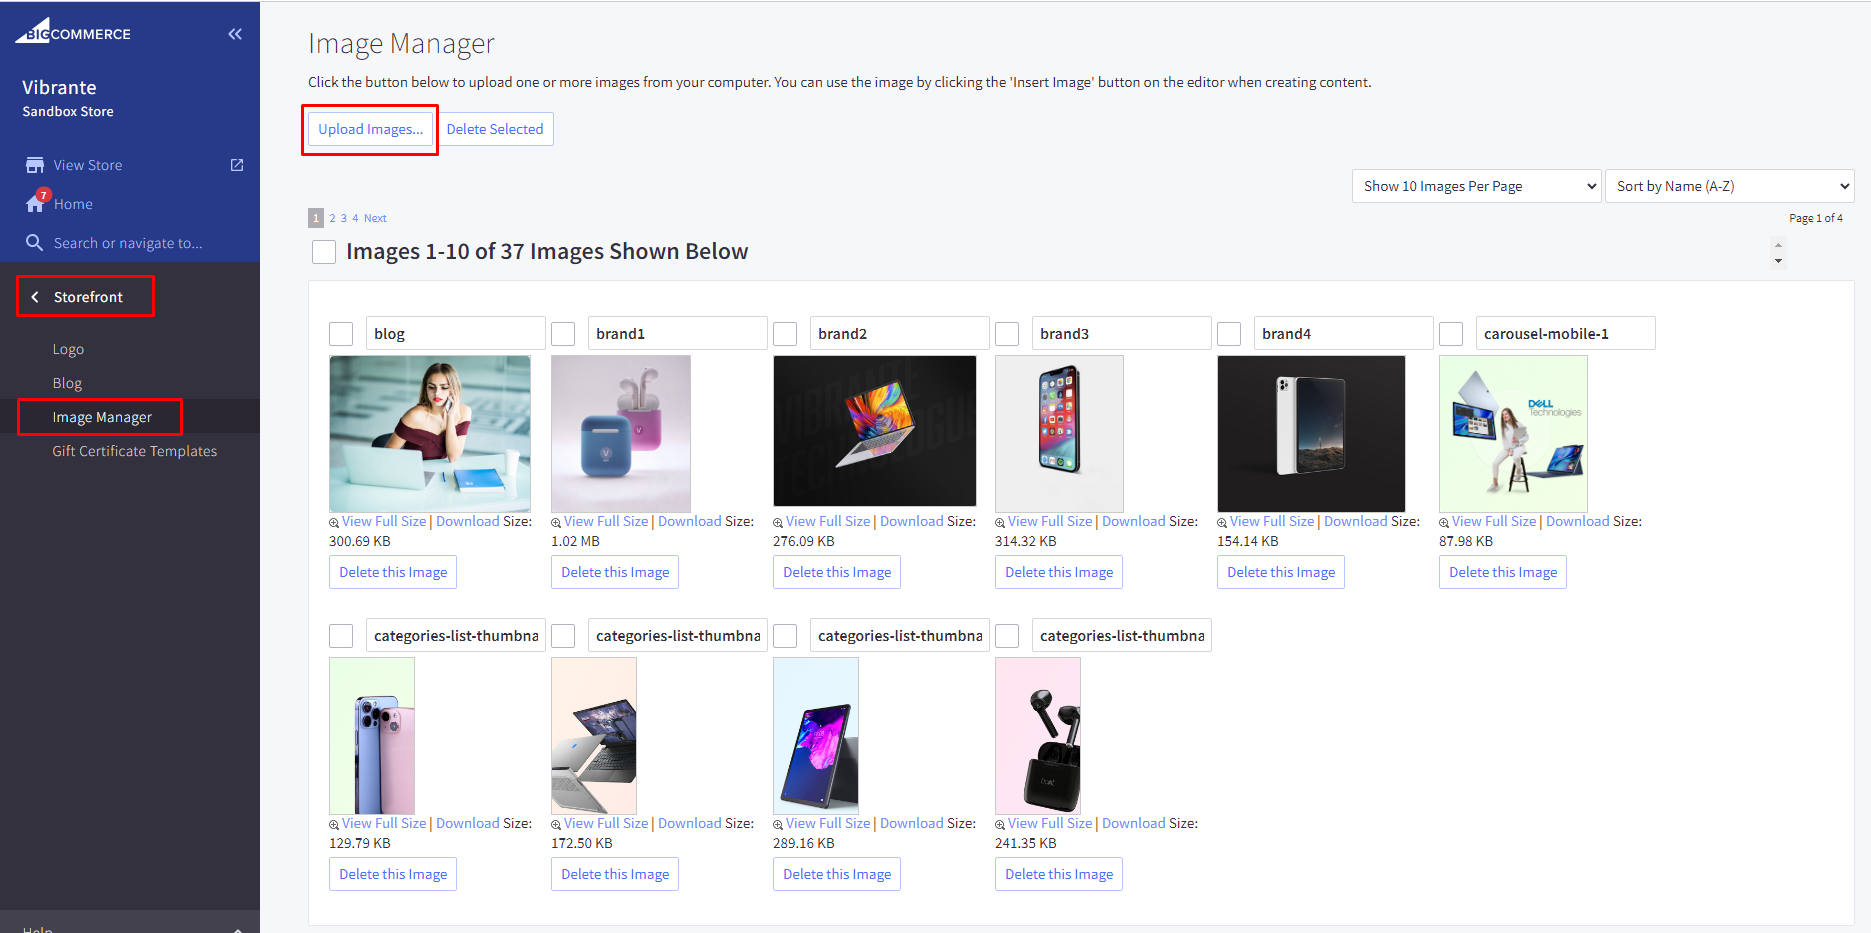
Then once uploaded, click "View Full Size" to open the image in a new tab and copy the image name to that image URL.

Subheading : Add carousel subheading
Custom Button Text : Add Custom button text
Custom Button Link : Add Custom button Link
3. Top Categories
It's dynamic categories section, It will display four categories and it's subcategories.
You can unable and disable this section from the theme editor.

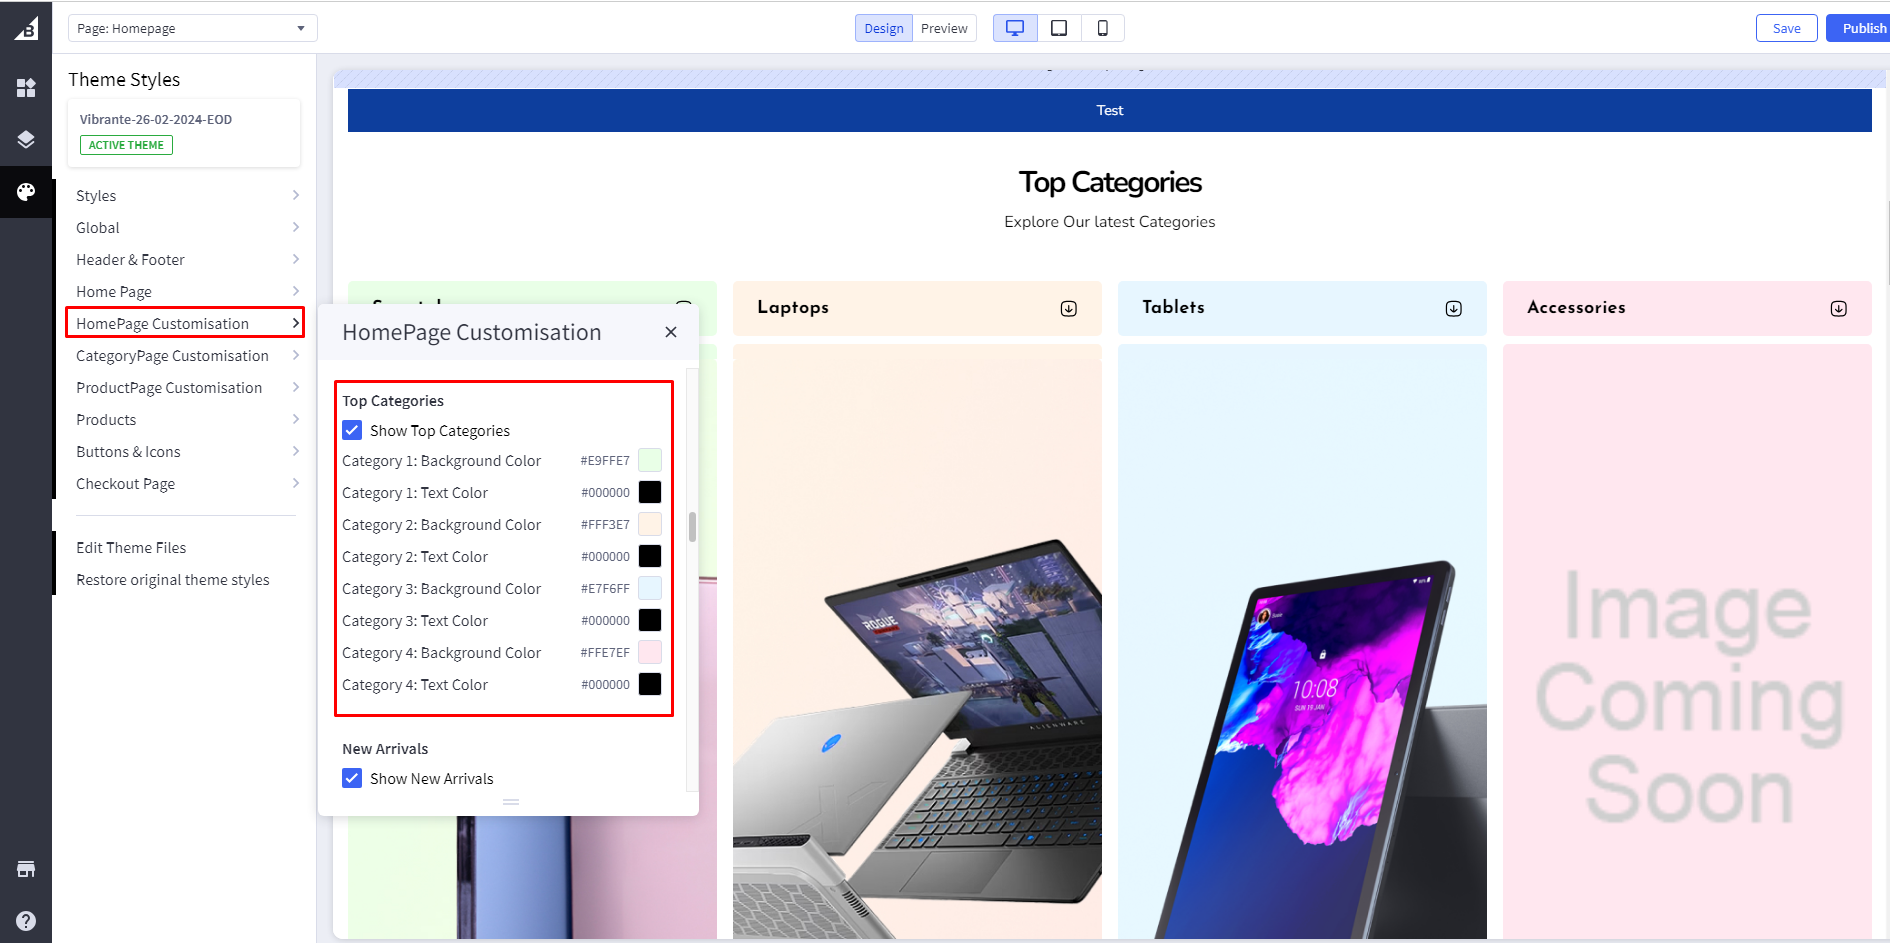
Background Color : Add color code in Top Categories background.
Text Color: Add color code in Top Categories Text
4. Shop by Brand
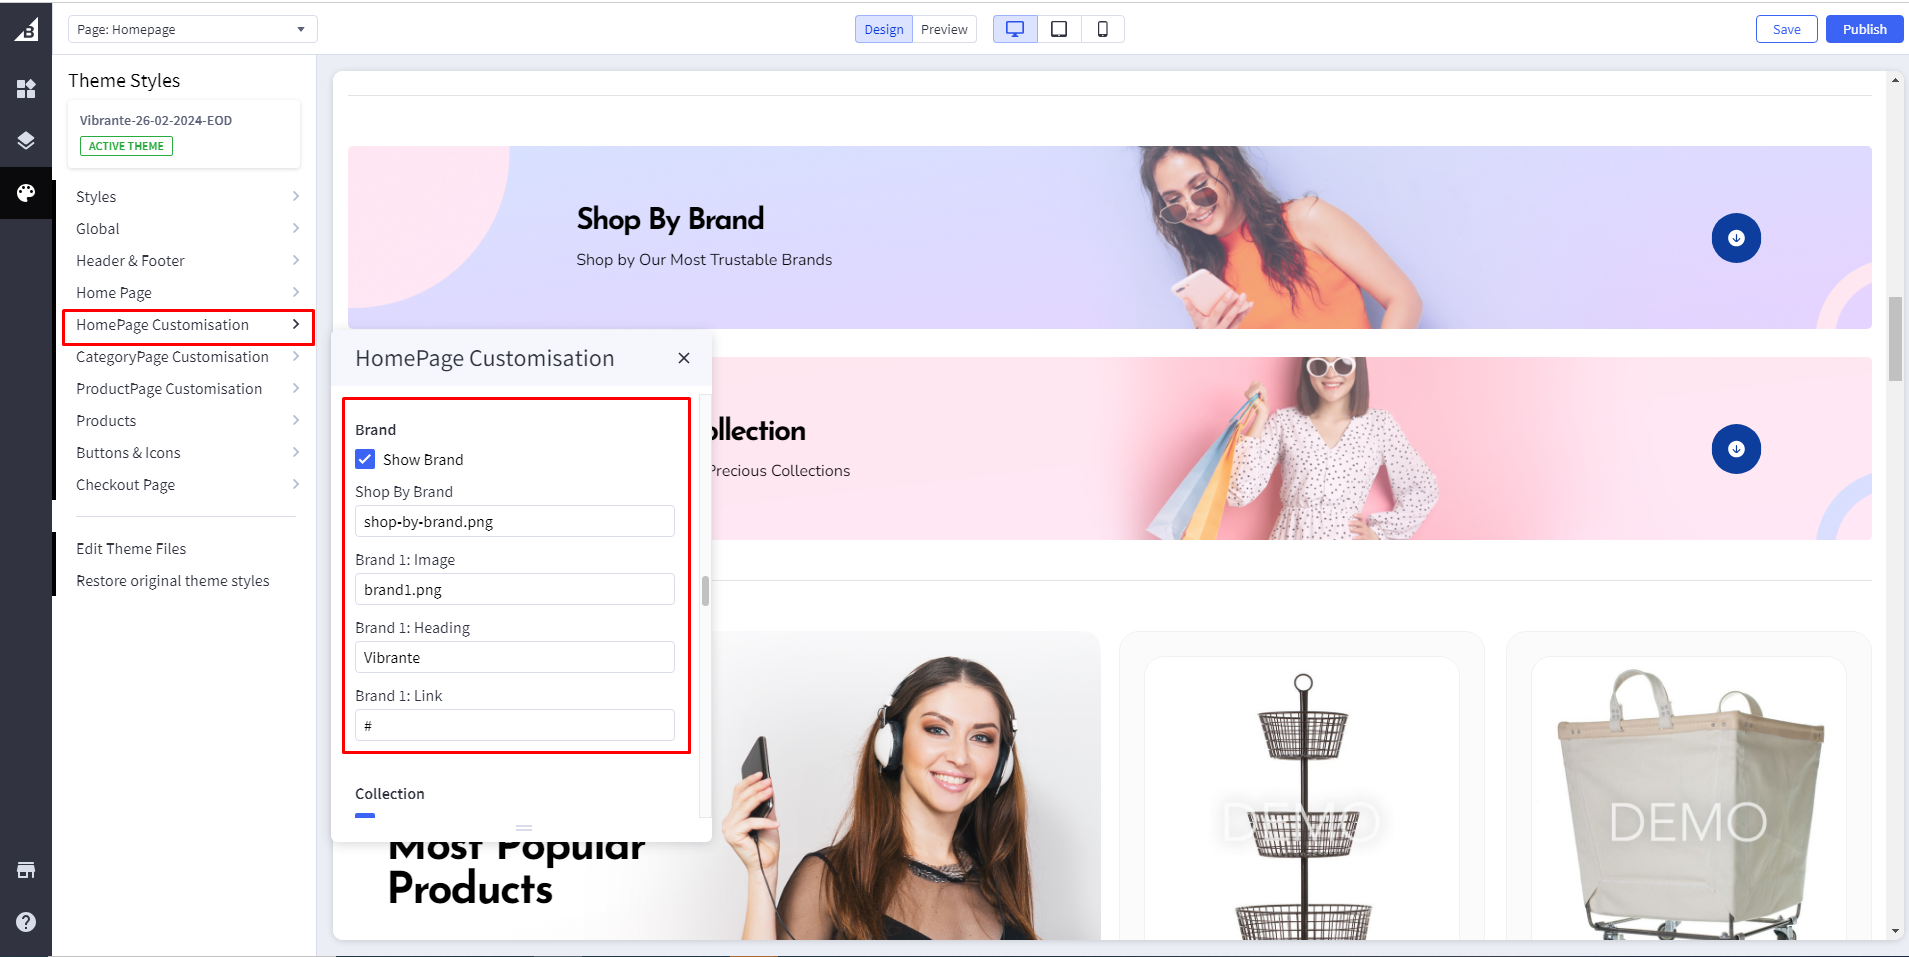
Show Brand: If checked, it will appear as Shop by Brand. If unchecked, Shop by Brand will not appear
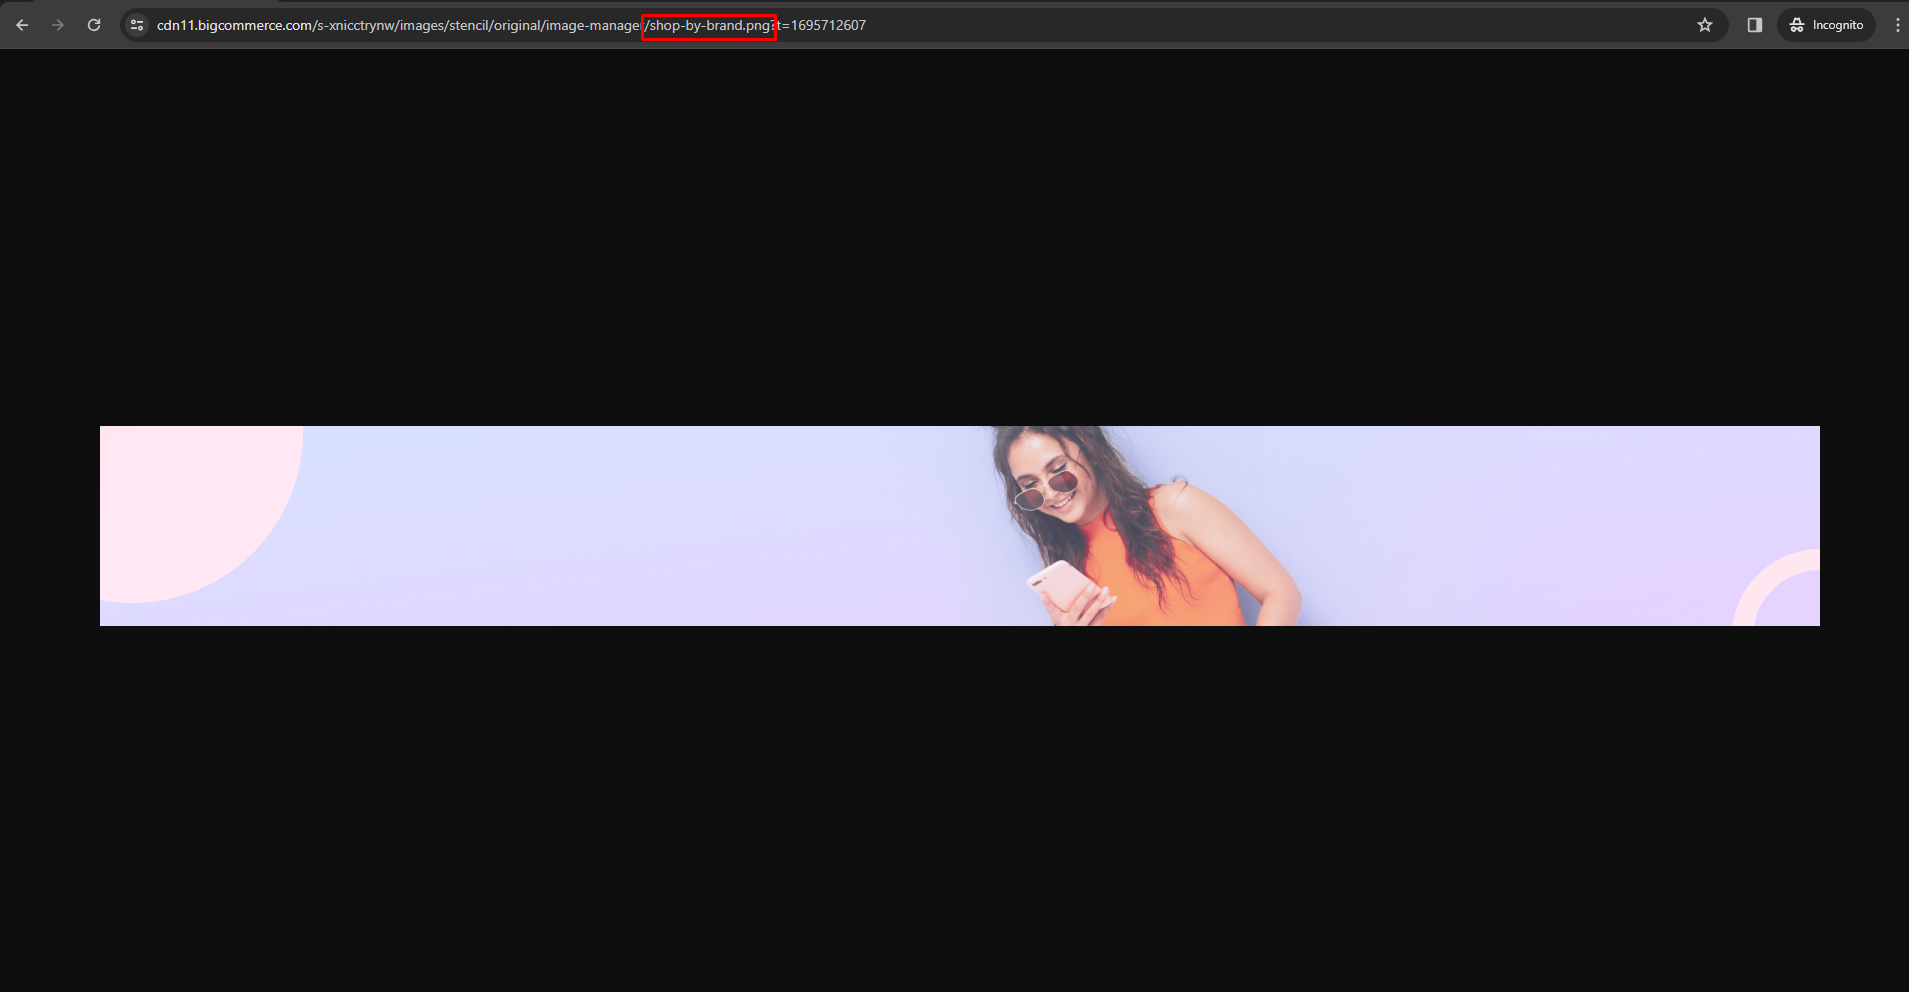
Shop By Brand Image :First, you need to head over to "Storefront > Image Manager" and then upload your images here.
Then once uploaded, click "View Full Size" to open the image in a new tab and copy the image name to that image URL.
 Add sub-images:
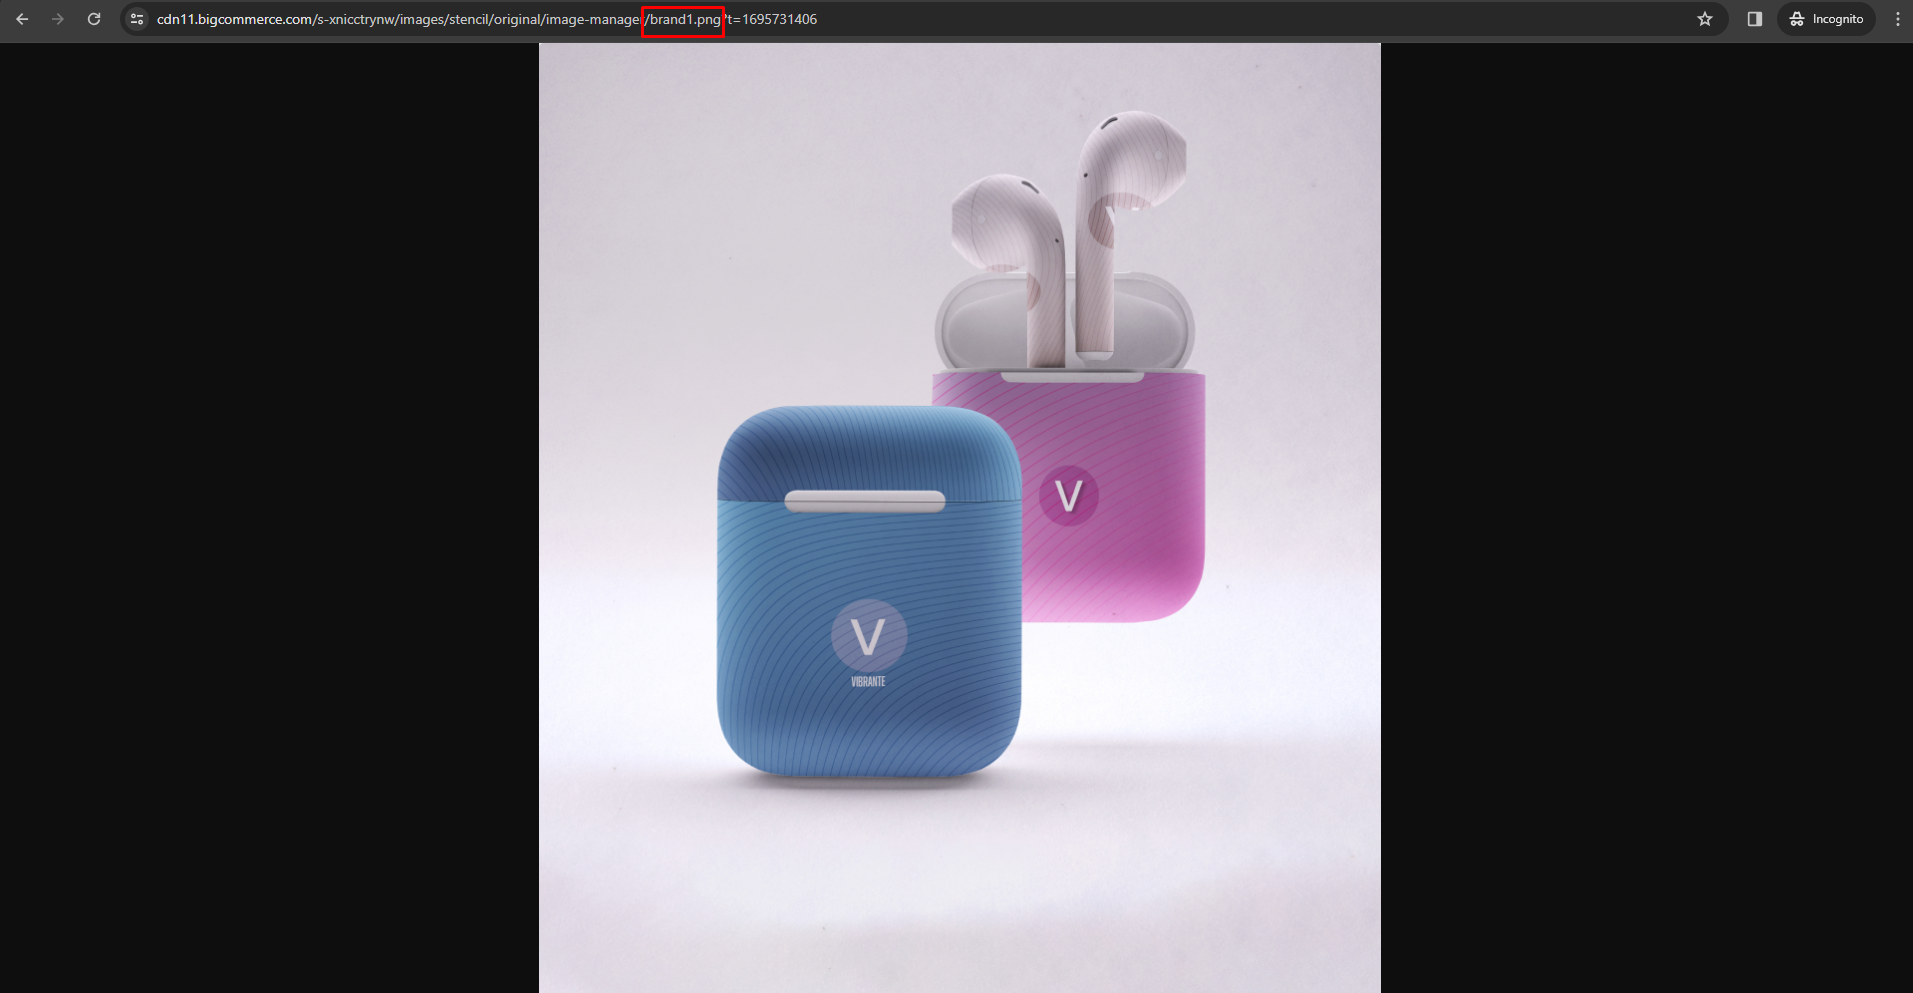
First, you need to head over to "Storefront > Image Manager" and then upload your images here.
Then once uploaded, click "View Full Size" to open the image in a new tab and copy the image name to that image URL.
Add image name in the setting section
Image: Add image name in mobile image
Heading: Add image hedging text
Link: Add image Link
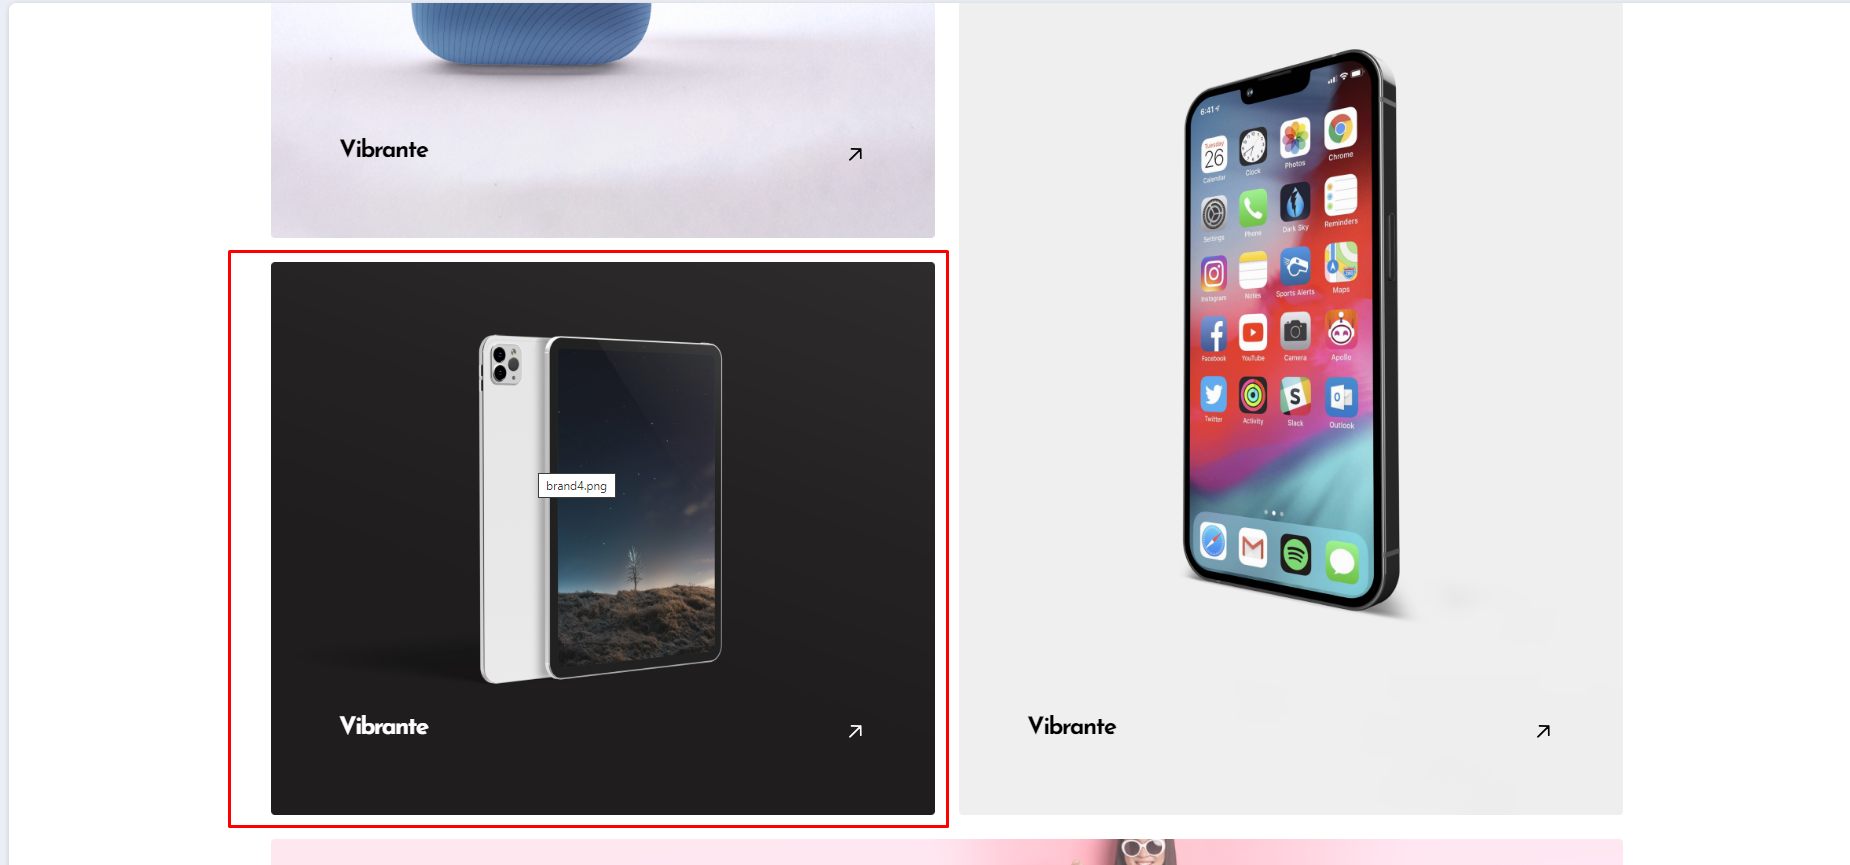
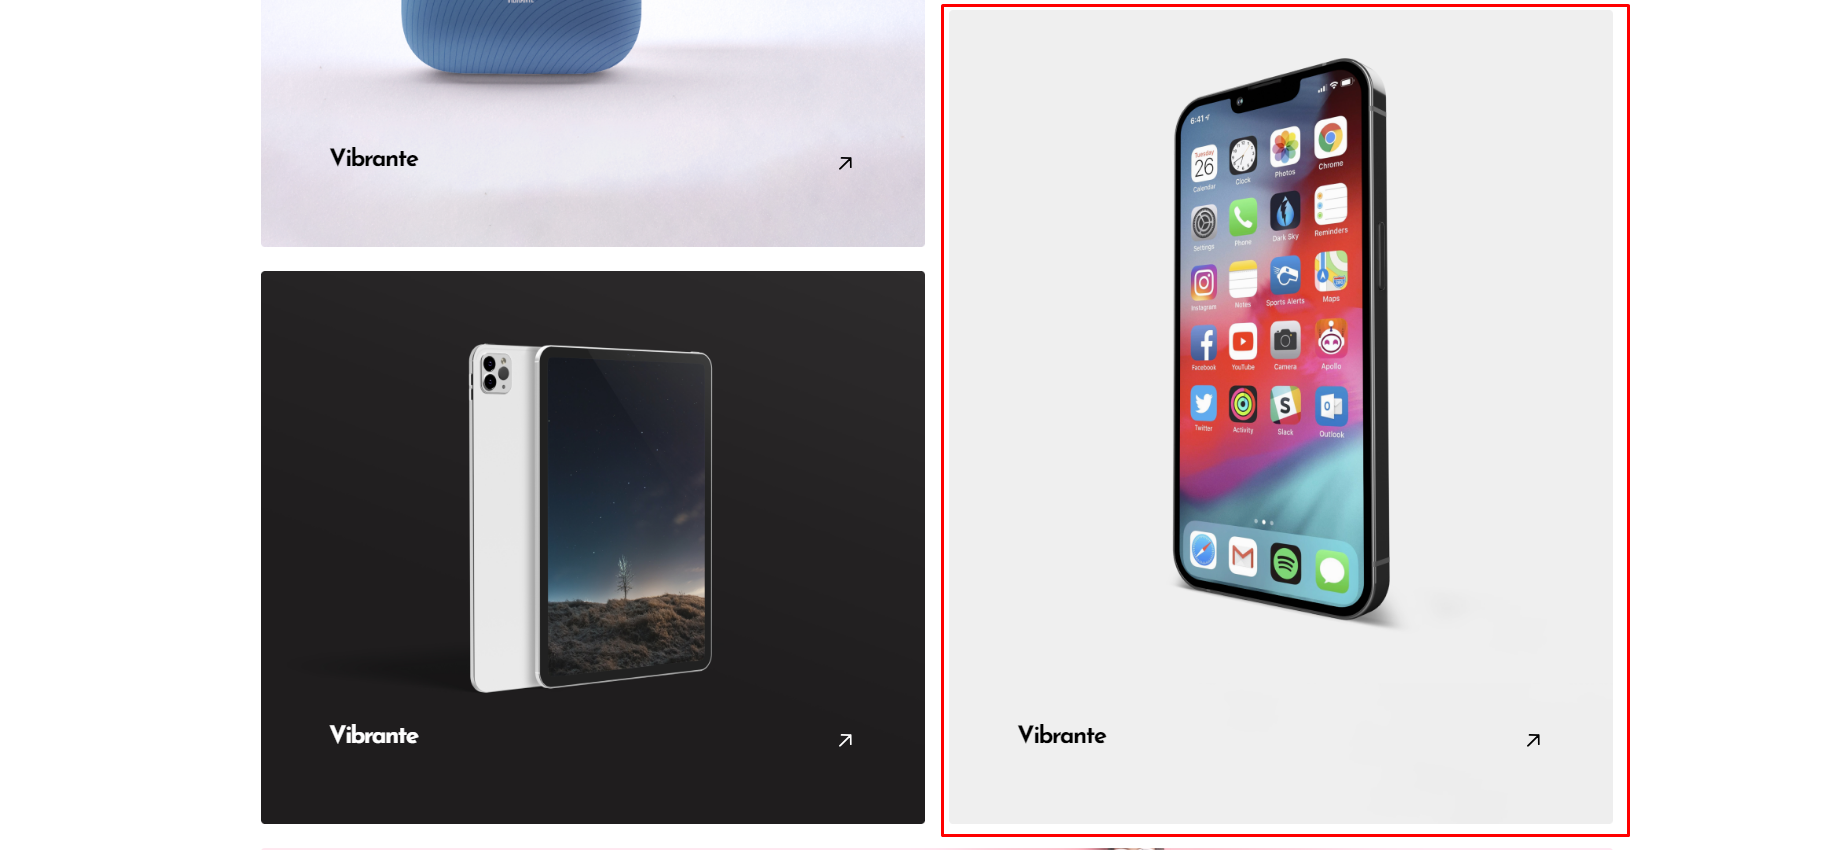
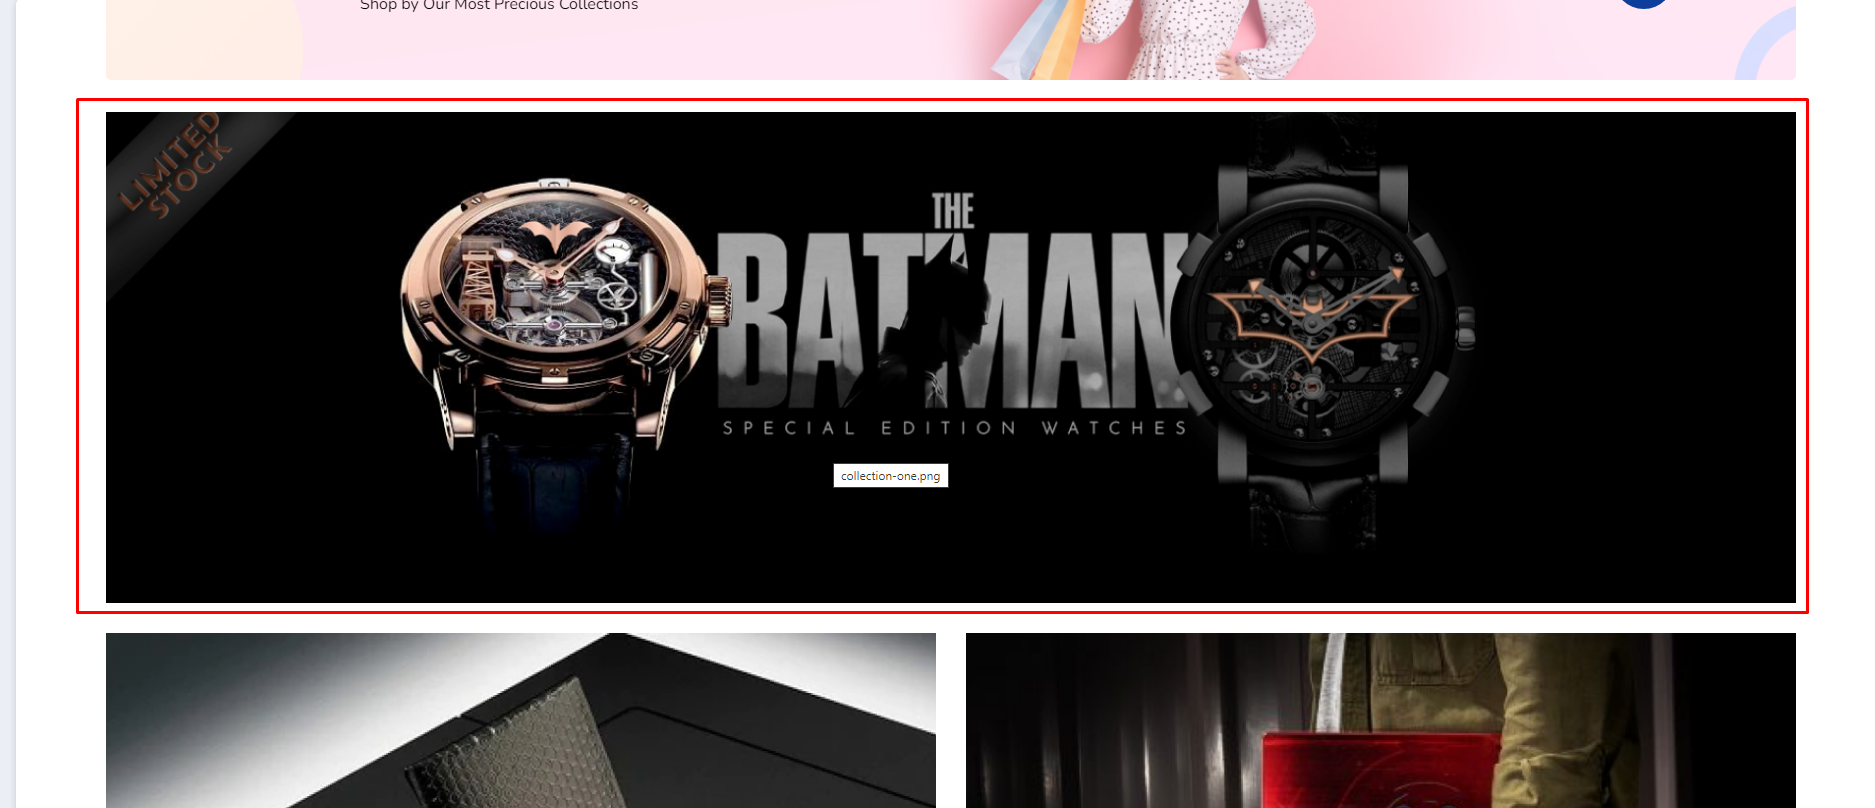
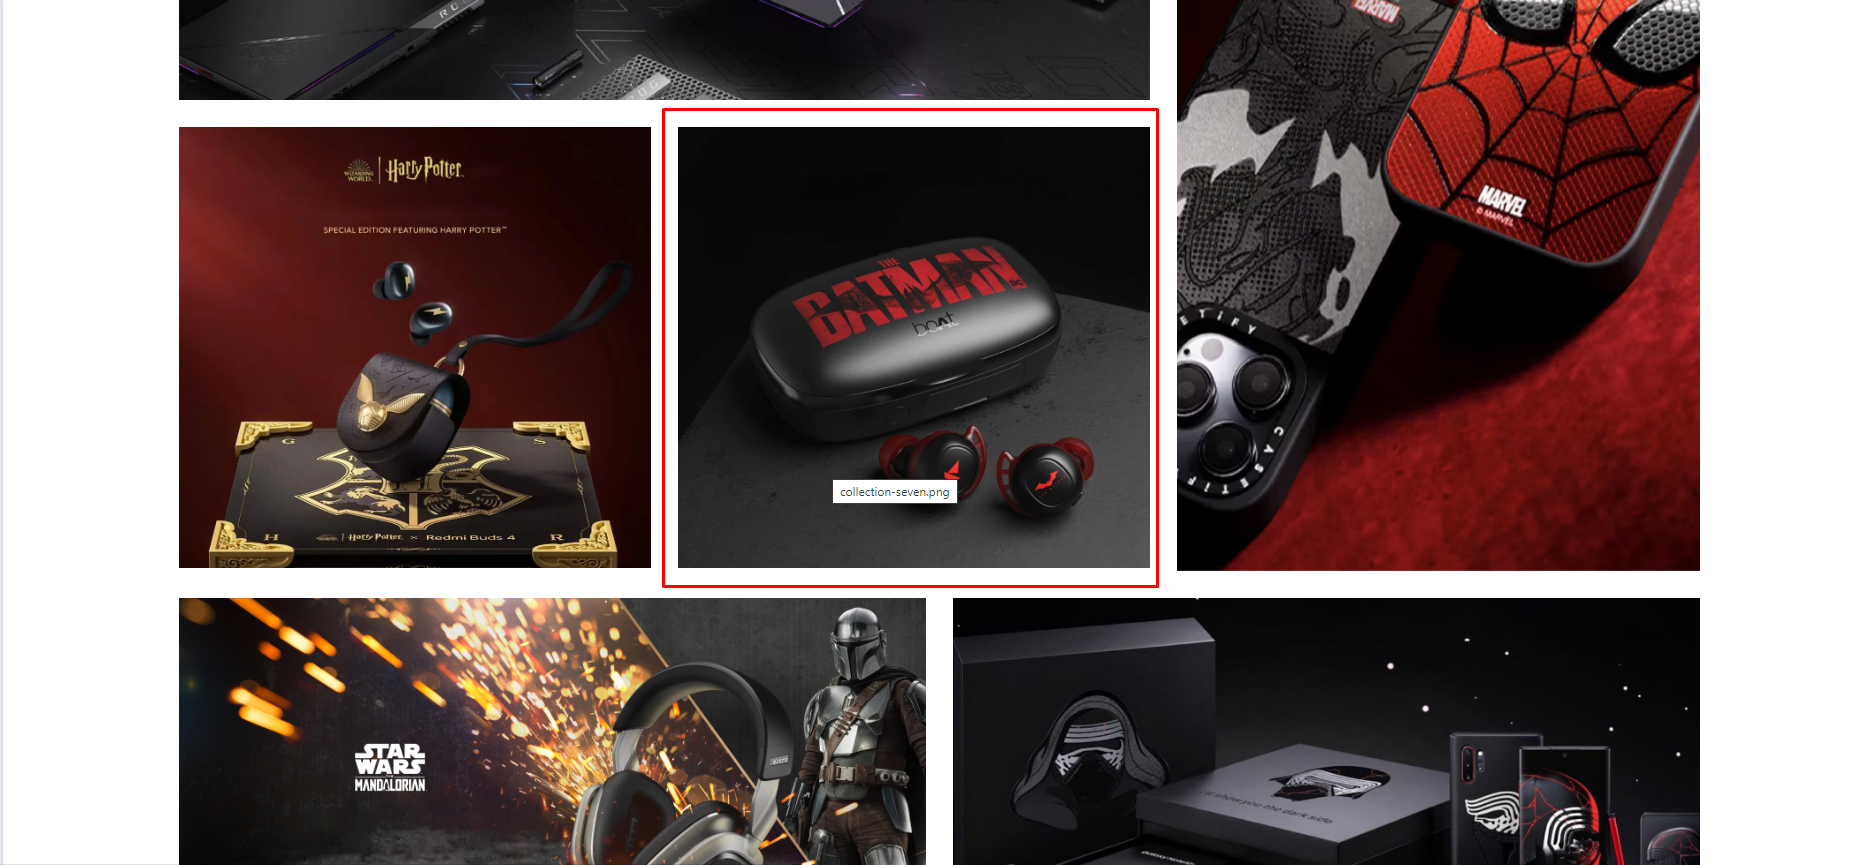
5. Shop by Collection

Show collection: If checked, it will appear as a Shop by Collection. if unchecked then the Shop by Collection will not appear.
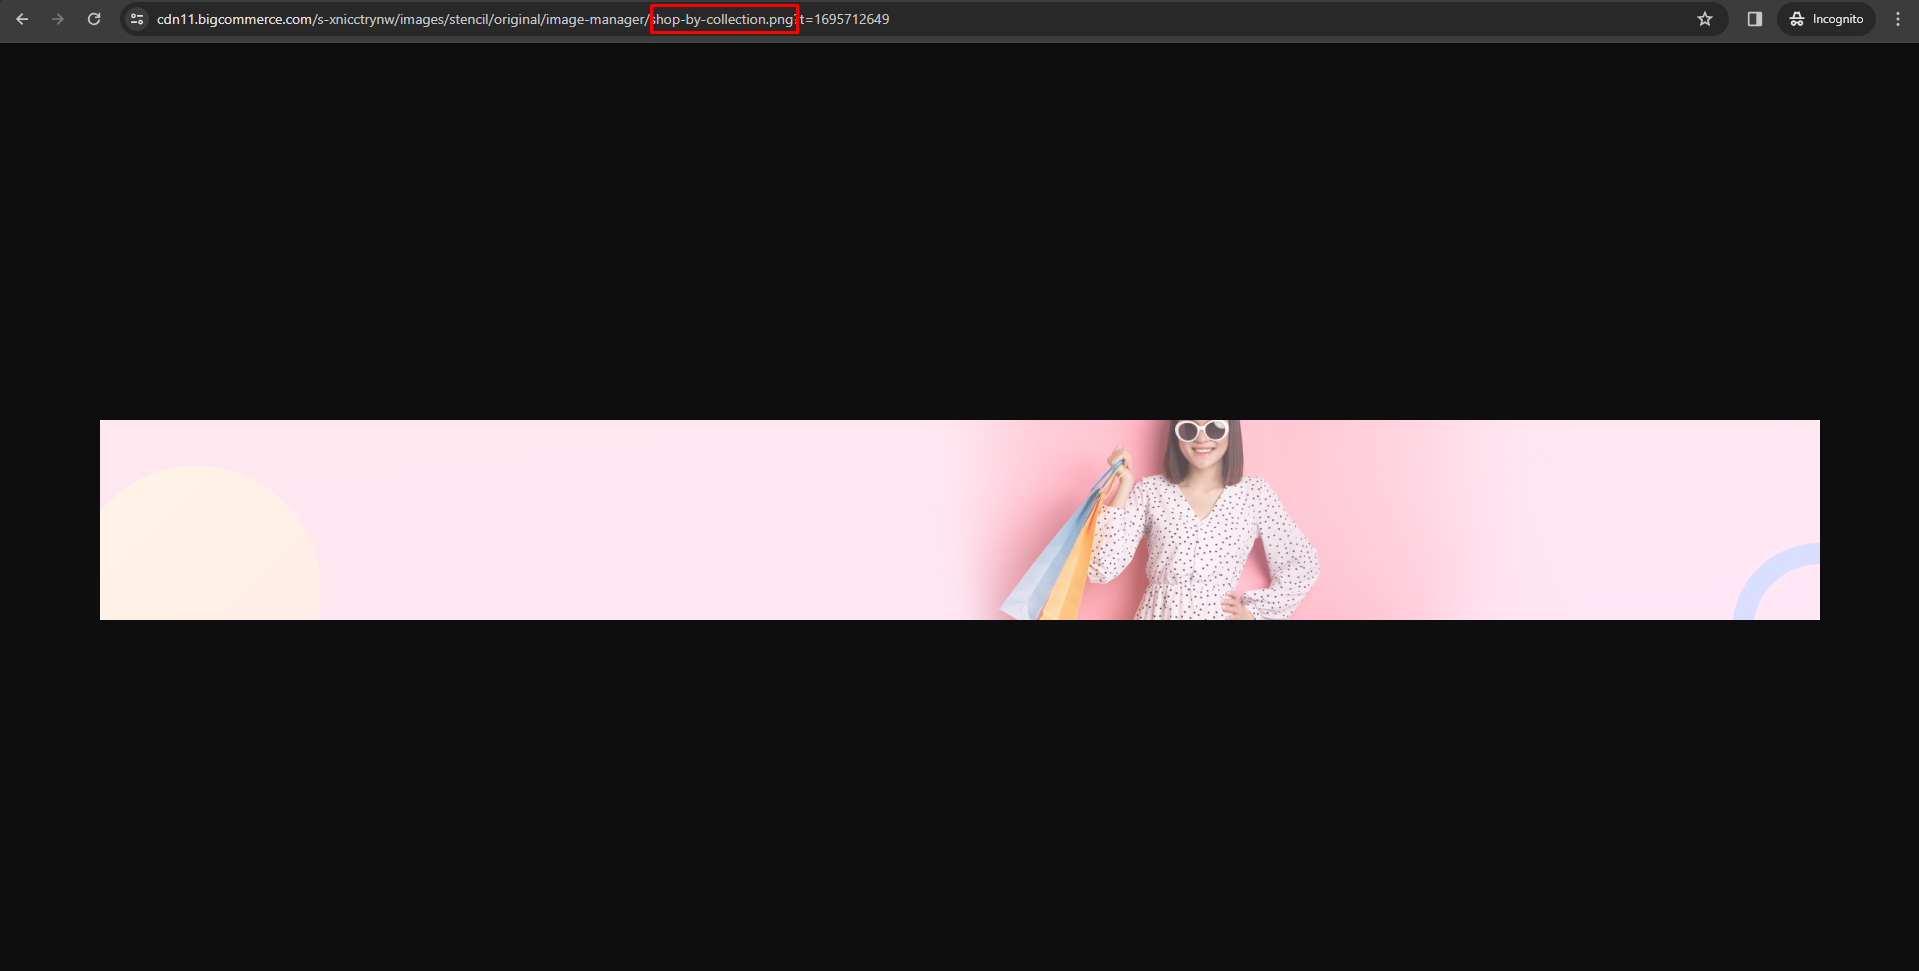
Shop by collection Image : First, you need to head over to "Storefront > Image Manager" and then upload your images here.
Then once uploaded, click "View Full Size" to open the image in a new tab and copy the image name to that image url.
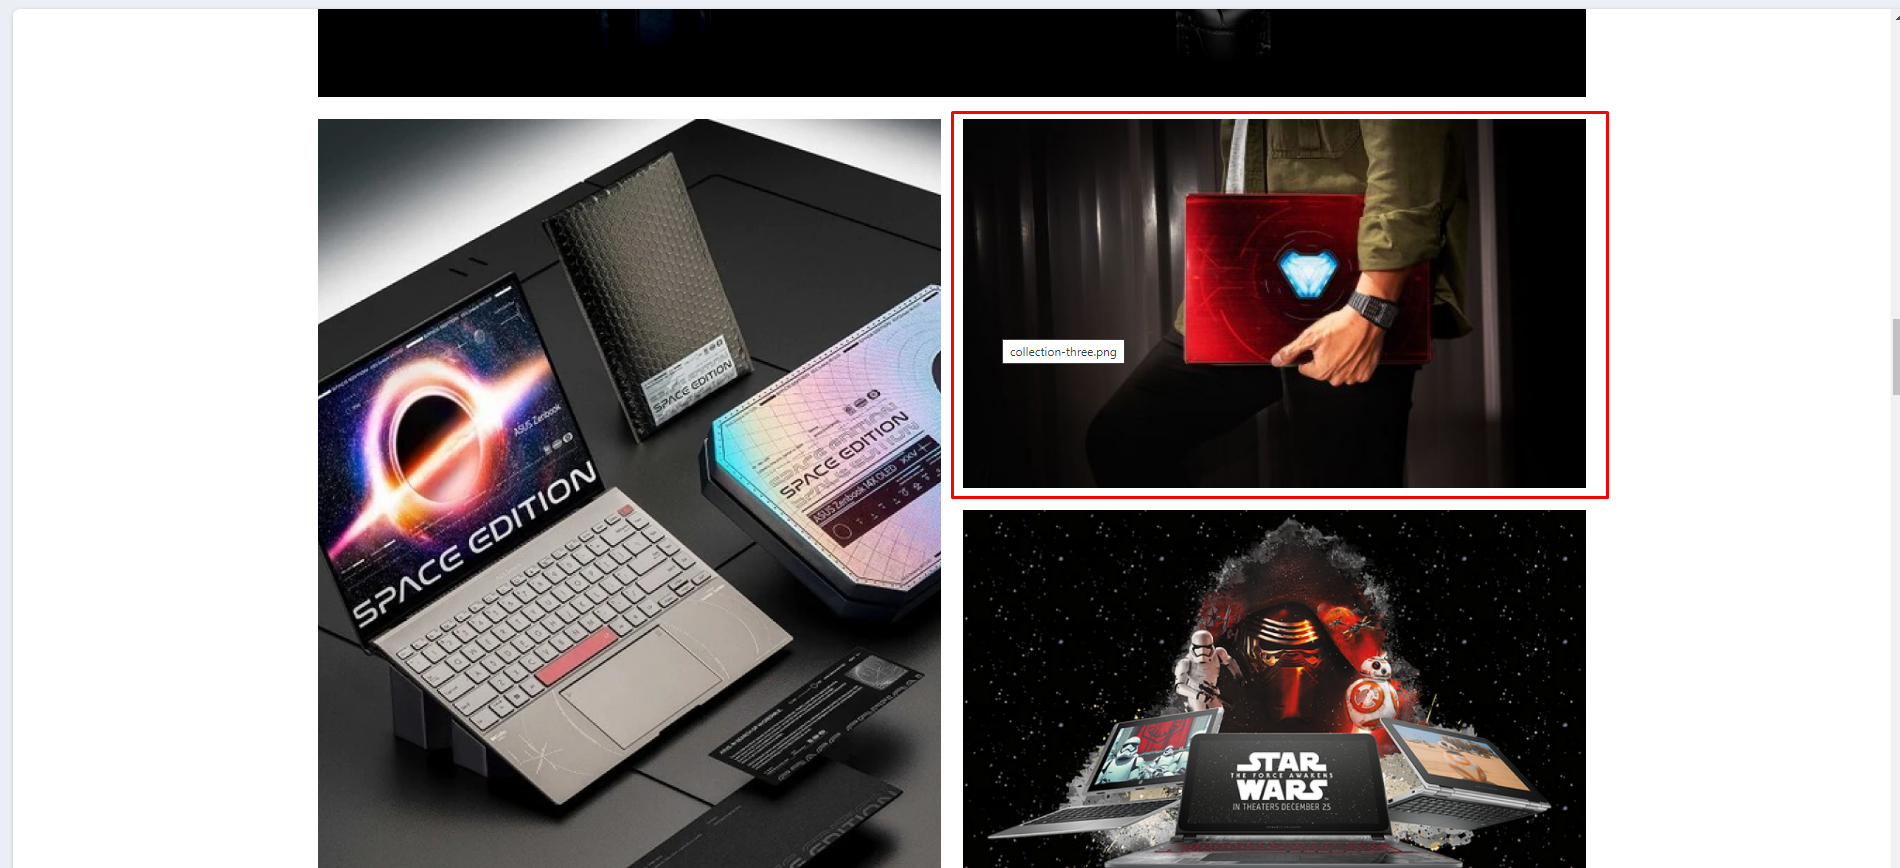
 Add sub-images:
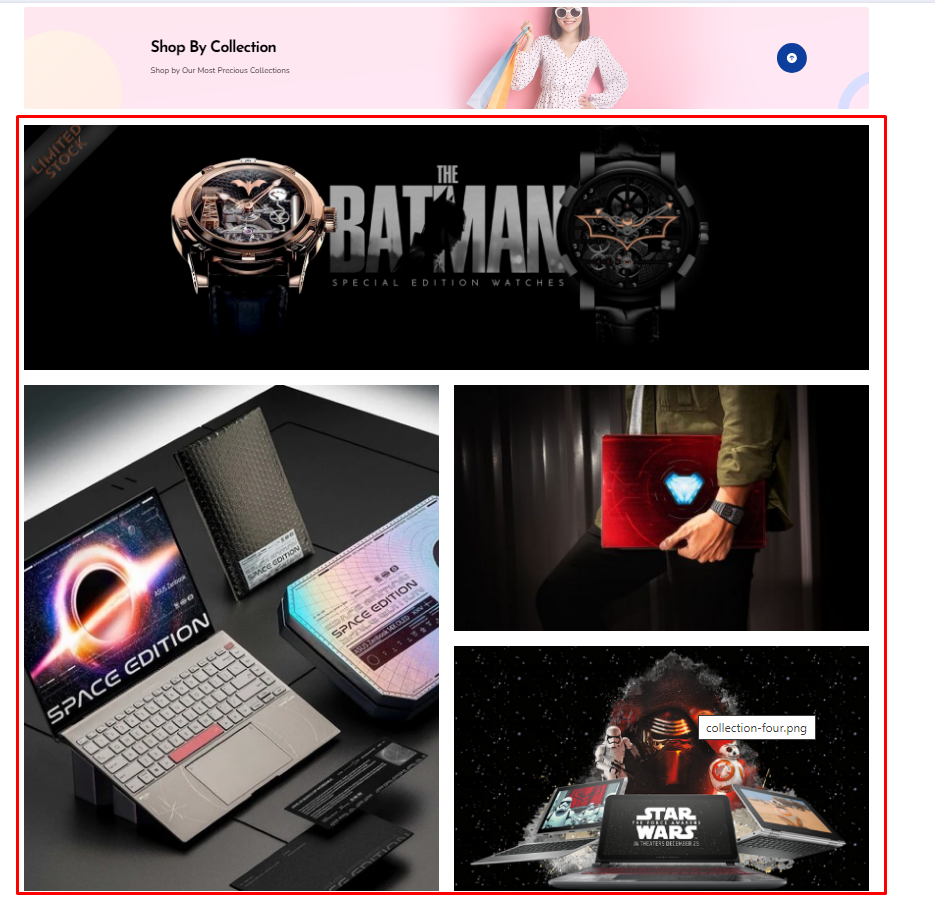
First, you need to head over to "Storefront > Image Manager" and then upload your images here.
Then once uploaded, click "View Full Size" to open the image in a new tab and copy the image name to that image URL.

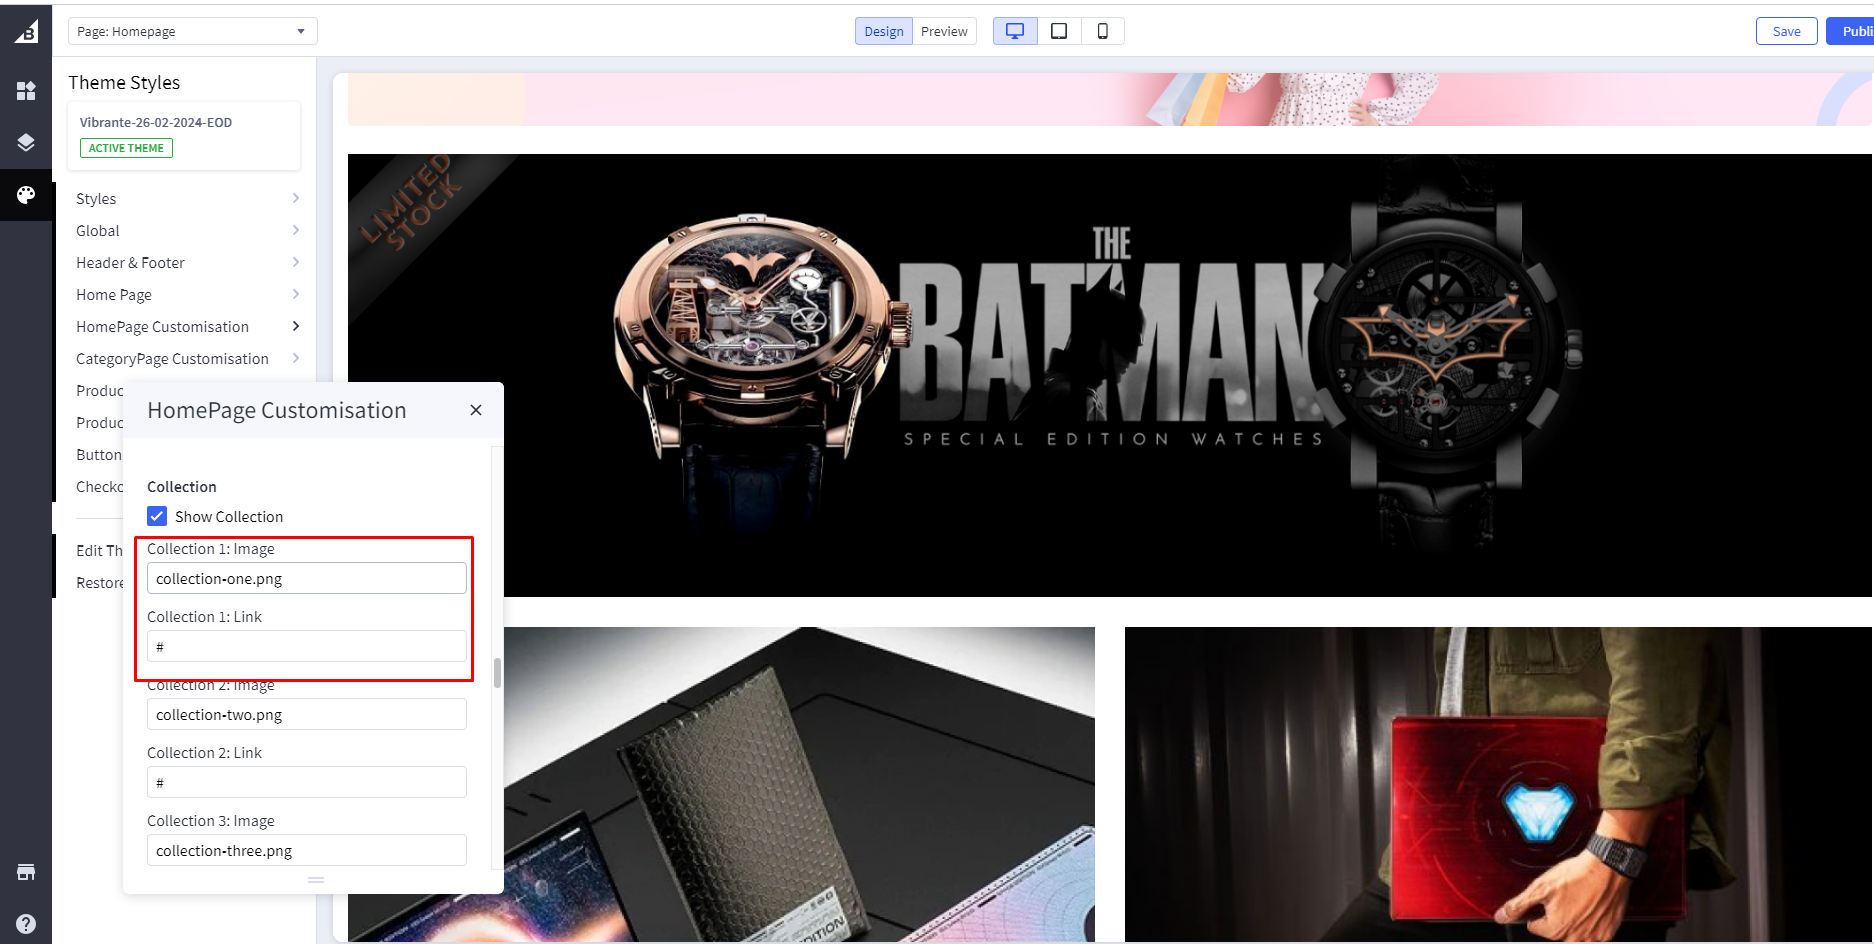
Add image name in the setting section
Image: Add image name in mobile image
Link: Add image Link
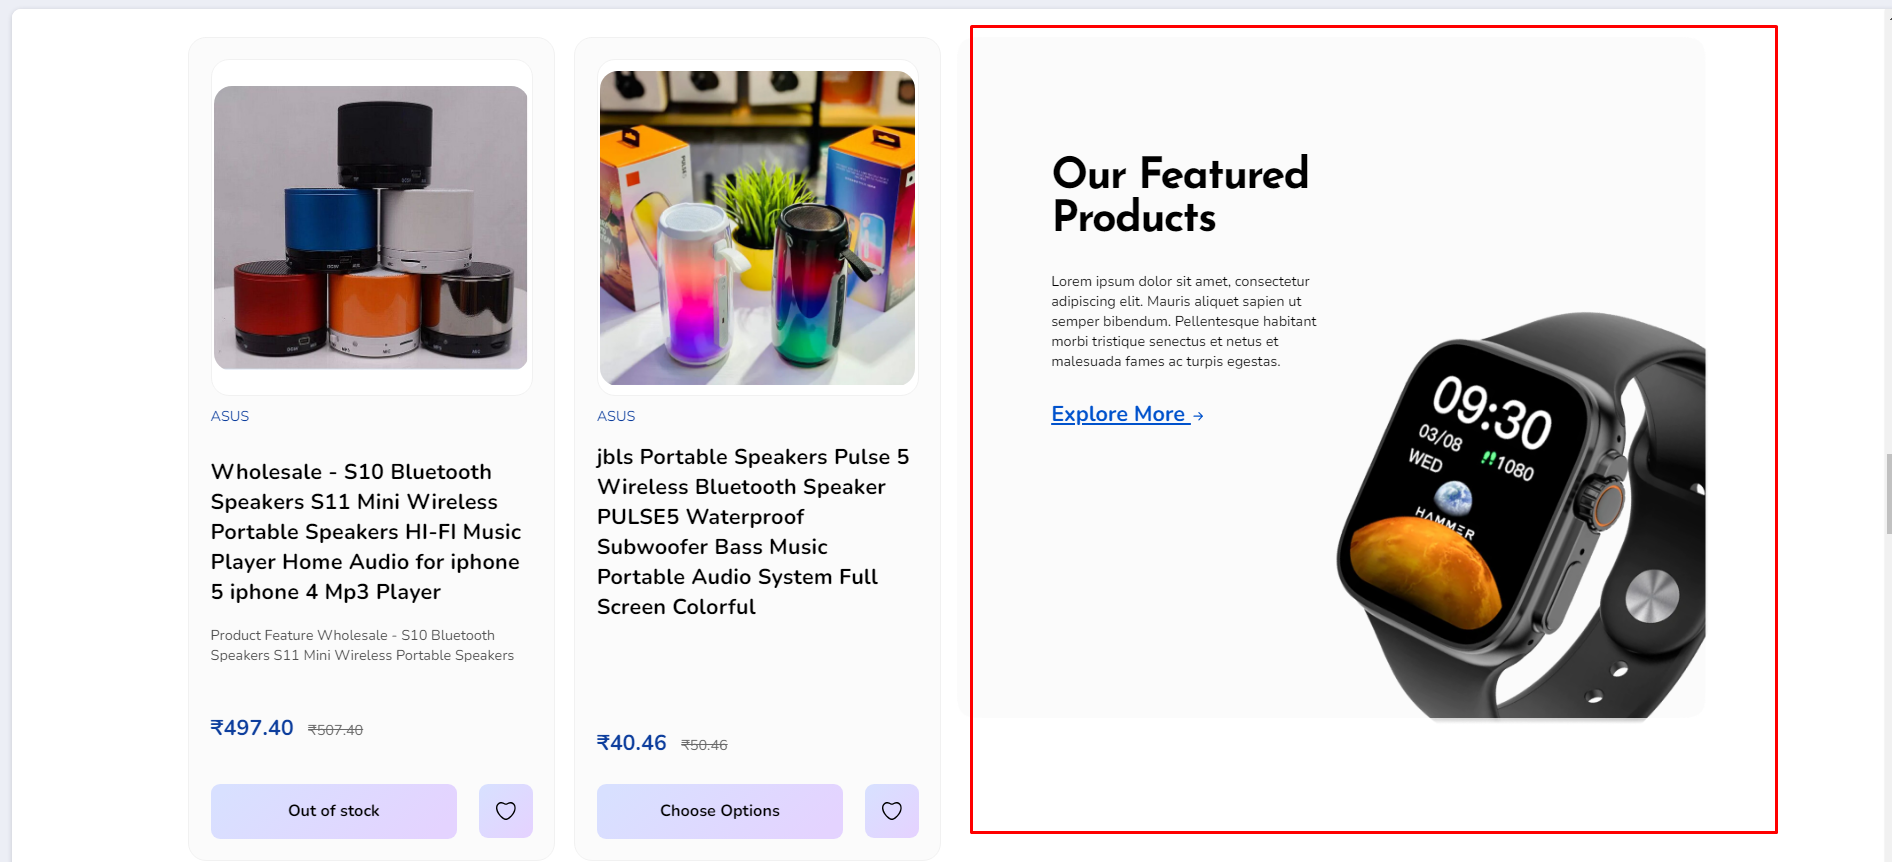
6. Most Popular/Feature Products
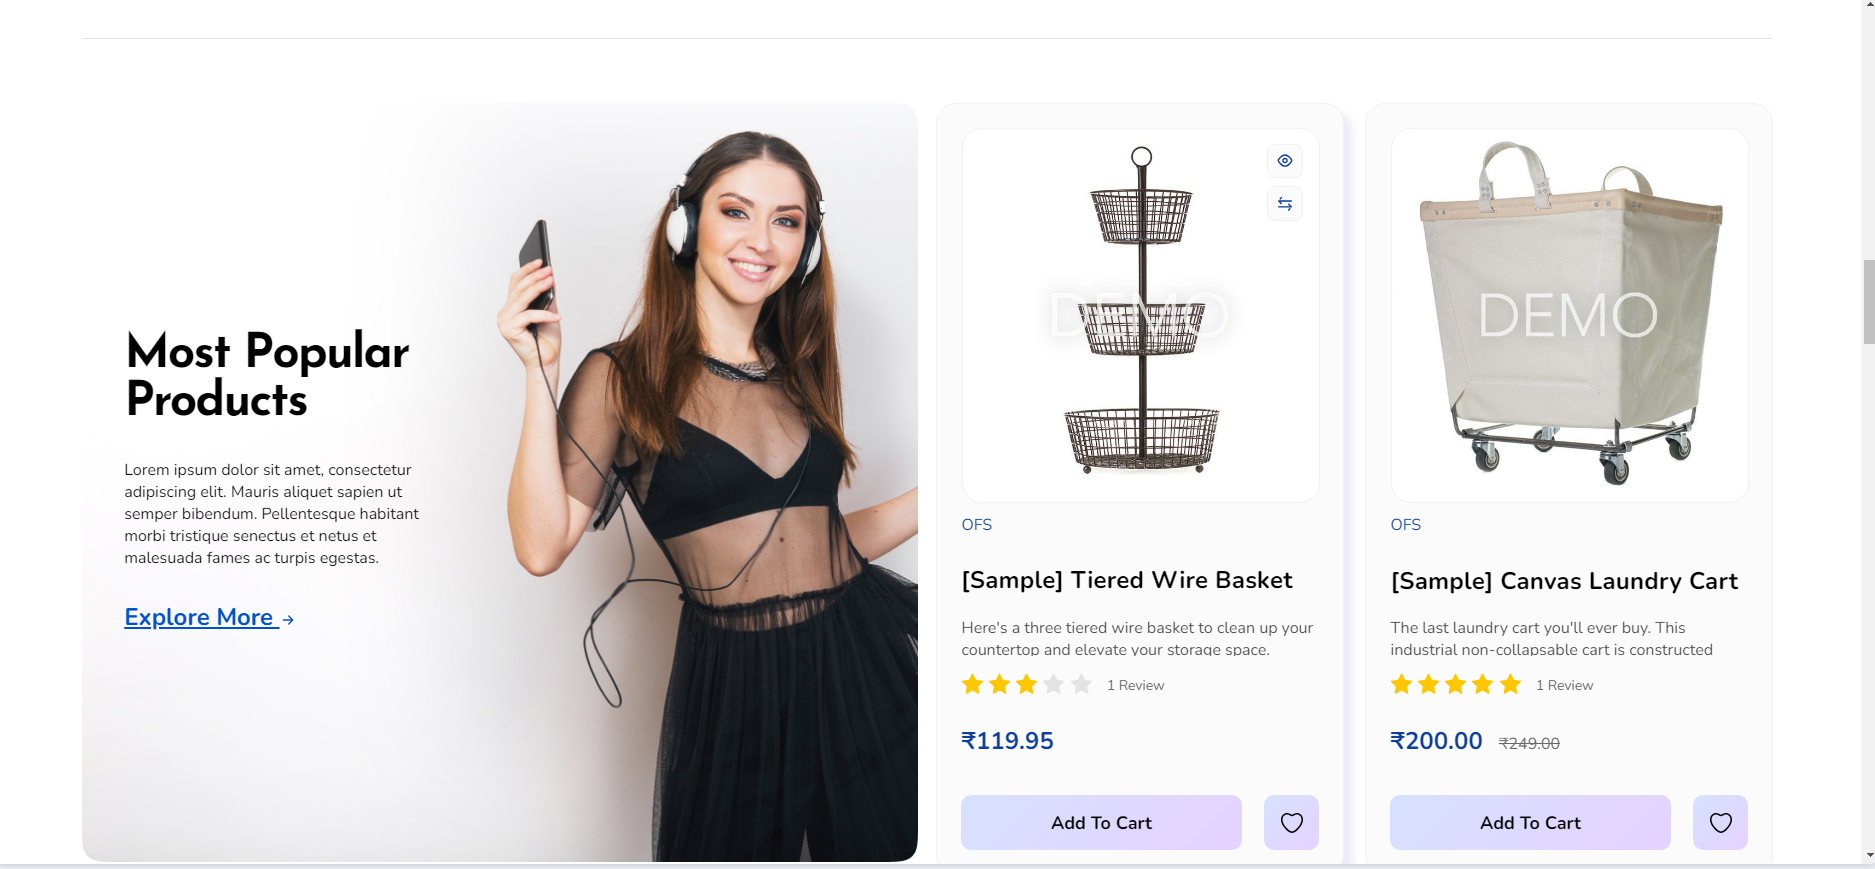
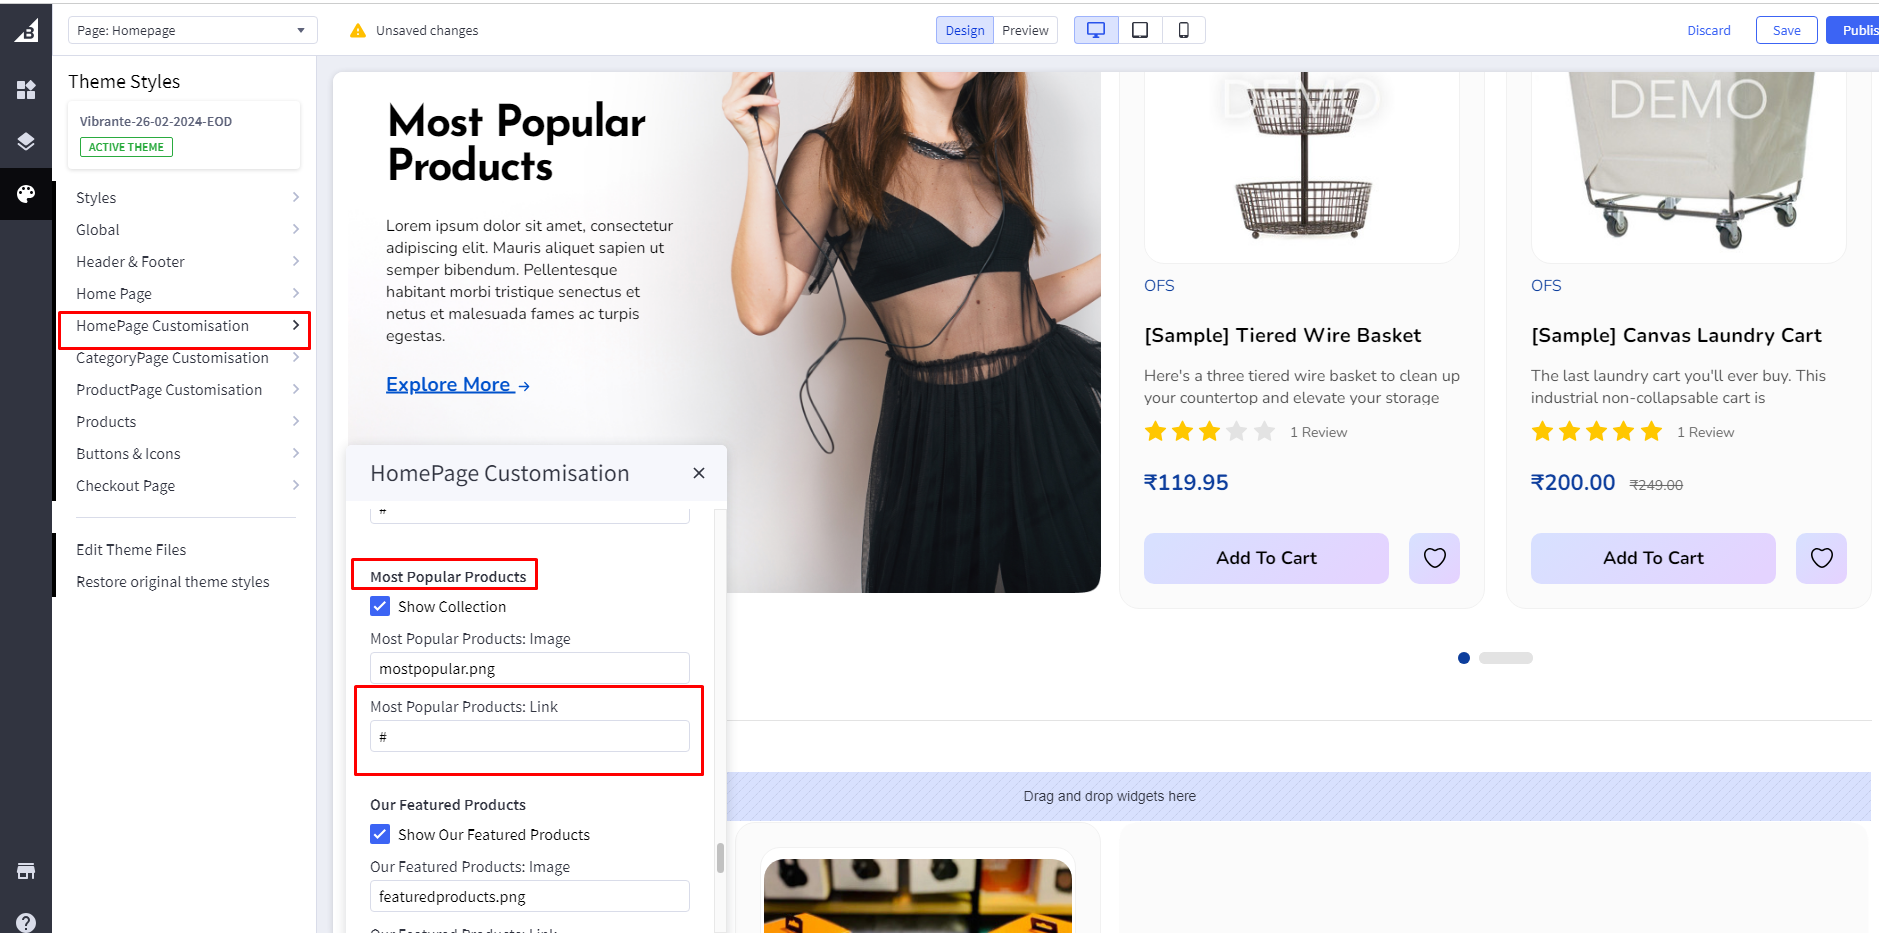
Most Popular Products Link: Add Explore Now Link
Most Popular Products Image: First, you need to head over to "Storefront > Image Manager" and then upload your images here.
Then once uploaded, click "View Full Size" to open the image in a new tab and copy the image name to that image url.
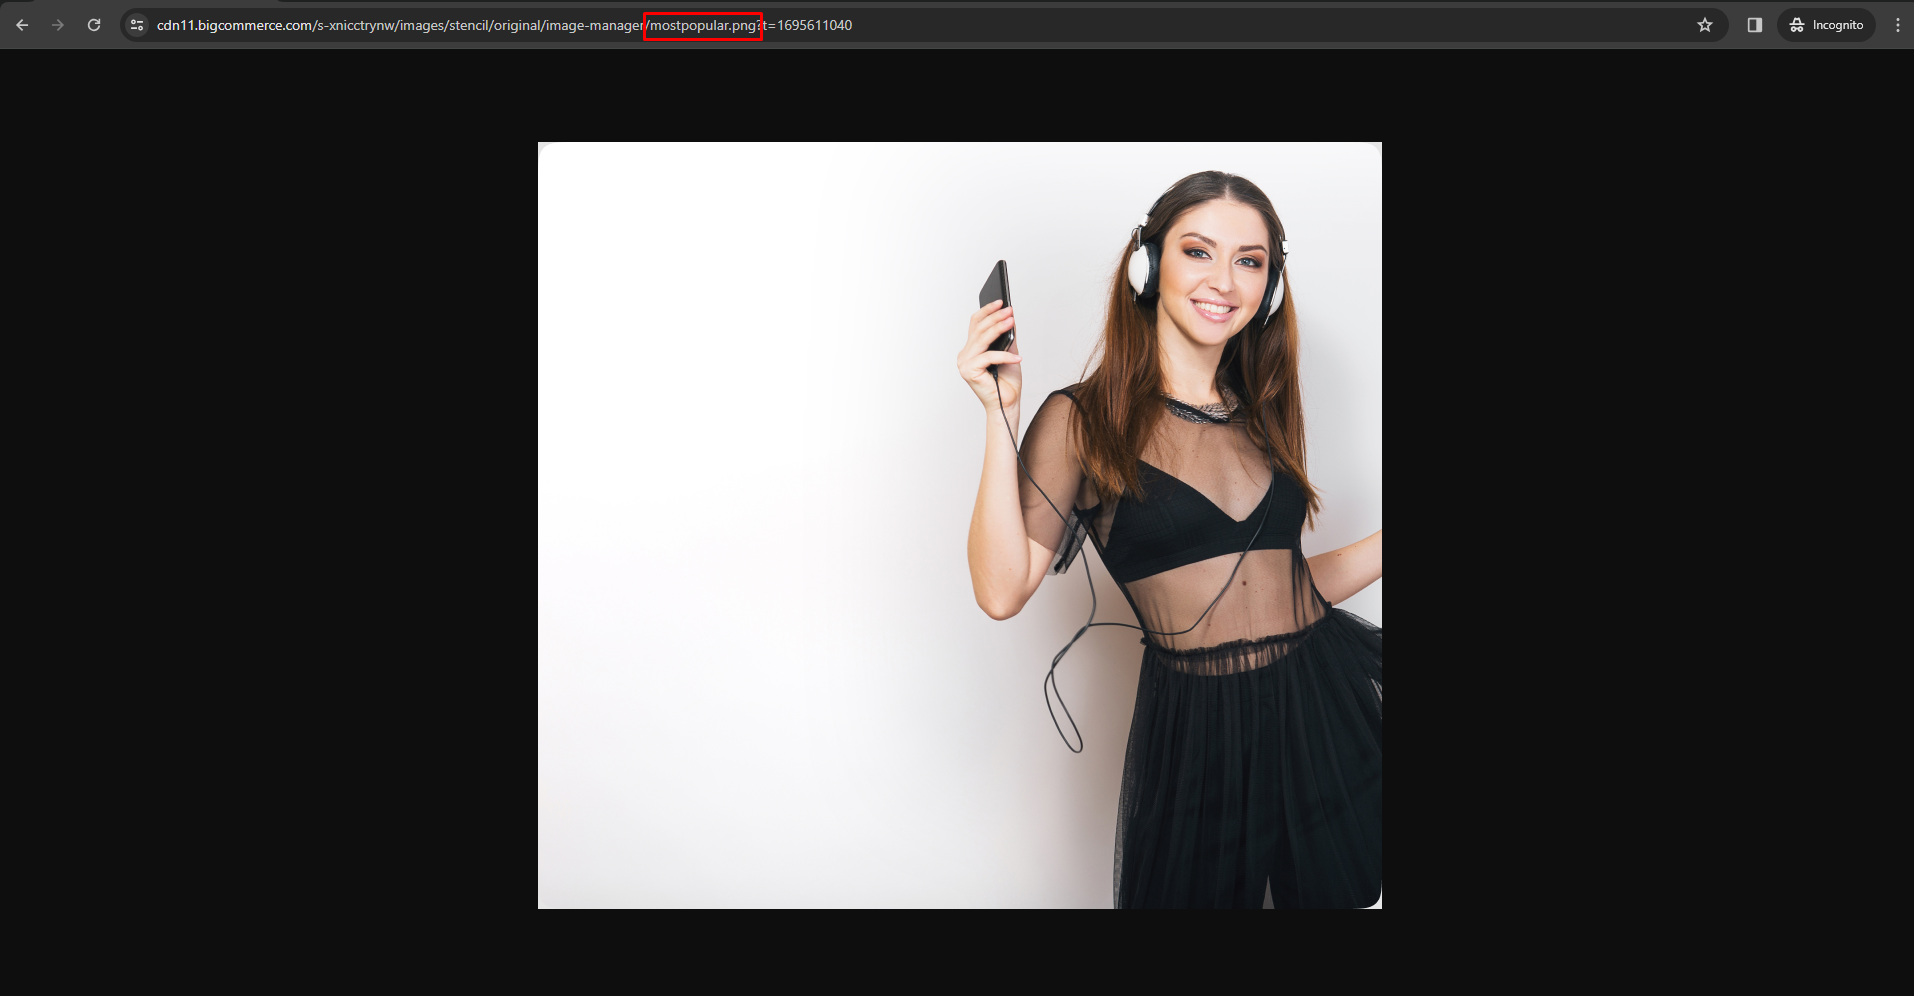
Most Popular Products Image : Add image name in Most Popular product

Most Popular Products: You can add Top Product in the Most Popular section as per default bigcommerce feature.
7. New Arrivals
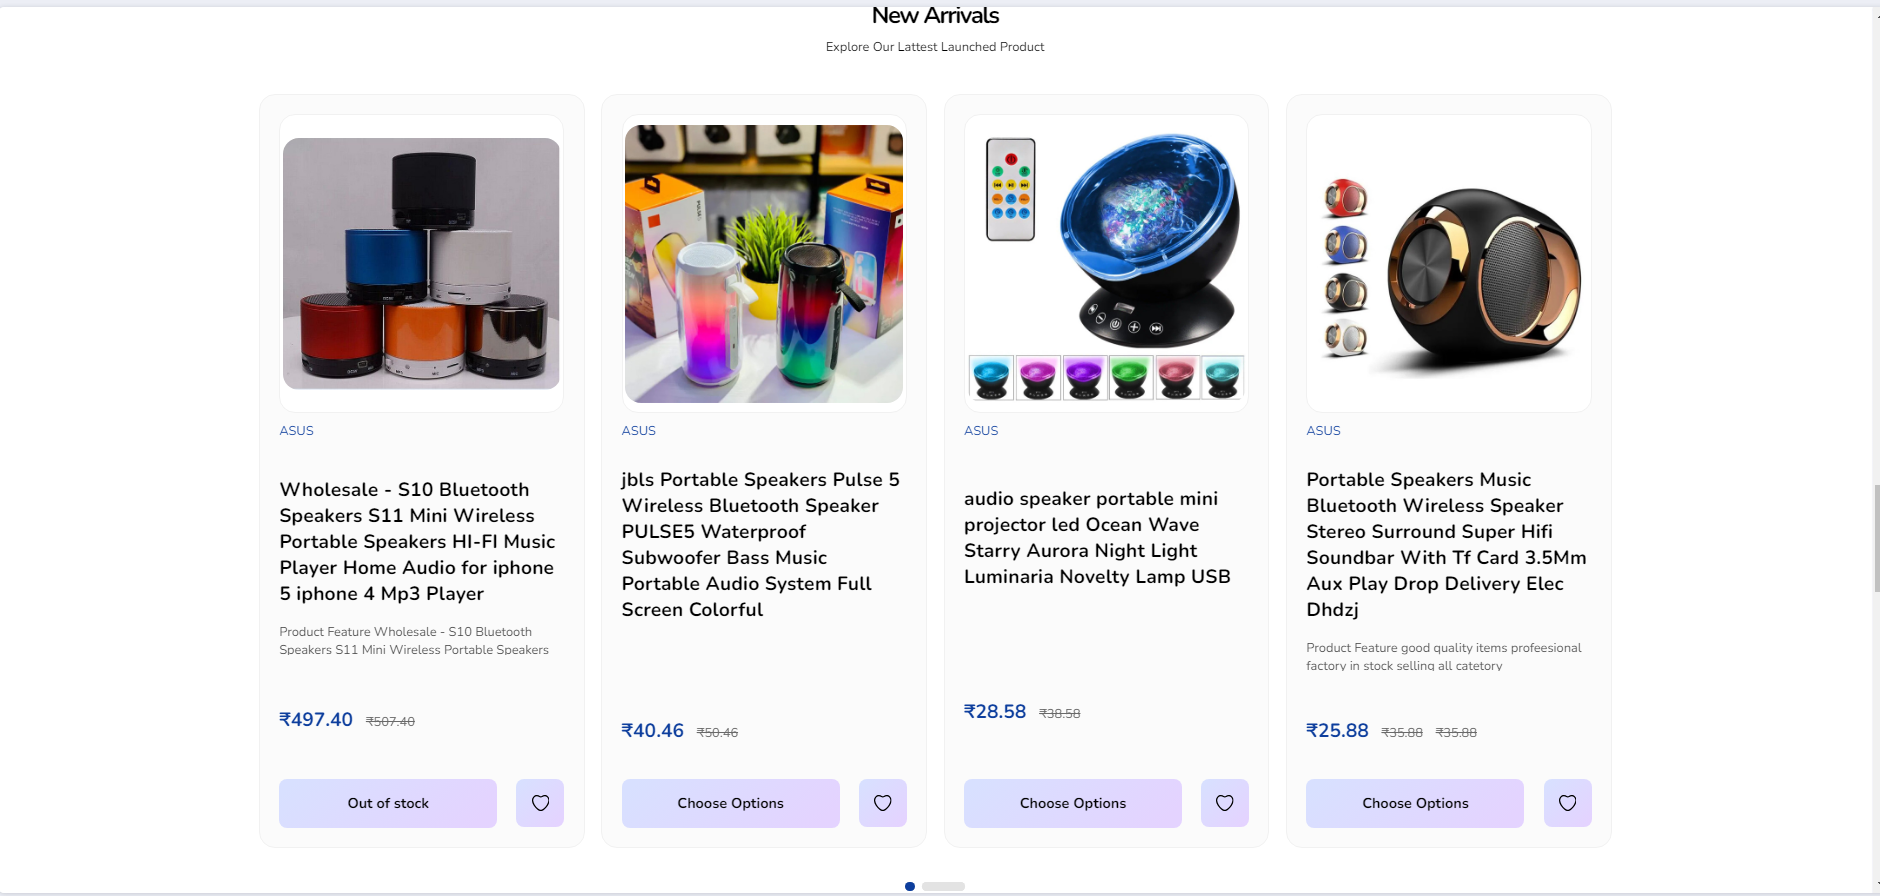
You can add New products in the New Arrivals section as per the default big commerce feature.

Show New Arrivals: If checked, it will appear as a New Arrivals. if unchecked then the New Arrivals will not appear.
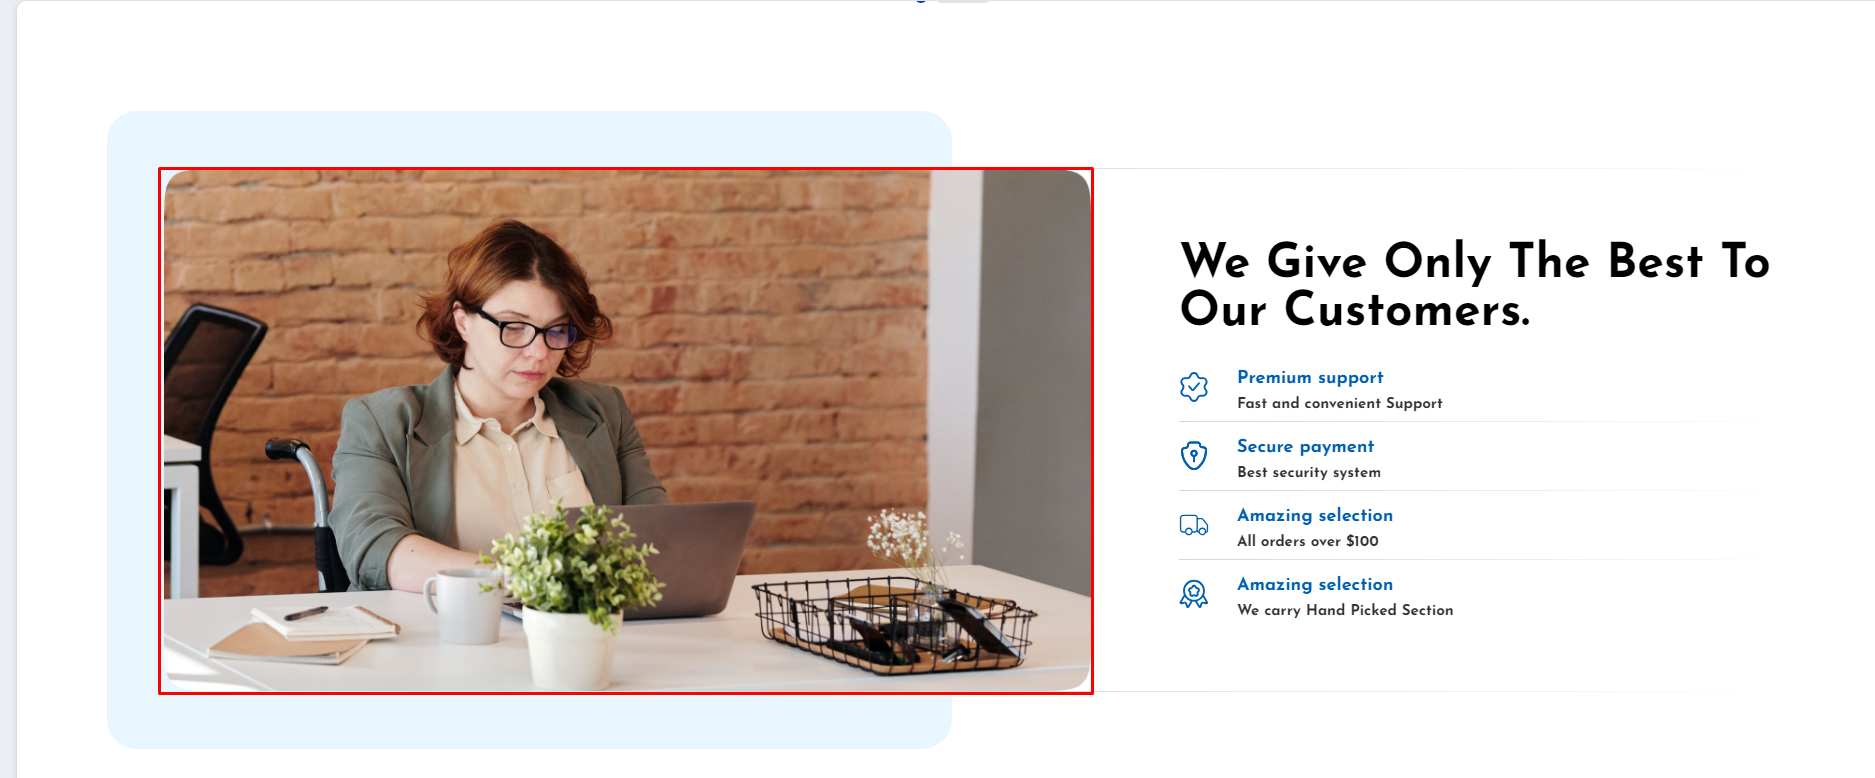
8. USP Section
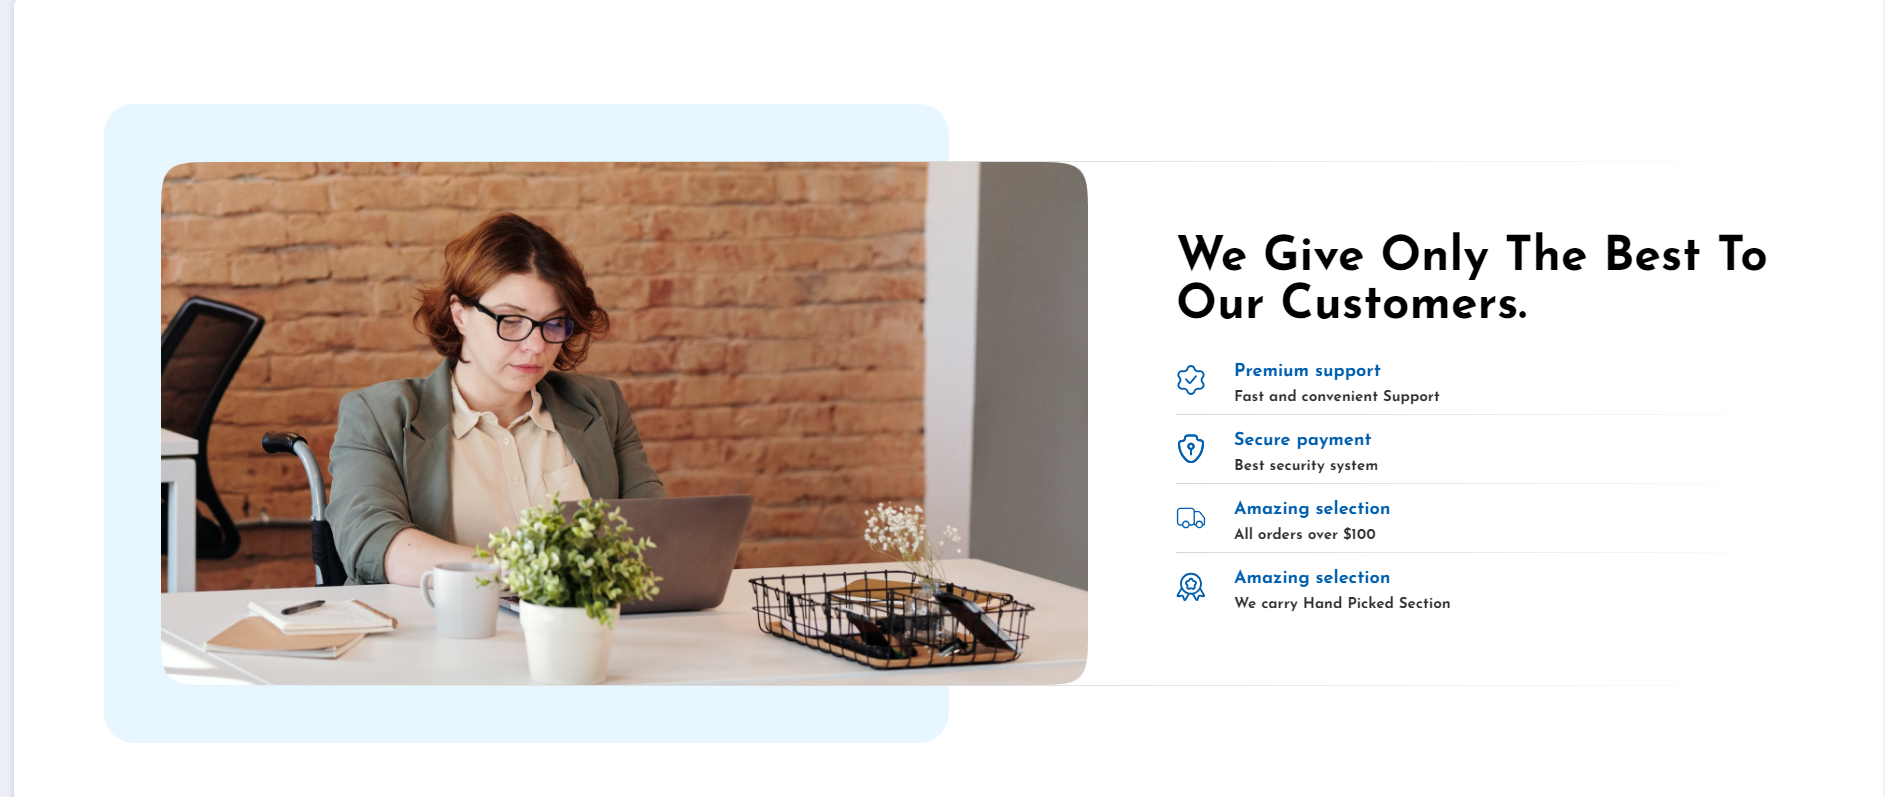
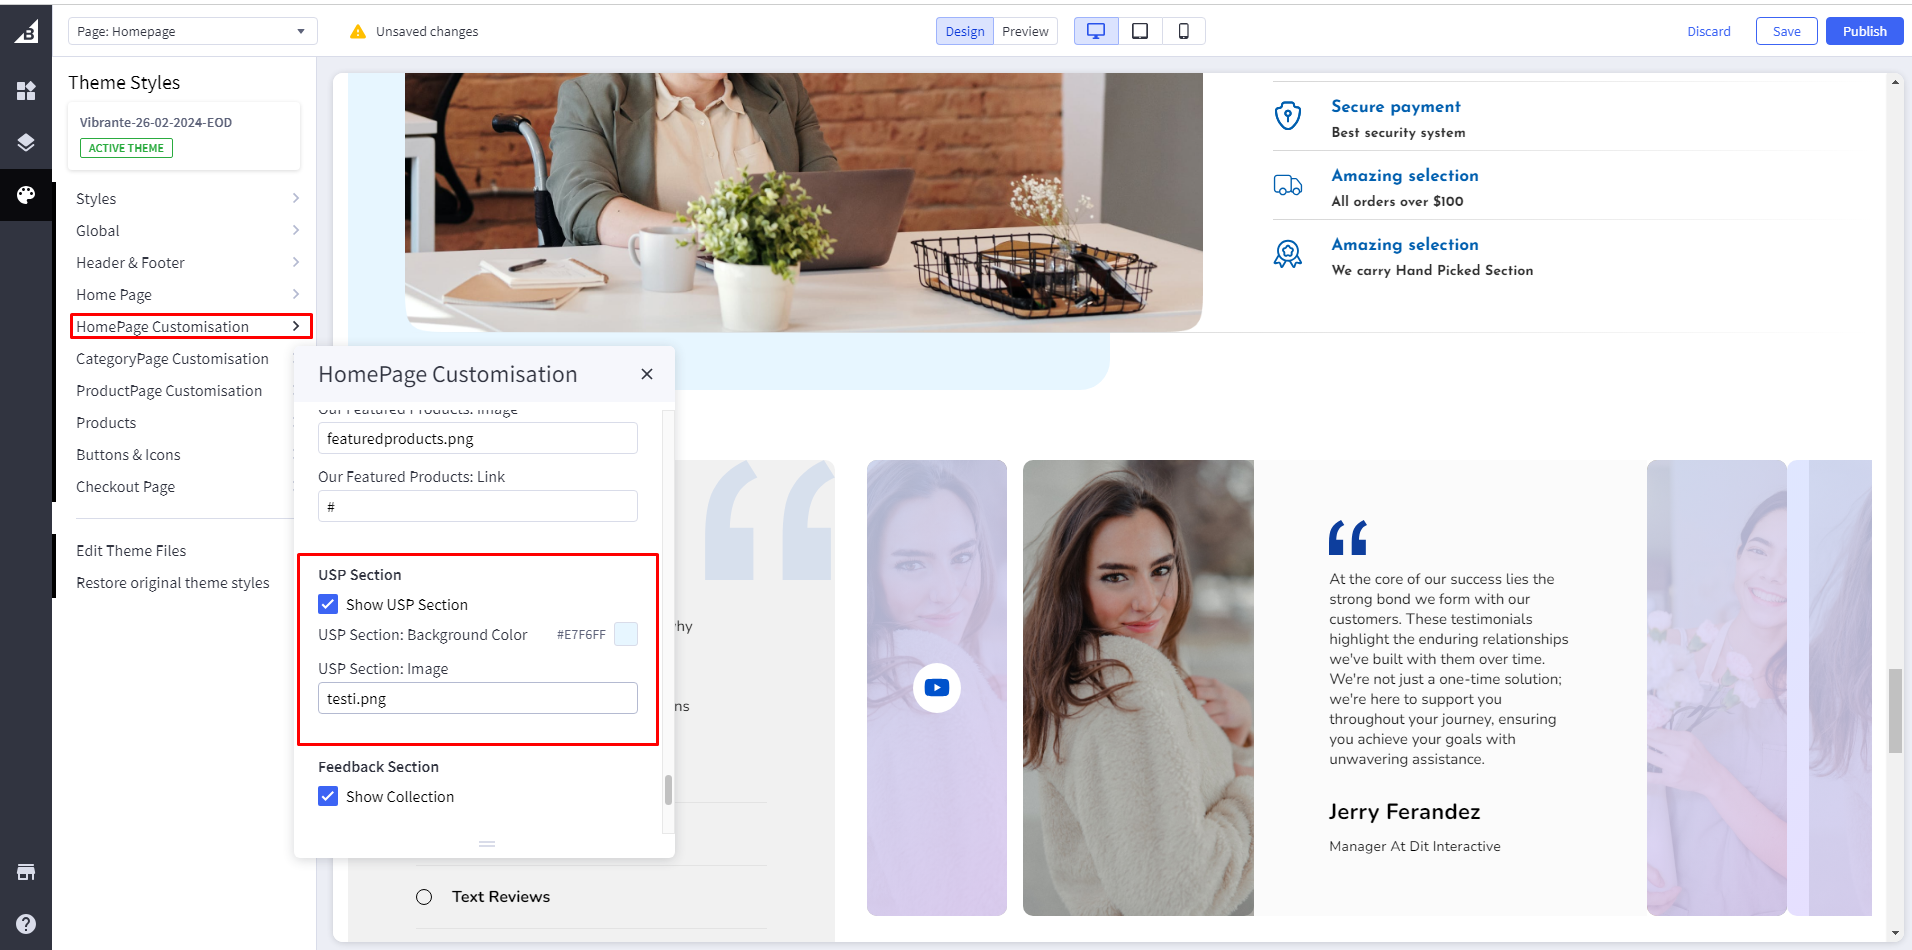
Show USP section: If checked, it will appear as a USP Section. if unchecked then the USP Section will not appear.
USP Section Background Color: Add color code in USP Section background
USP Section Image: First, you need to head over to "Storefront > Image Manager" and then upload your images here.
Then once uploaded, click "View Full Size" to open the image in a new tab and copy the image name to that image url.
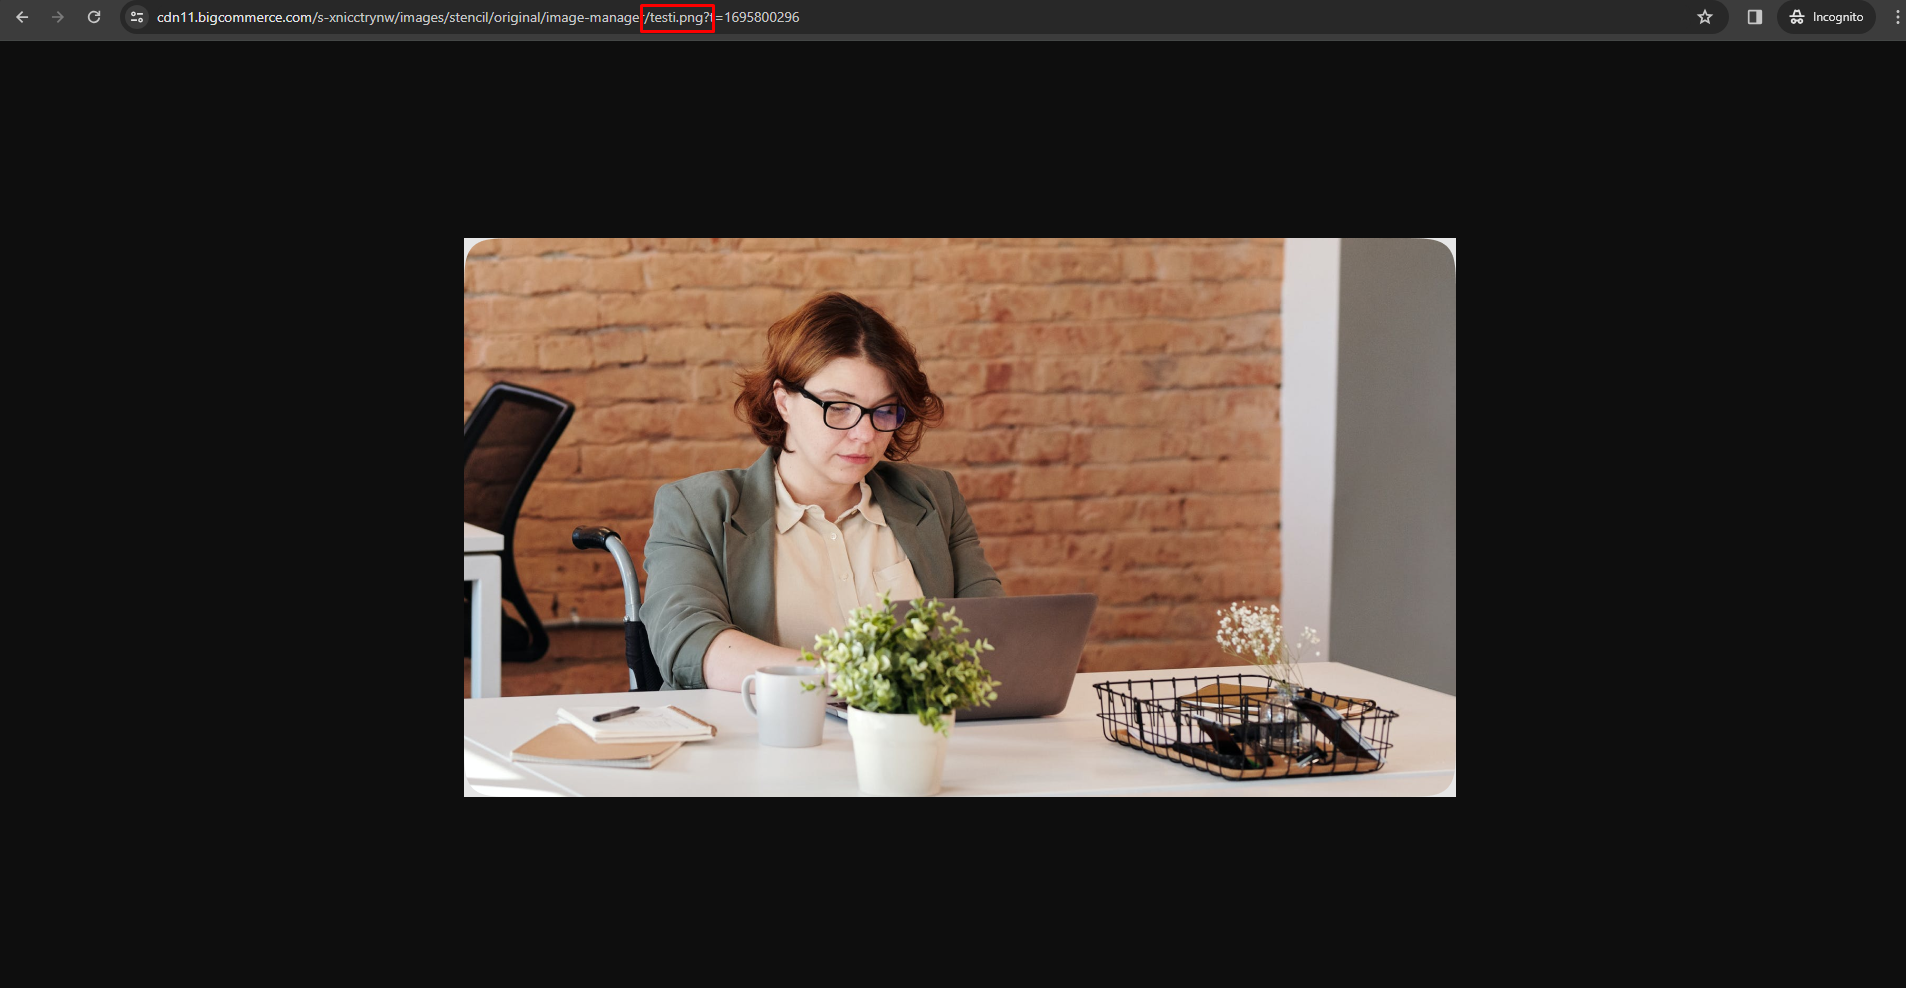
Usp Section Image : Add image name in USP Section image
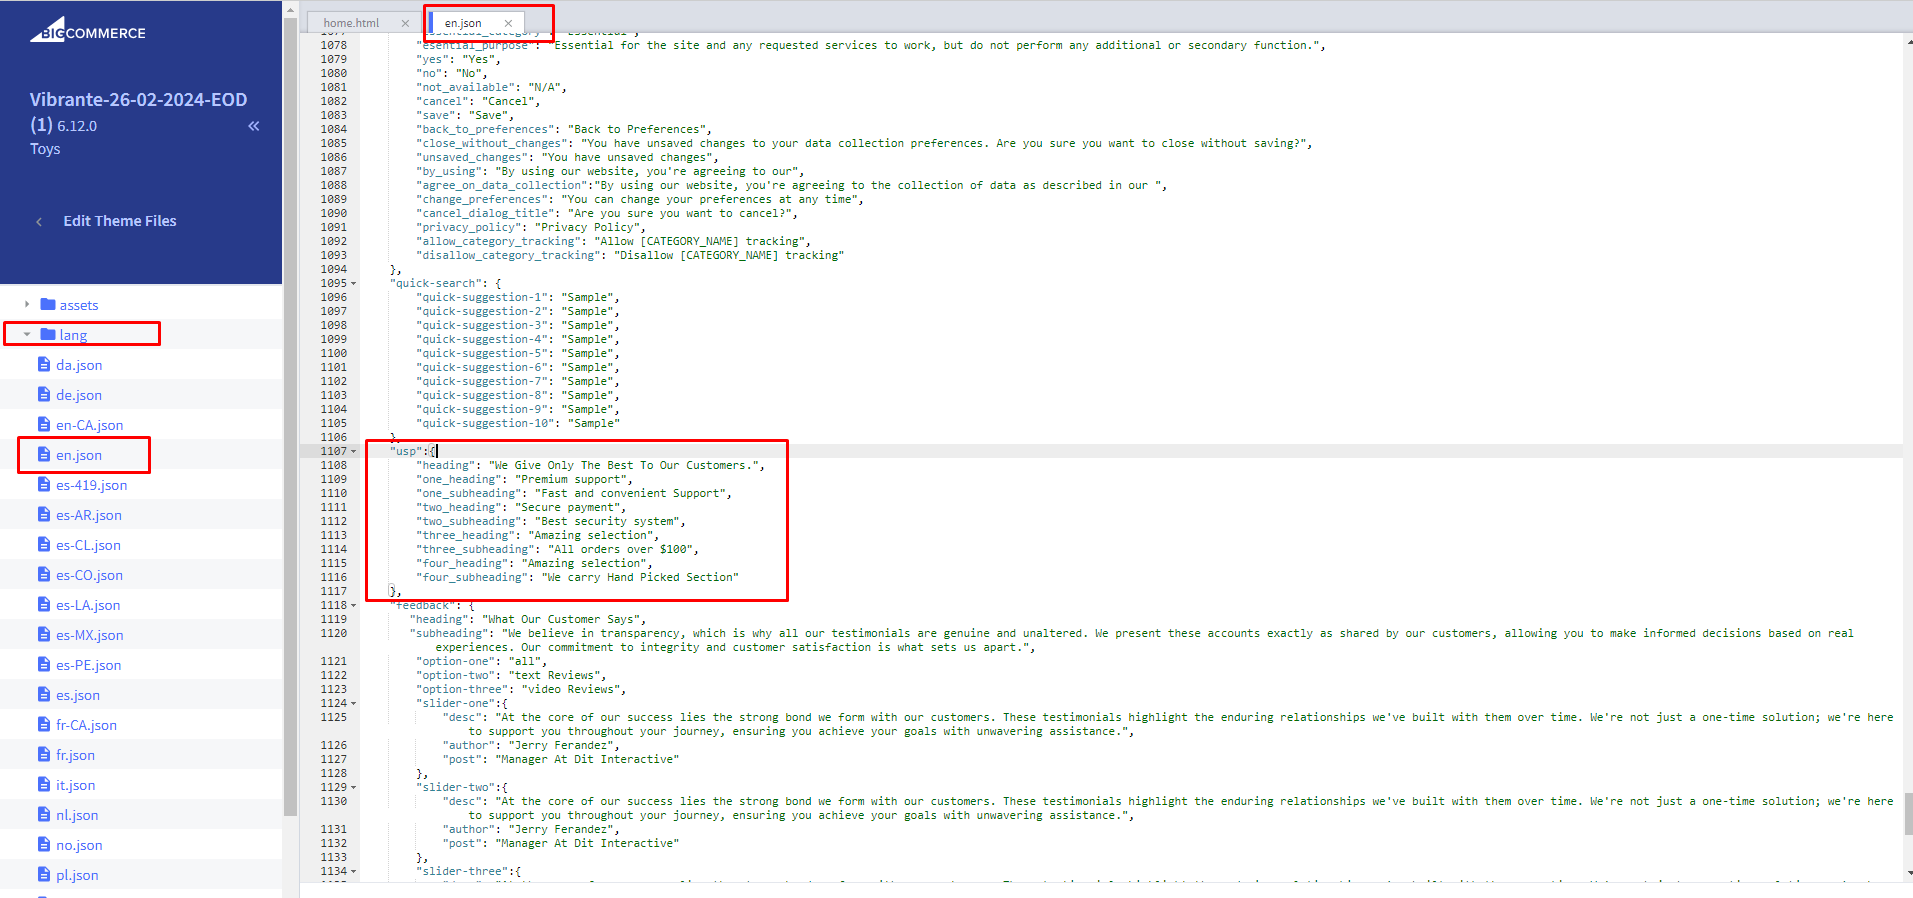
Manage USP Section text: For text change Go to channels > Themes > Advanced > Edit Theme Files > lang > en.json and update text
9. Feedback Section
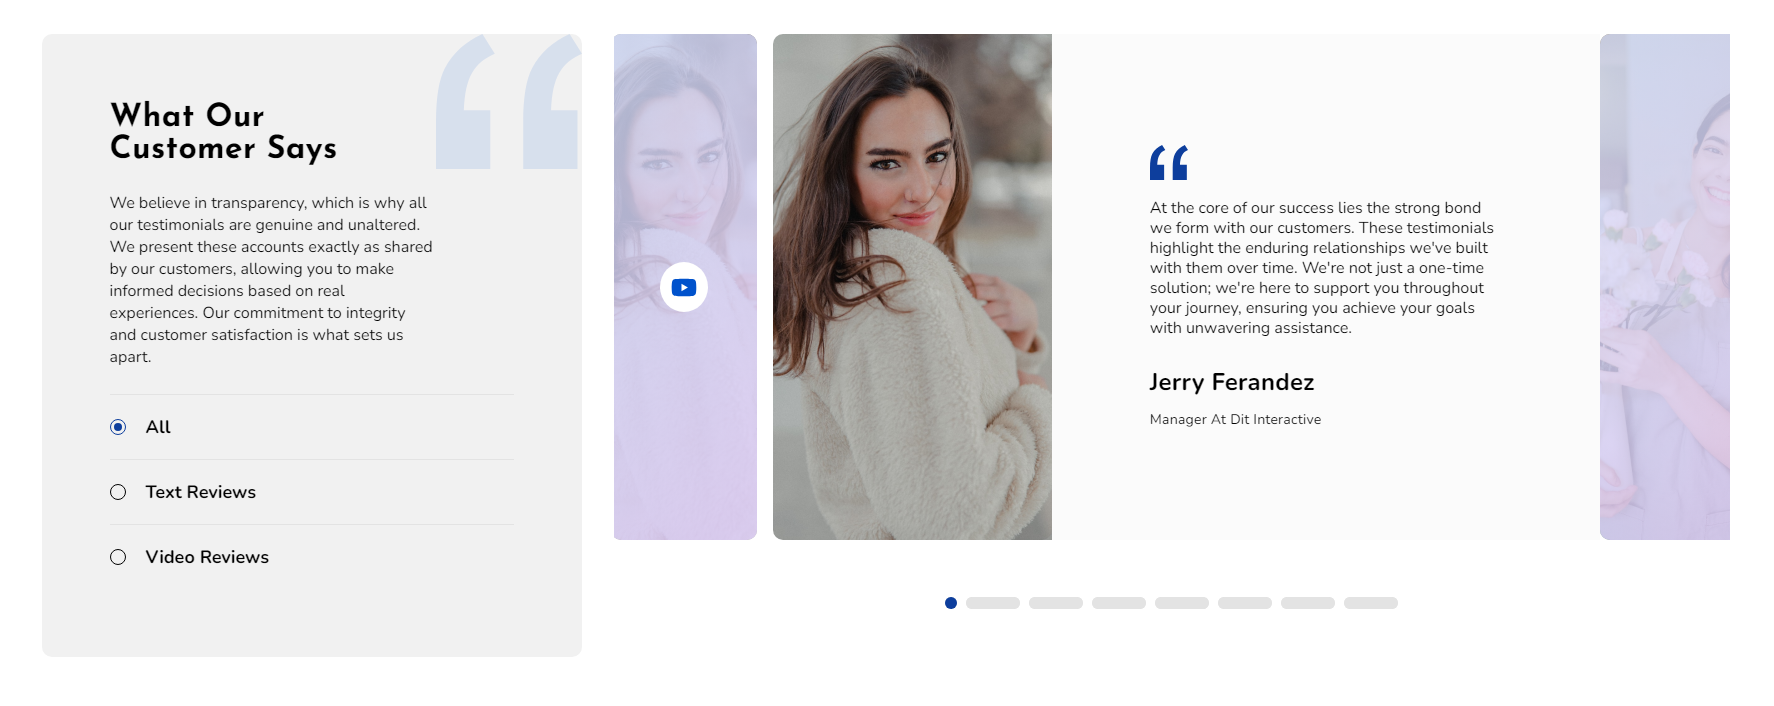
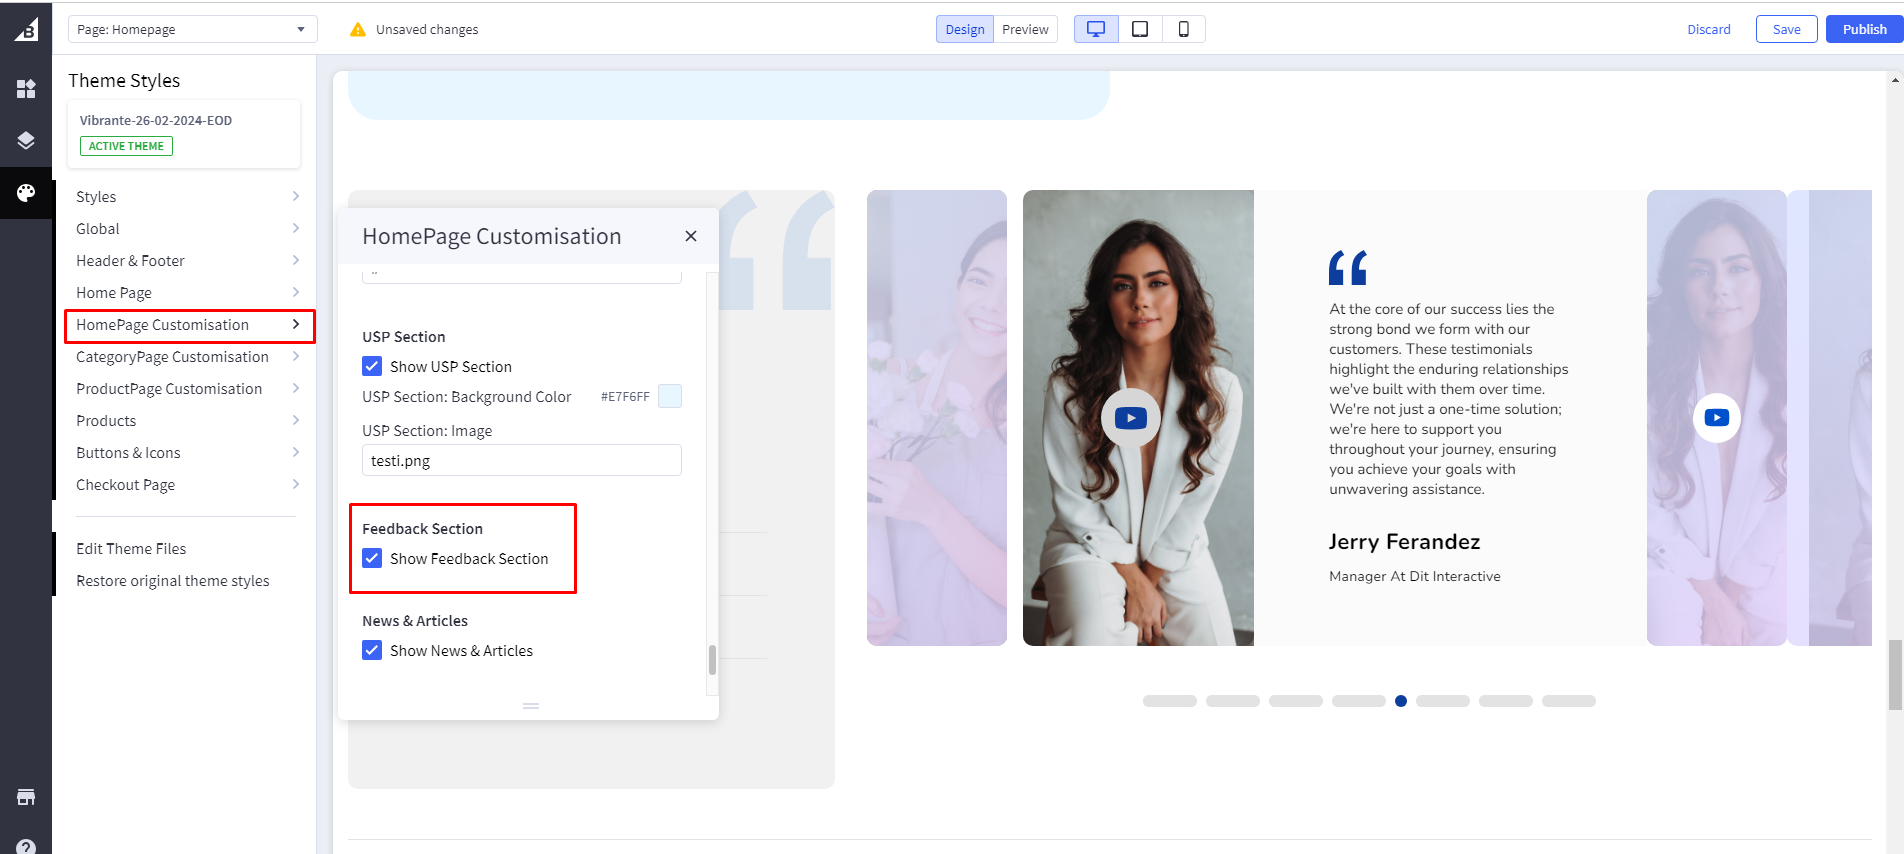
Show Feedback section: If checked, it will appear as a Feedback Section. if unchecked then the Feedback Section will not appear
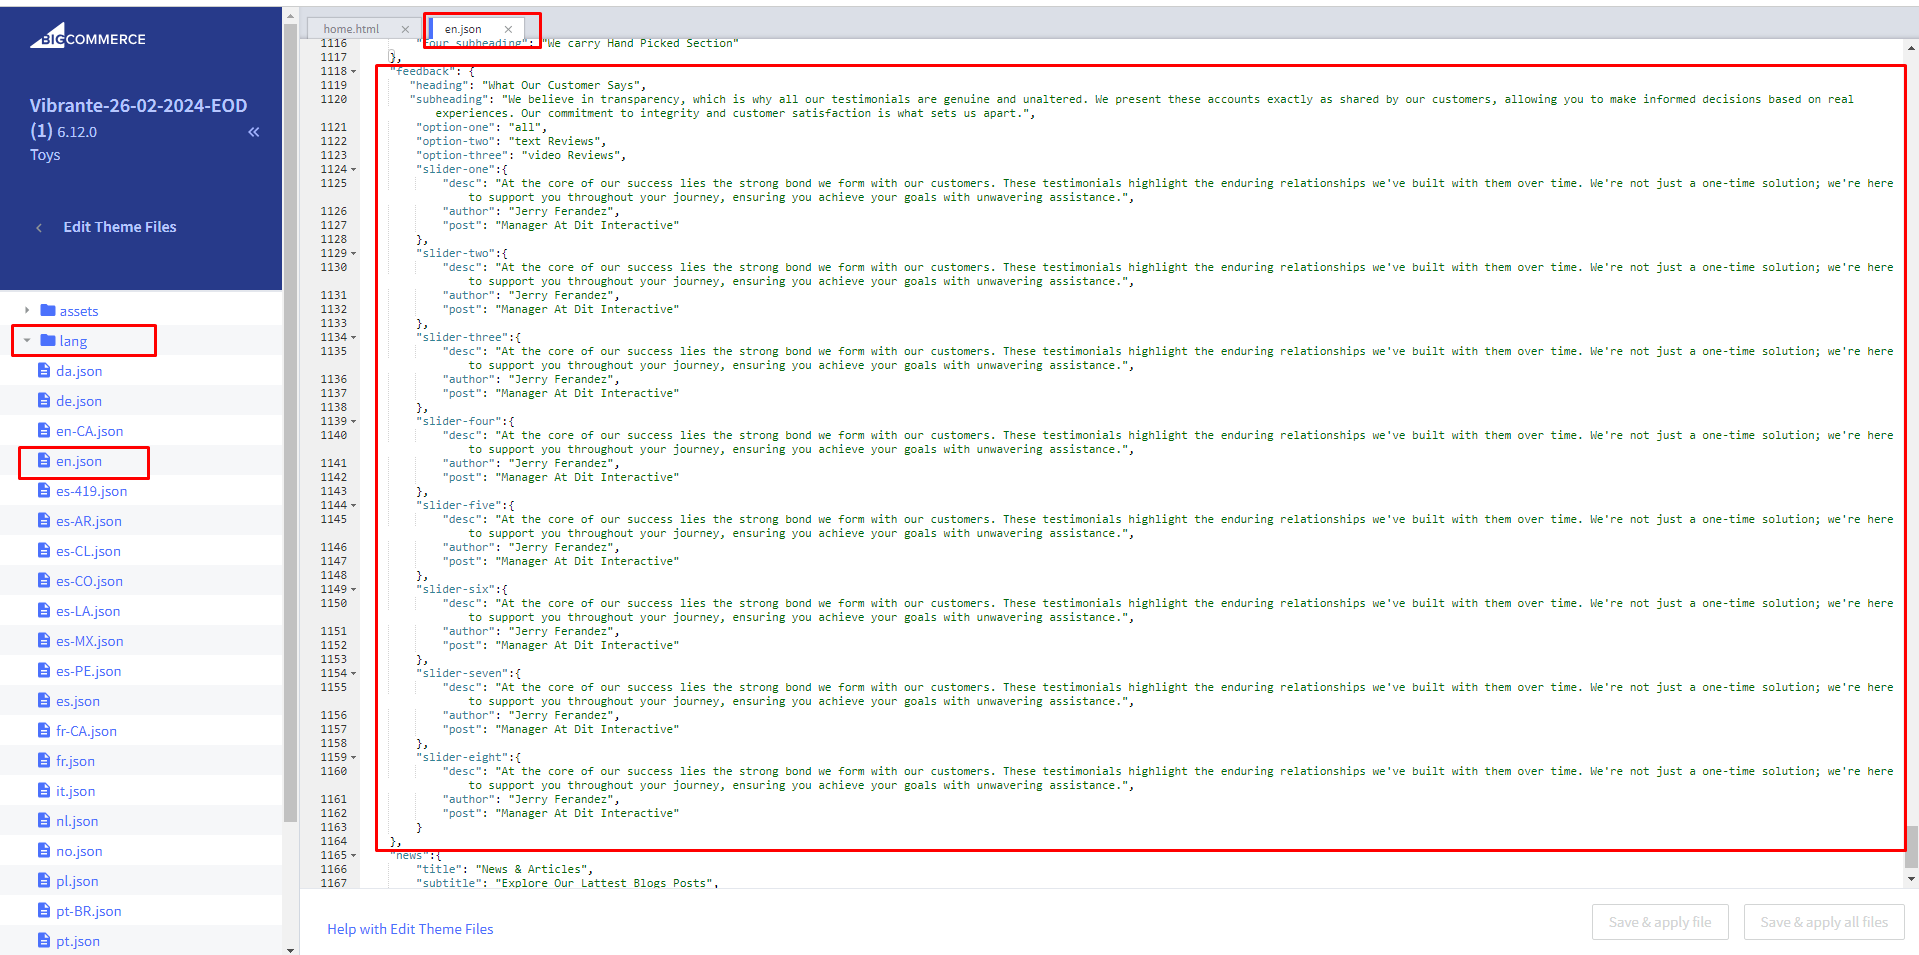
Manage Feedback Section text: For text change Go to channels > Themes > Advanced > Edit Theme Files > lang > en.json and update text
Feedback Section Image First, you need to head over to "Storefront > Image Manager" and then upload your images here
Then once uploaded, click "View Full Size" to open the image in a new tab and copy the image name to that image url.

Feedback Section Image : Add image name in Feedback Section image
Note: Since the video does not come from the image manager, you have to add the link directly there
10. Instagram Section
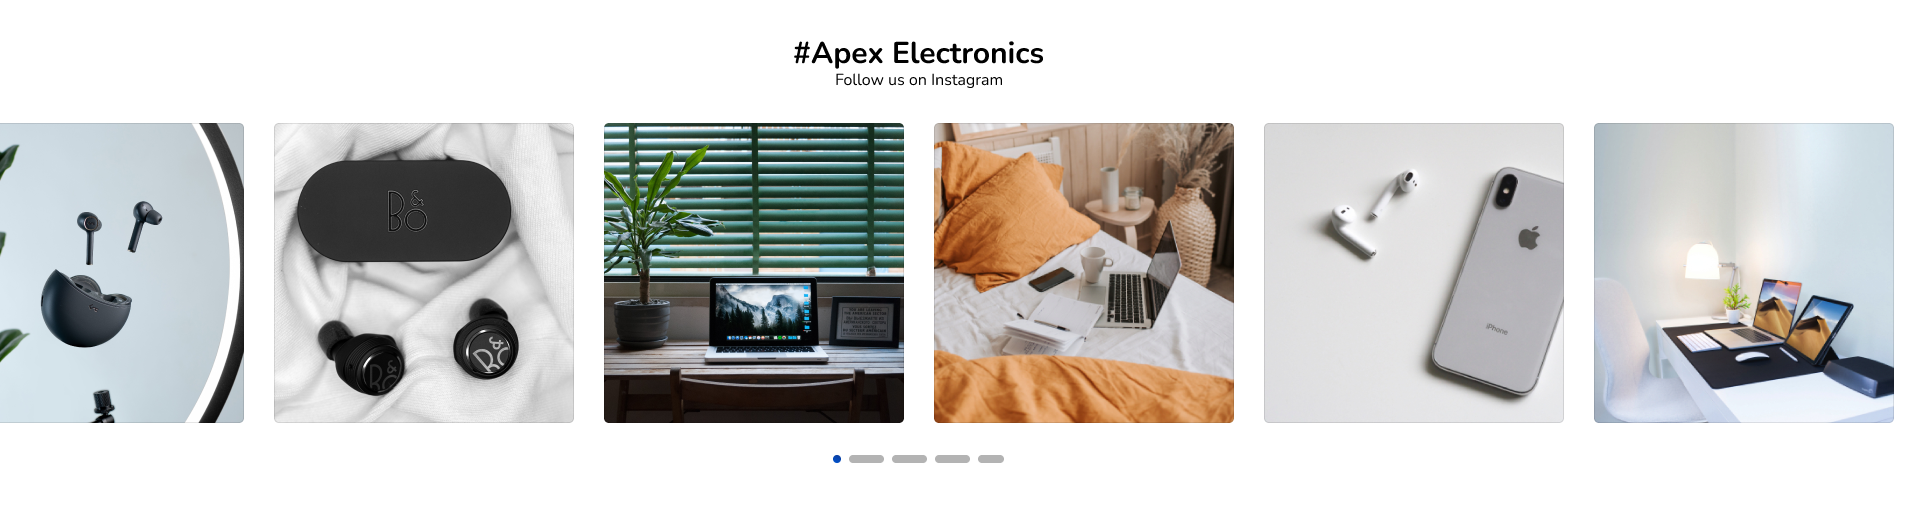

Show Instagram section: If checked, it will appear as an Instagram Section. if unchecked then the Instagram Section will not appear.
Instagram sectionTitle: Add Instagram Section Title.
Instagram section Sub Title: Add Instagram Section Sub Title.
Instagram section Access token: You need to generate instagram access token and add it here to display instagram section on home page.
Steps to generate instagram tokenNote: This token will get expired after 30 days so it has to be re-created. Steps to re-generate instagram token
CategoryPage Customisation
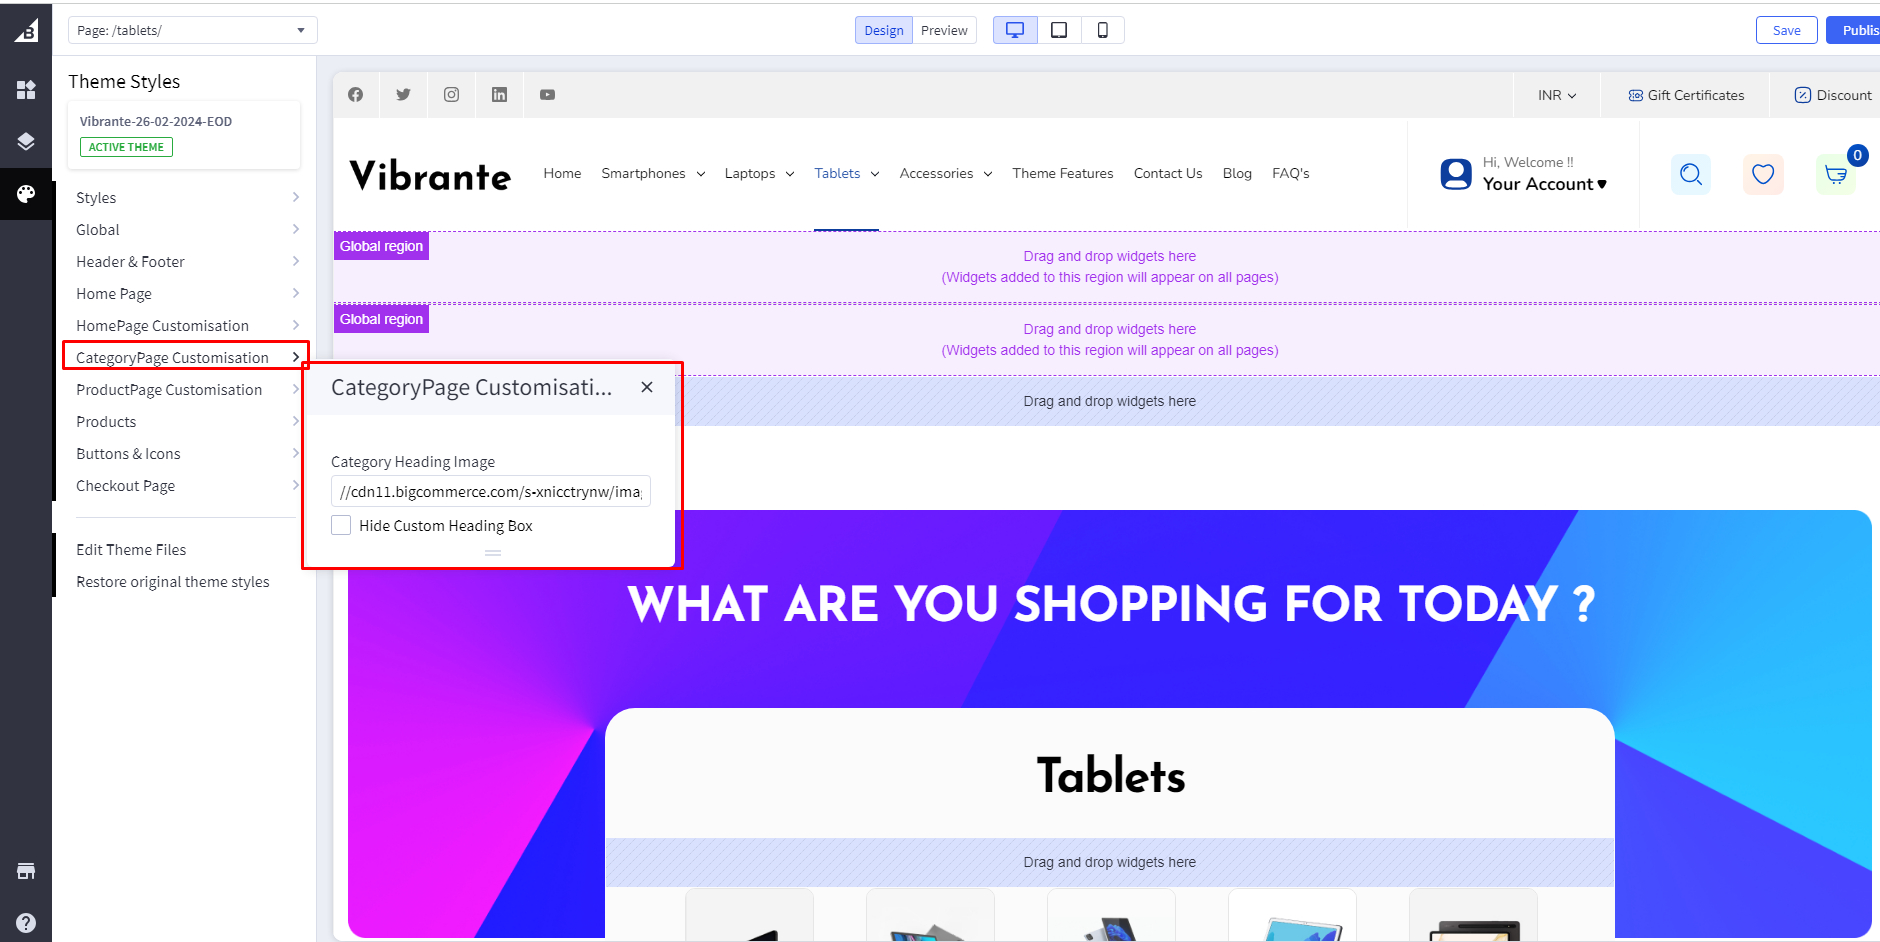
Category Heading Image
First, you need to head over to "Storefront > Image Manager" and then upload your images here.
Then once uploaded, click "View Full Size" to open the image in a new tab and copy the image path to that image url.
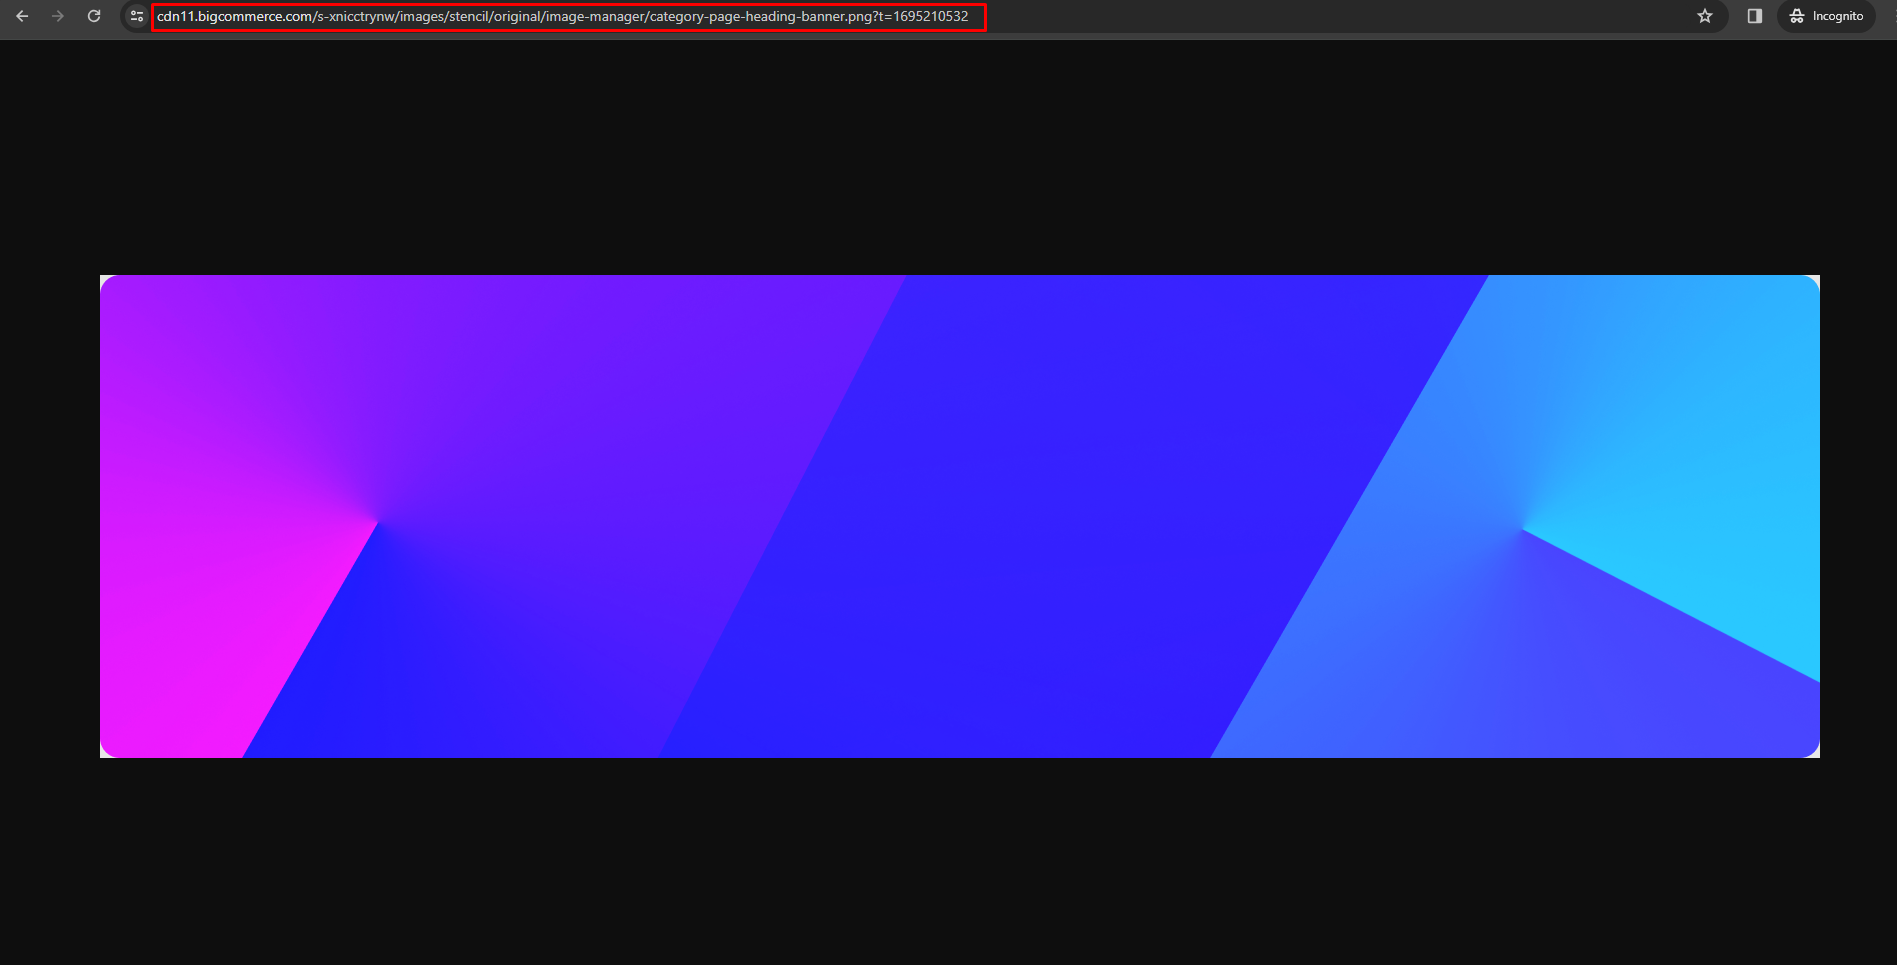
Category page heading Image : Add image name in category page heading image.
Hide Custom Heading Box: If unchecked, it will not appear as a Category page heading image . if checked then the Category page heading image will appear banner on category page will come from marketing banner :
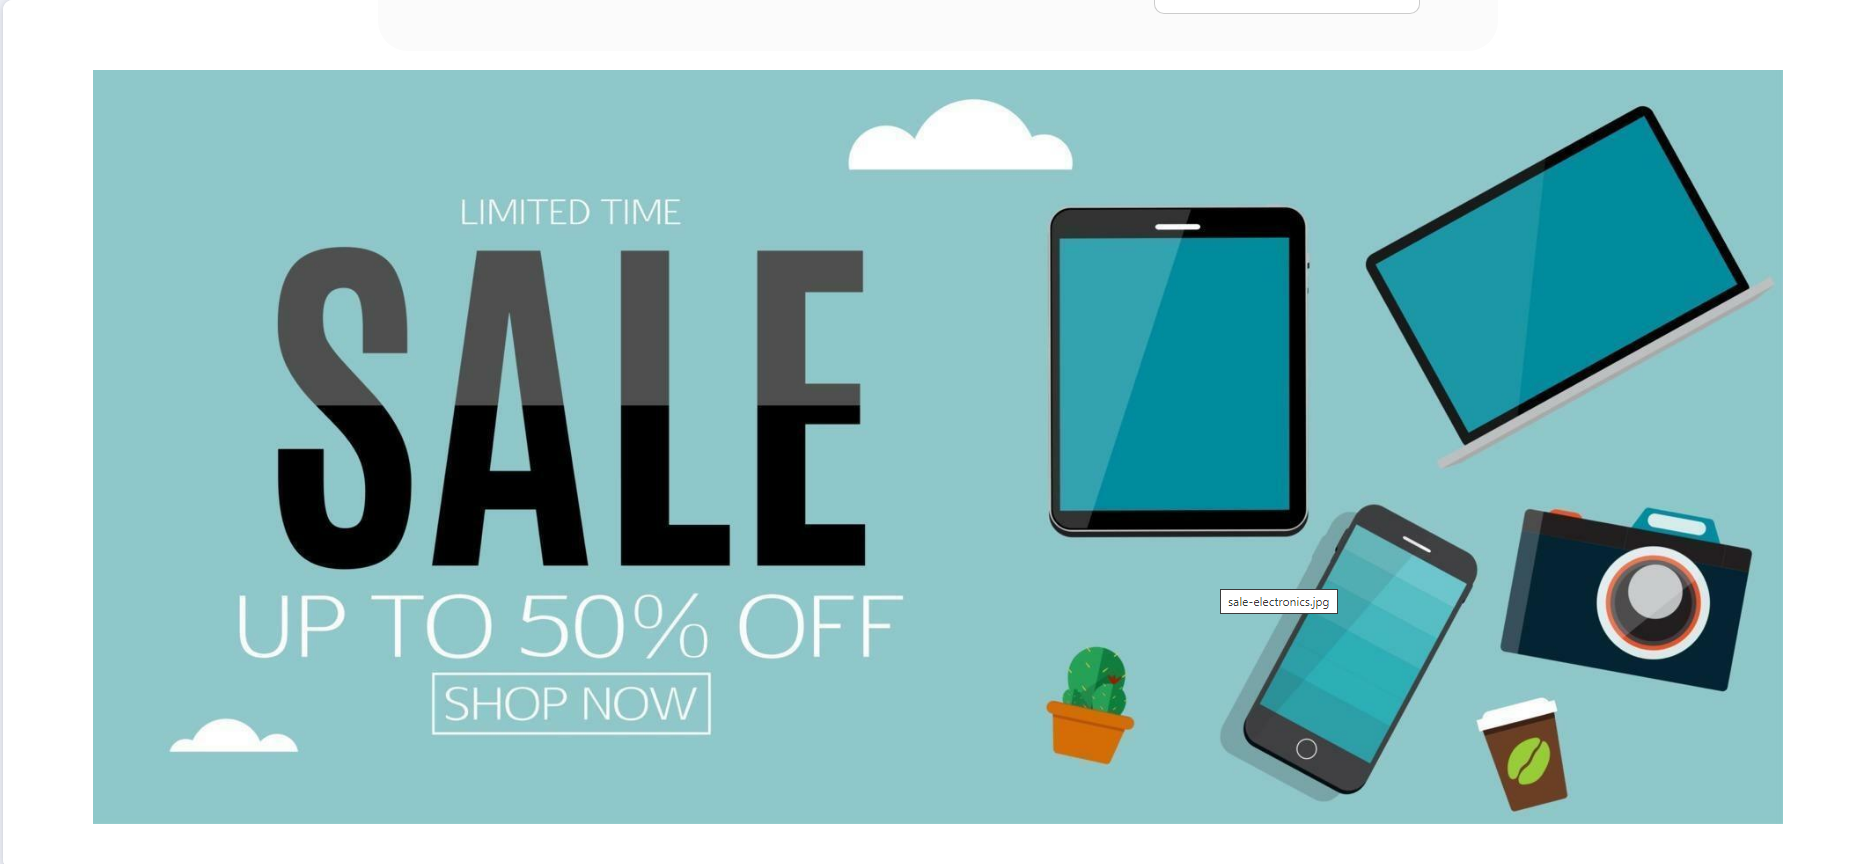
You have to create a banner, add an image and assign it to a particular category in which you want to show the image :
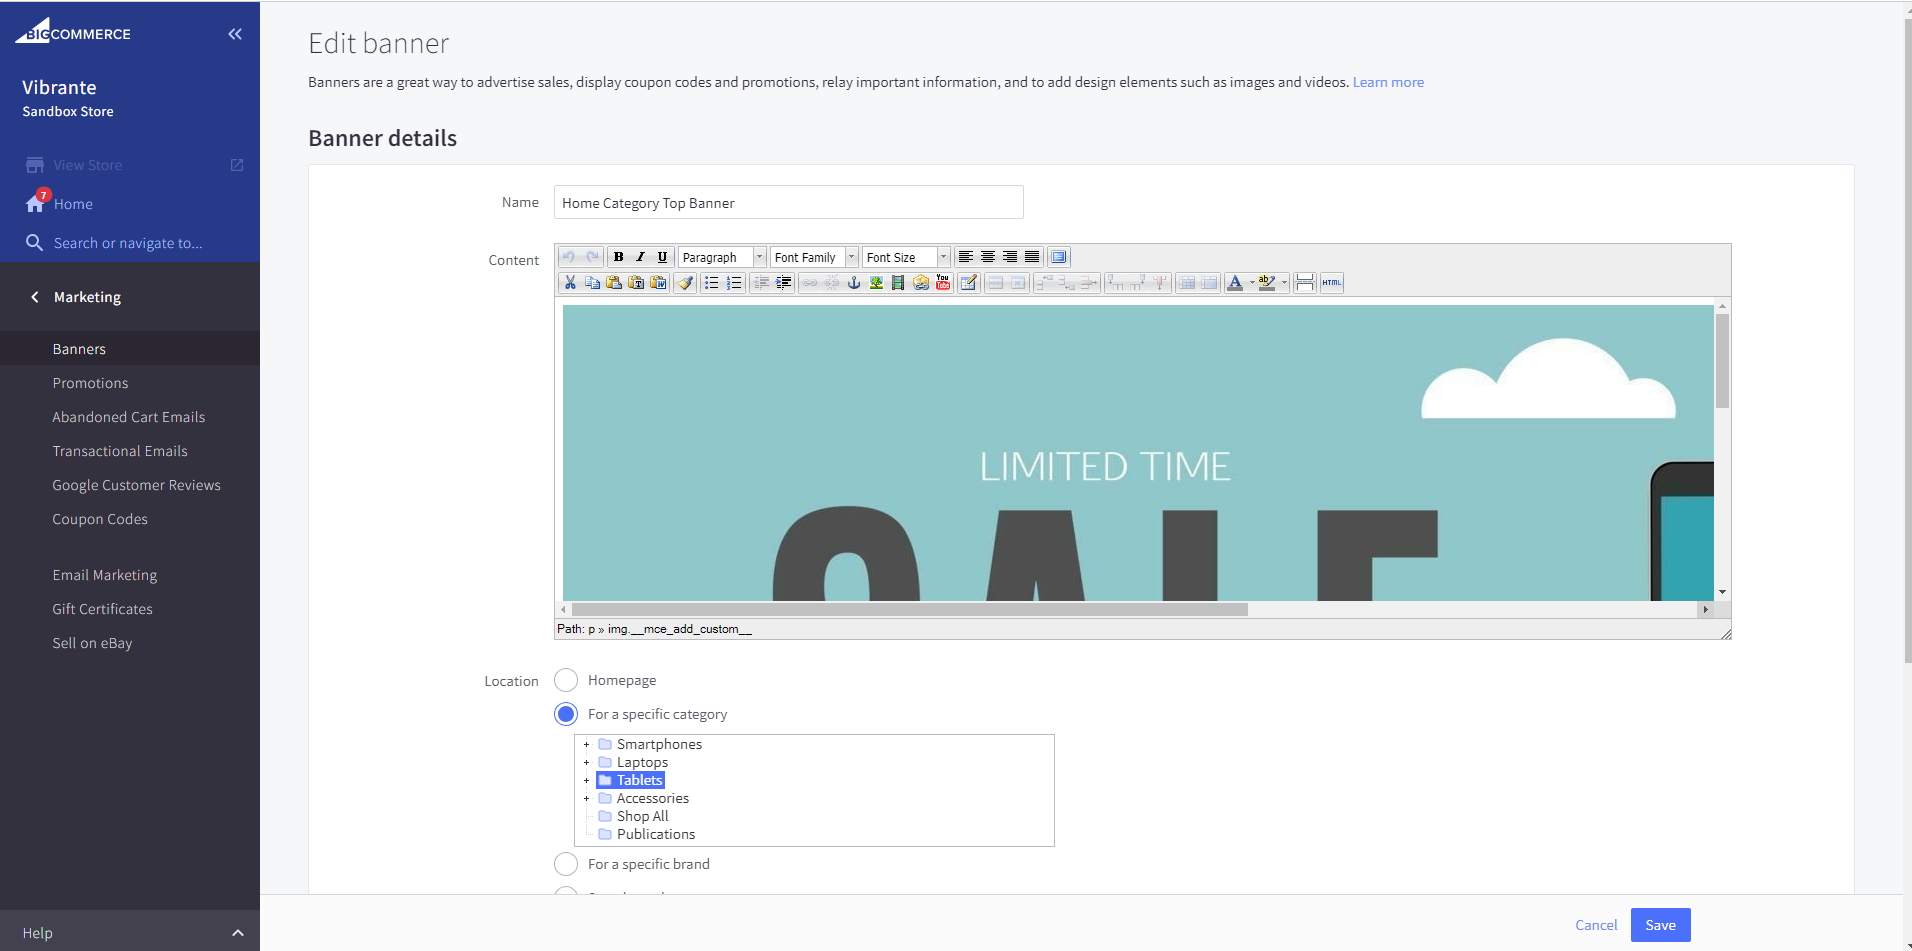
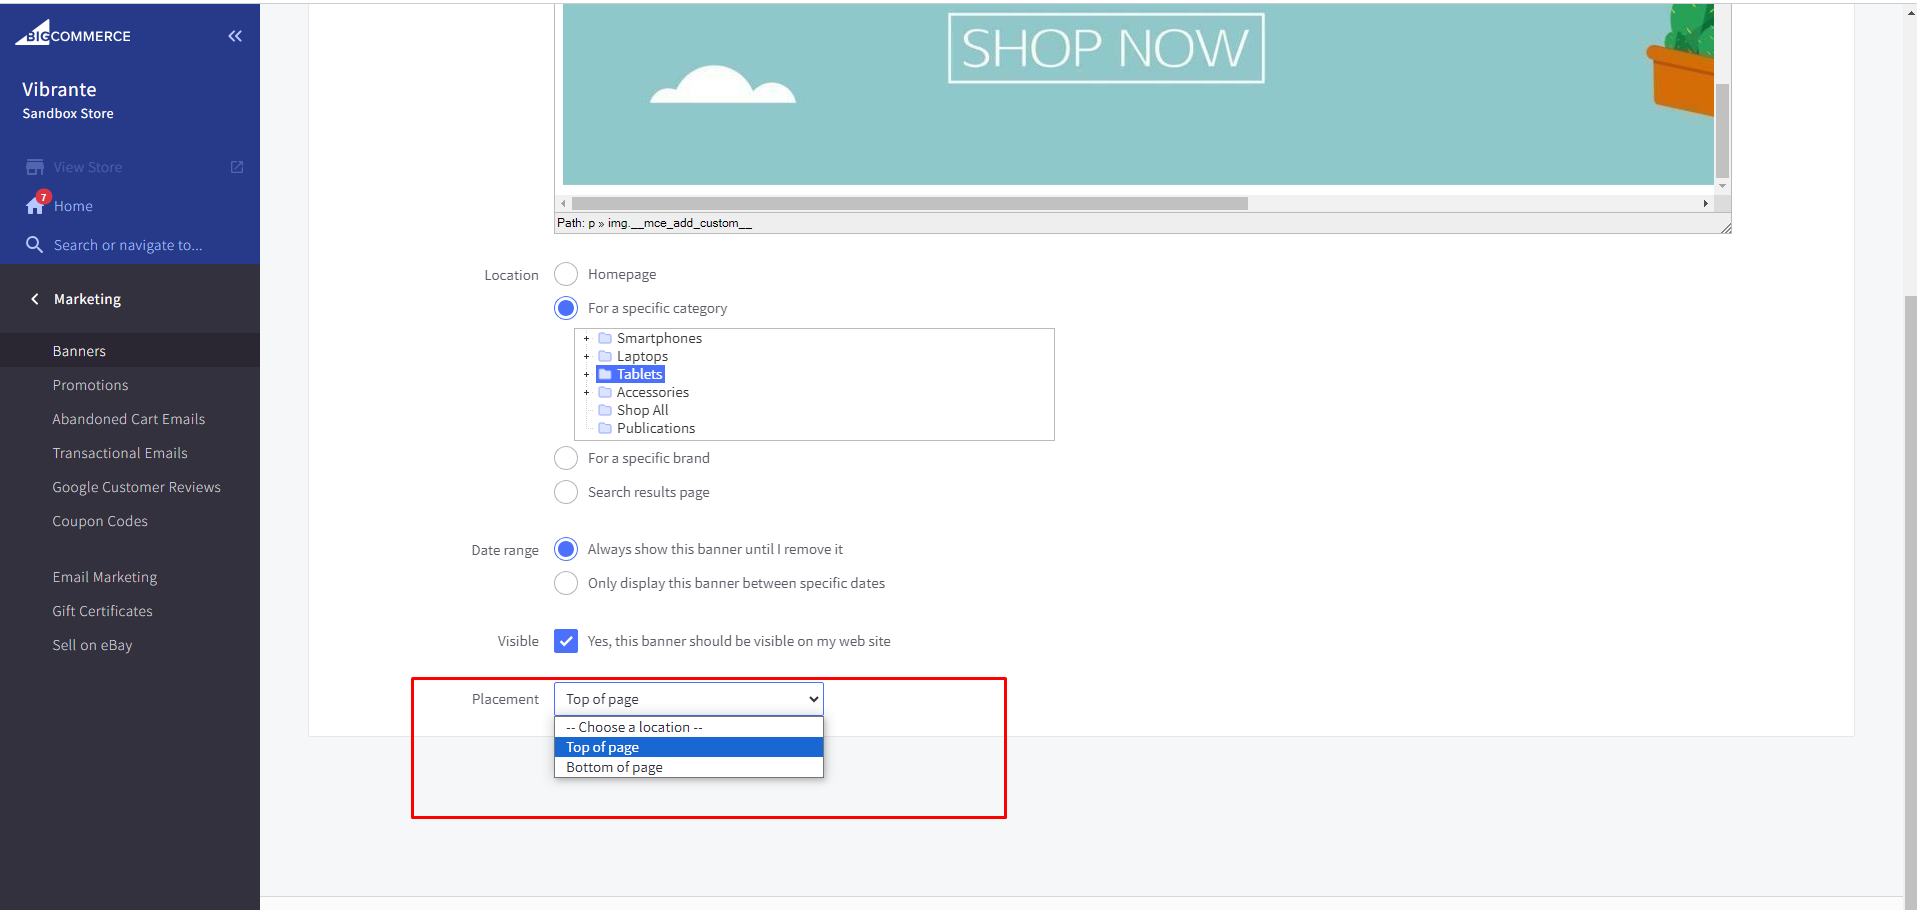
Set Position: Set Banner position in Placement DropDown
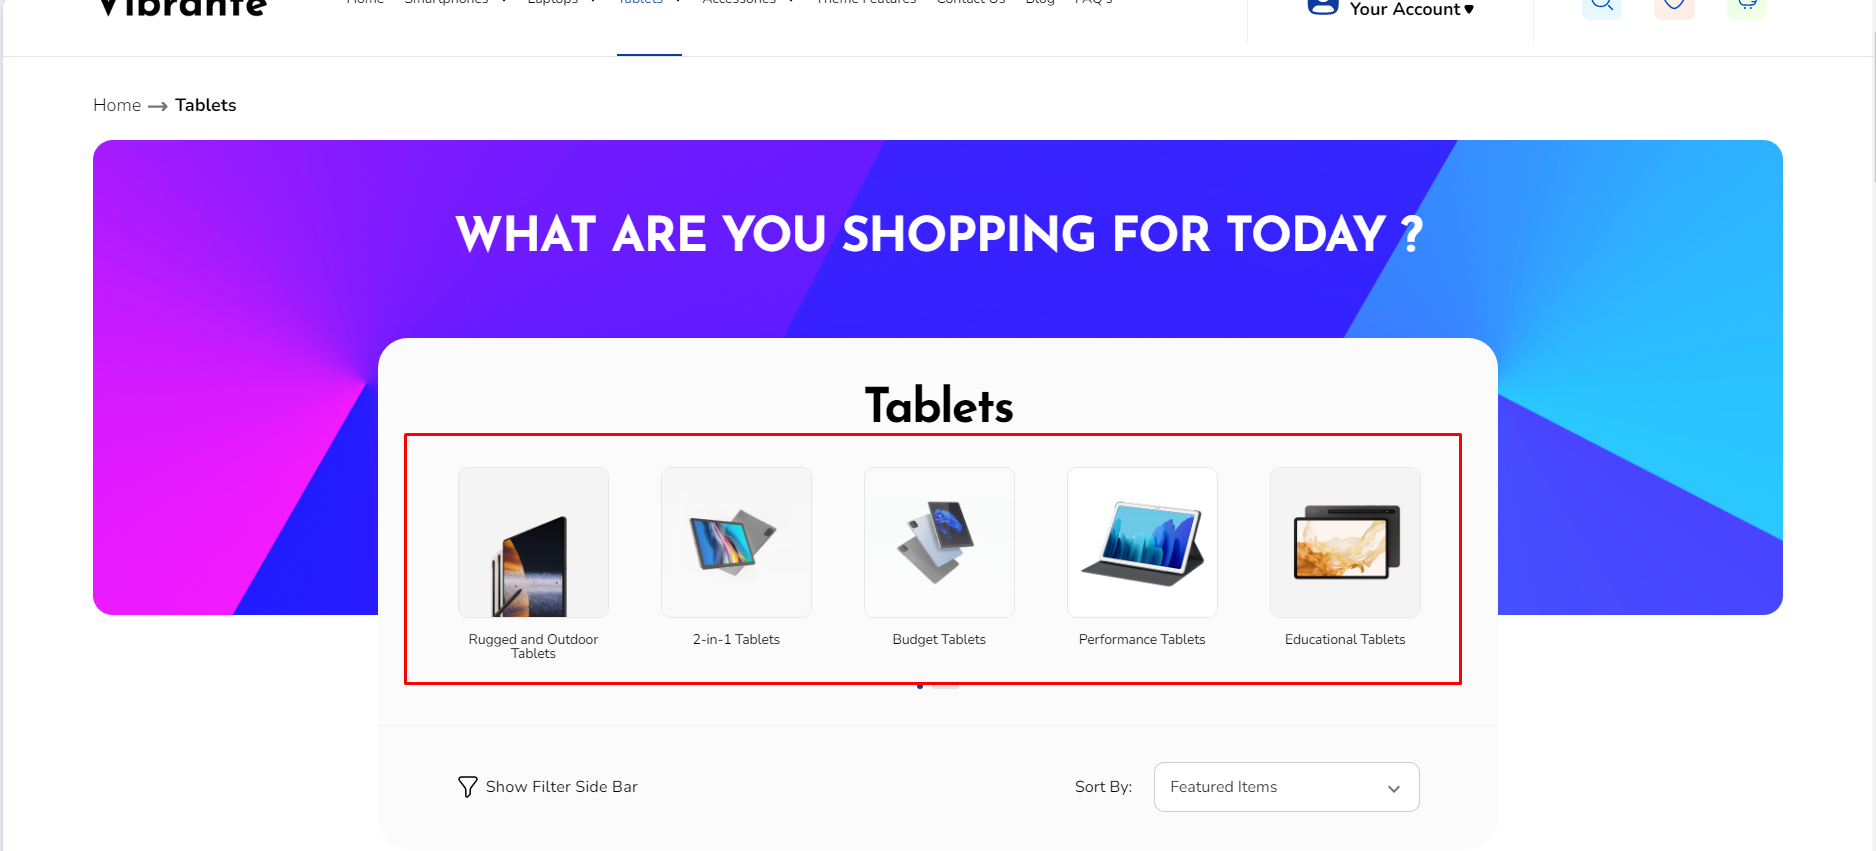
All the subcategories will be visible on it parent category page with its category image like this :
Products Card
Add to cart popup display mode: Change add to cart popup display Mode small or default
Small Popup: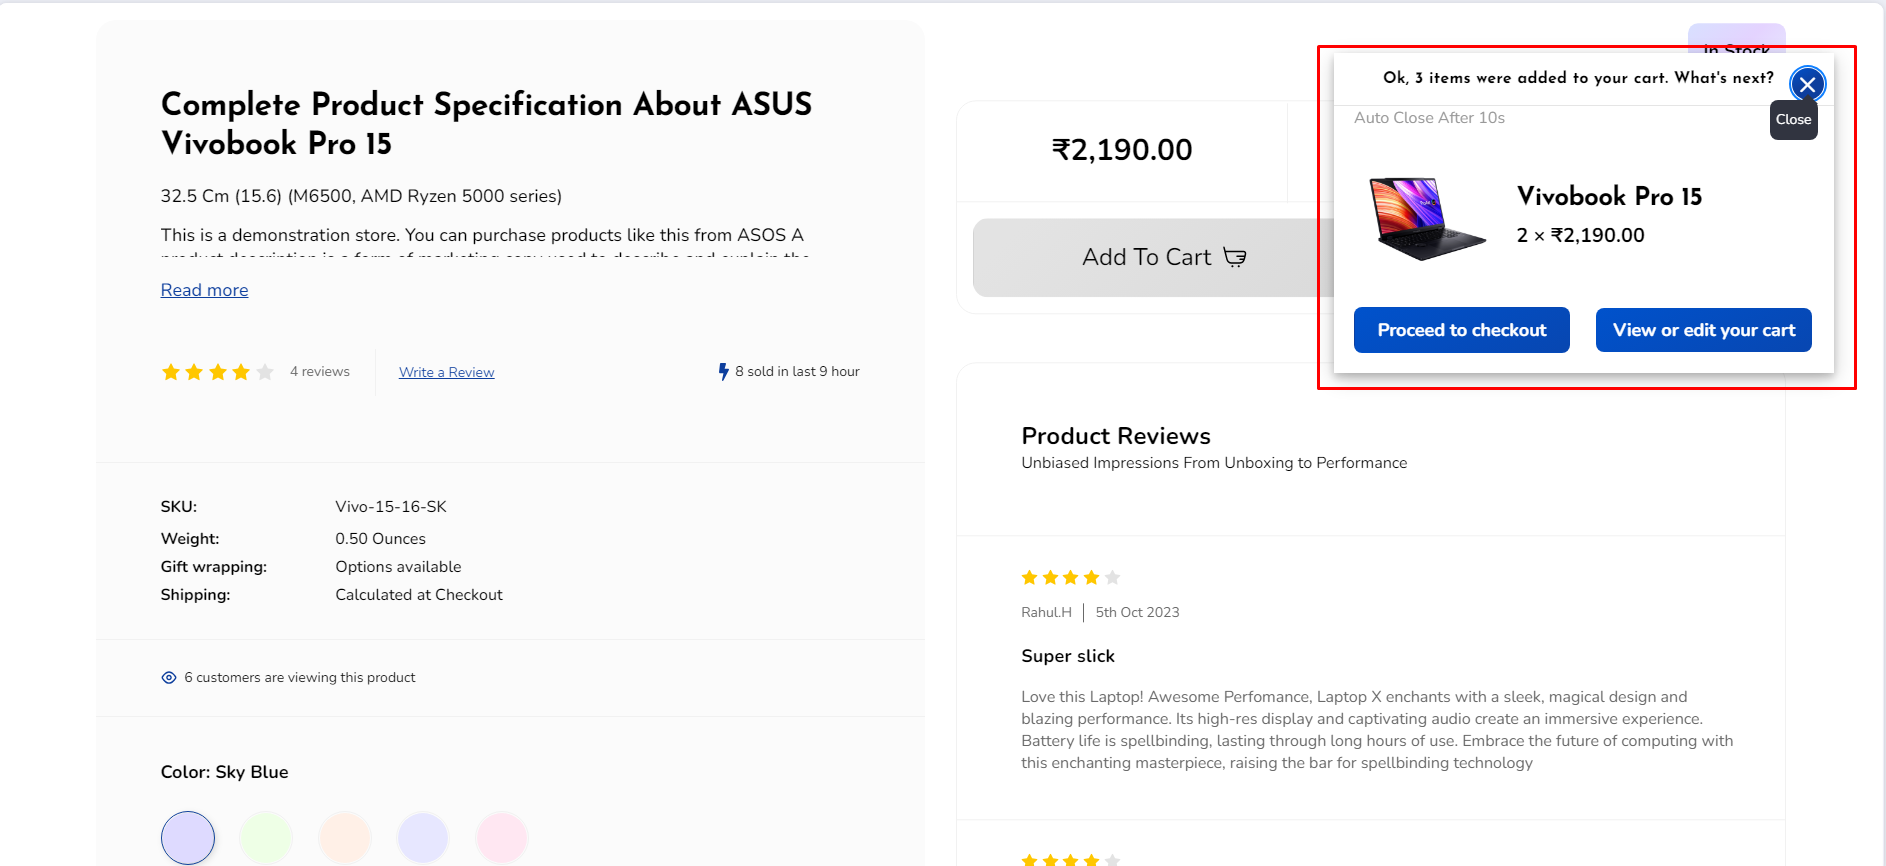 Default popup:
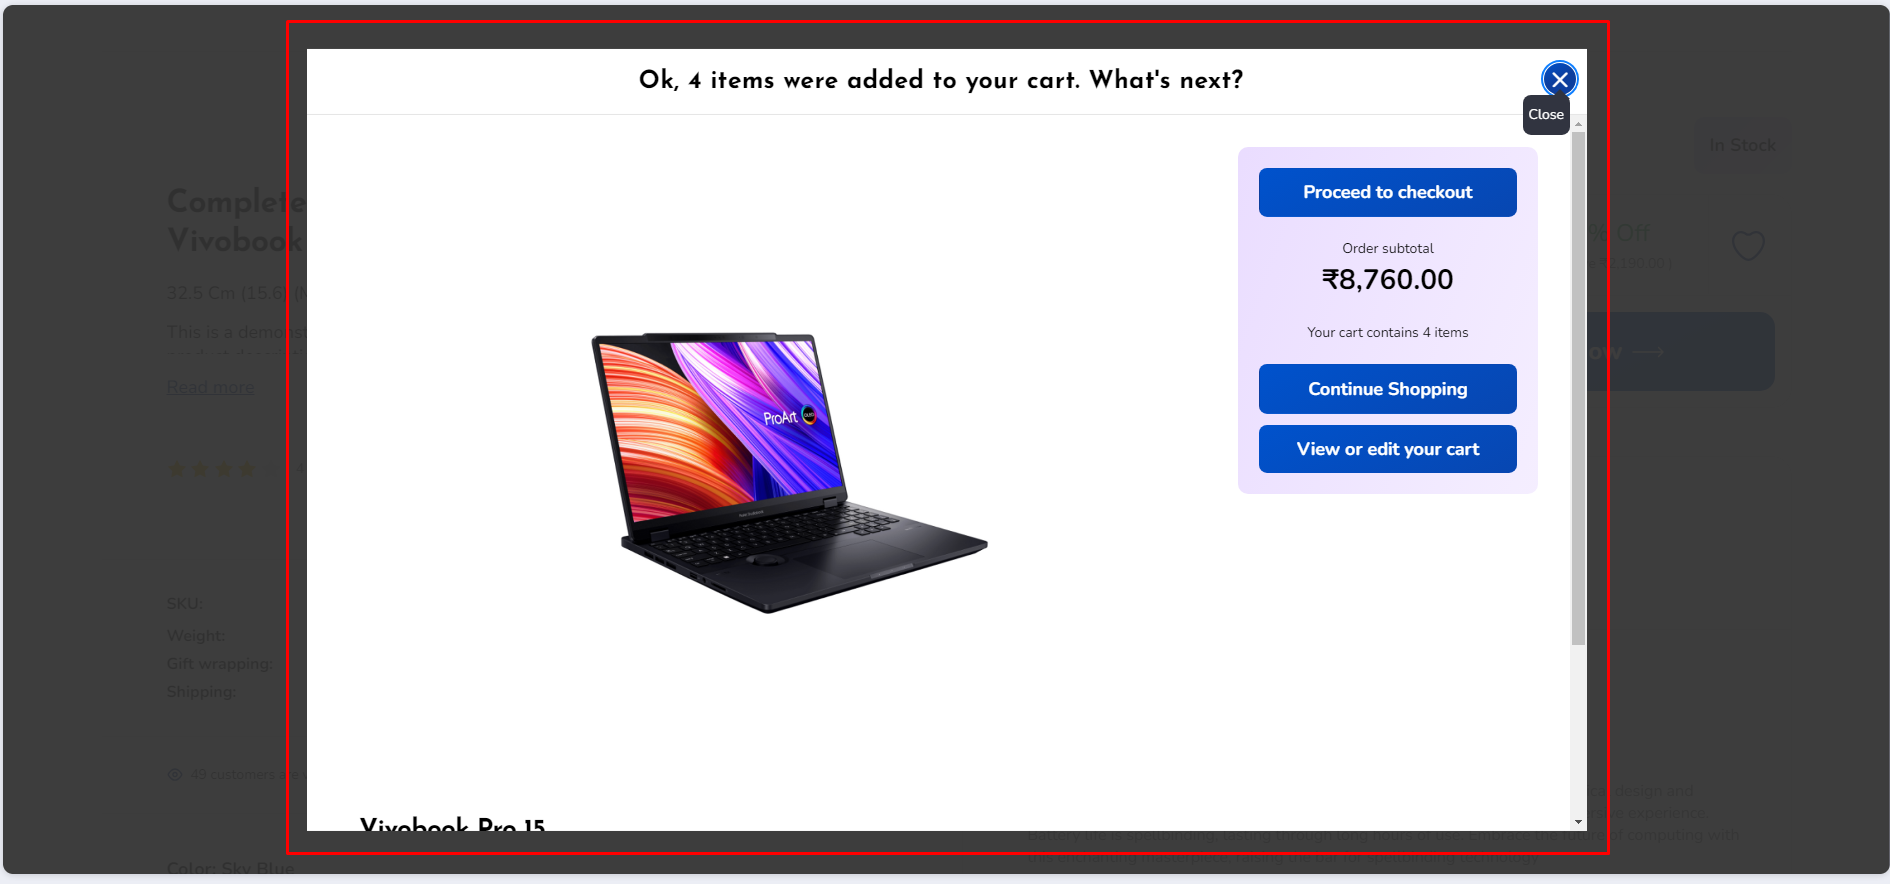
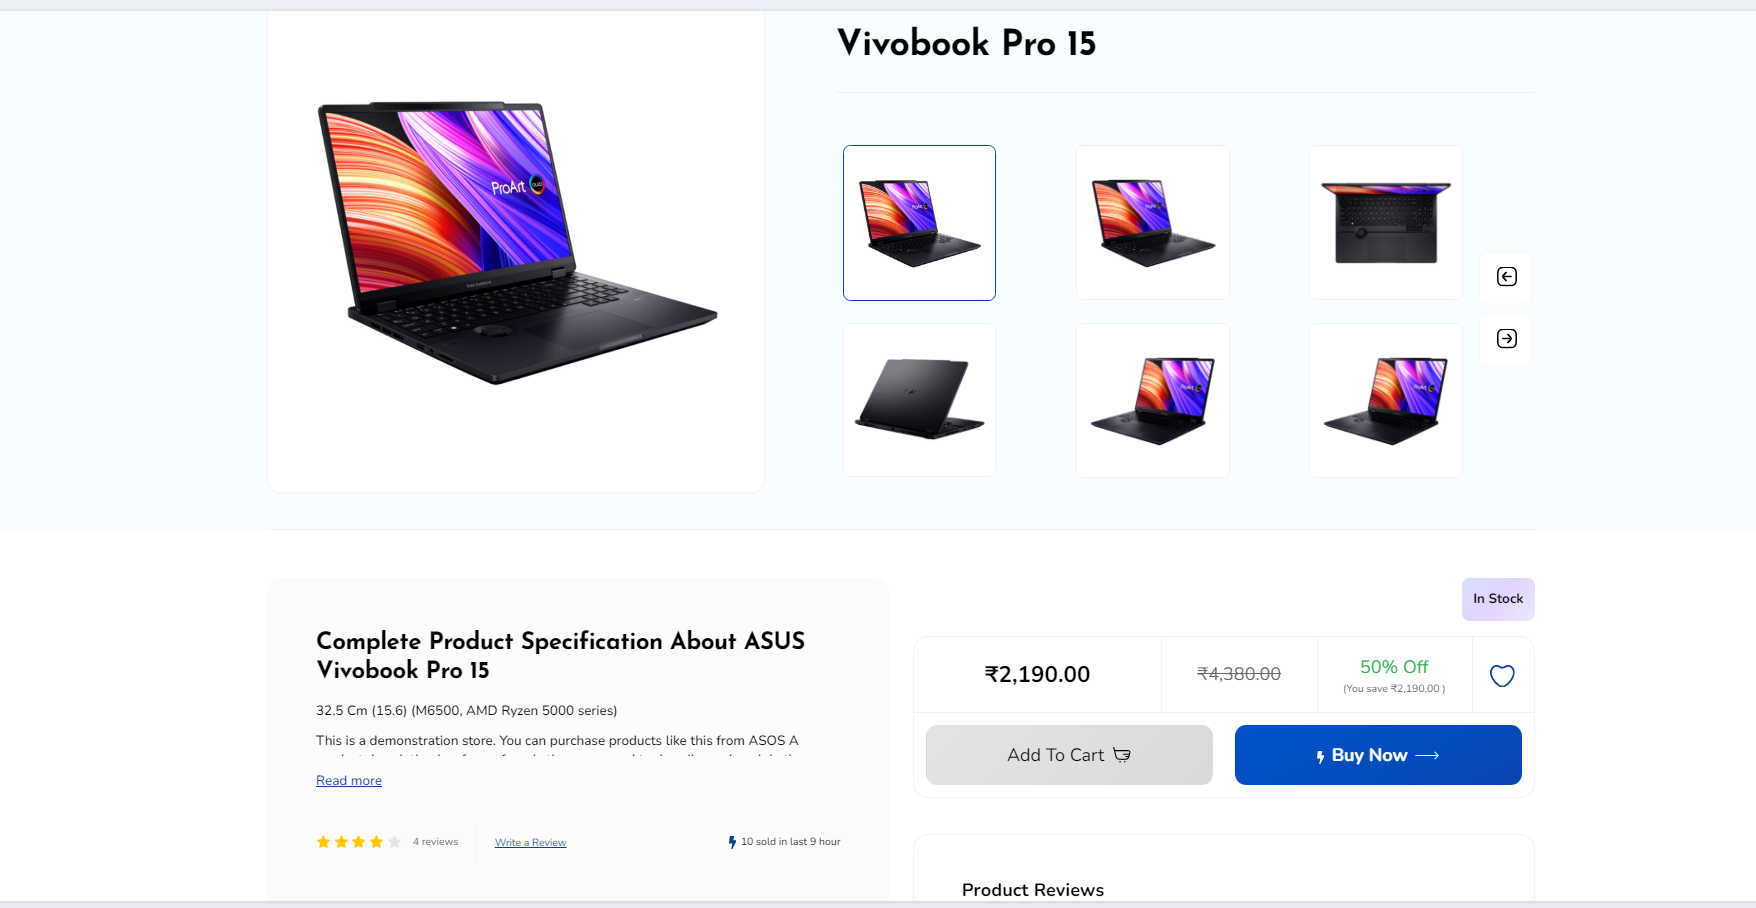
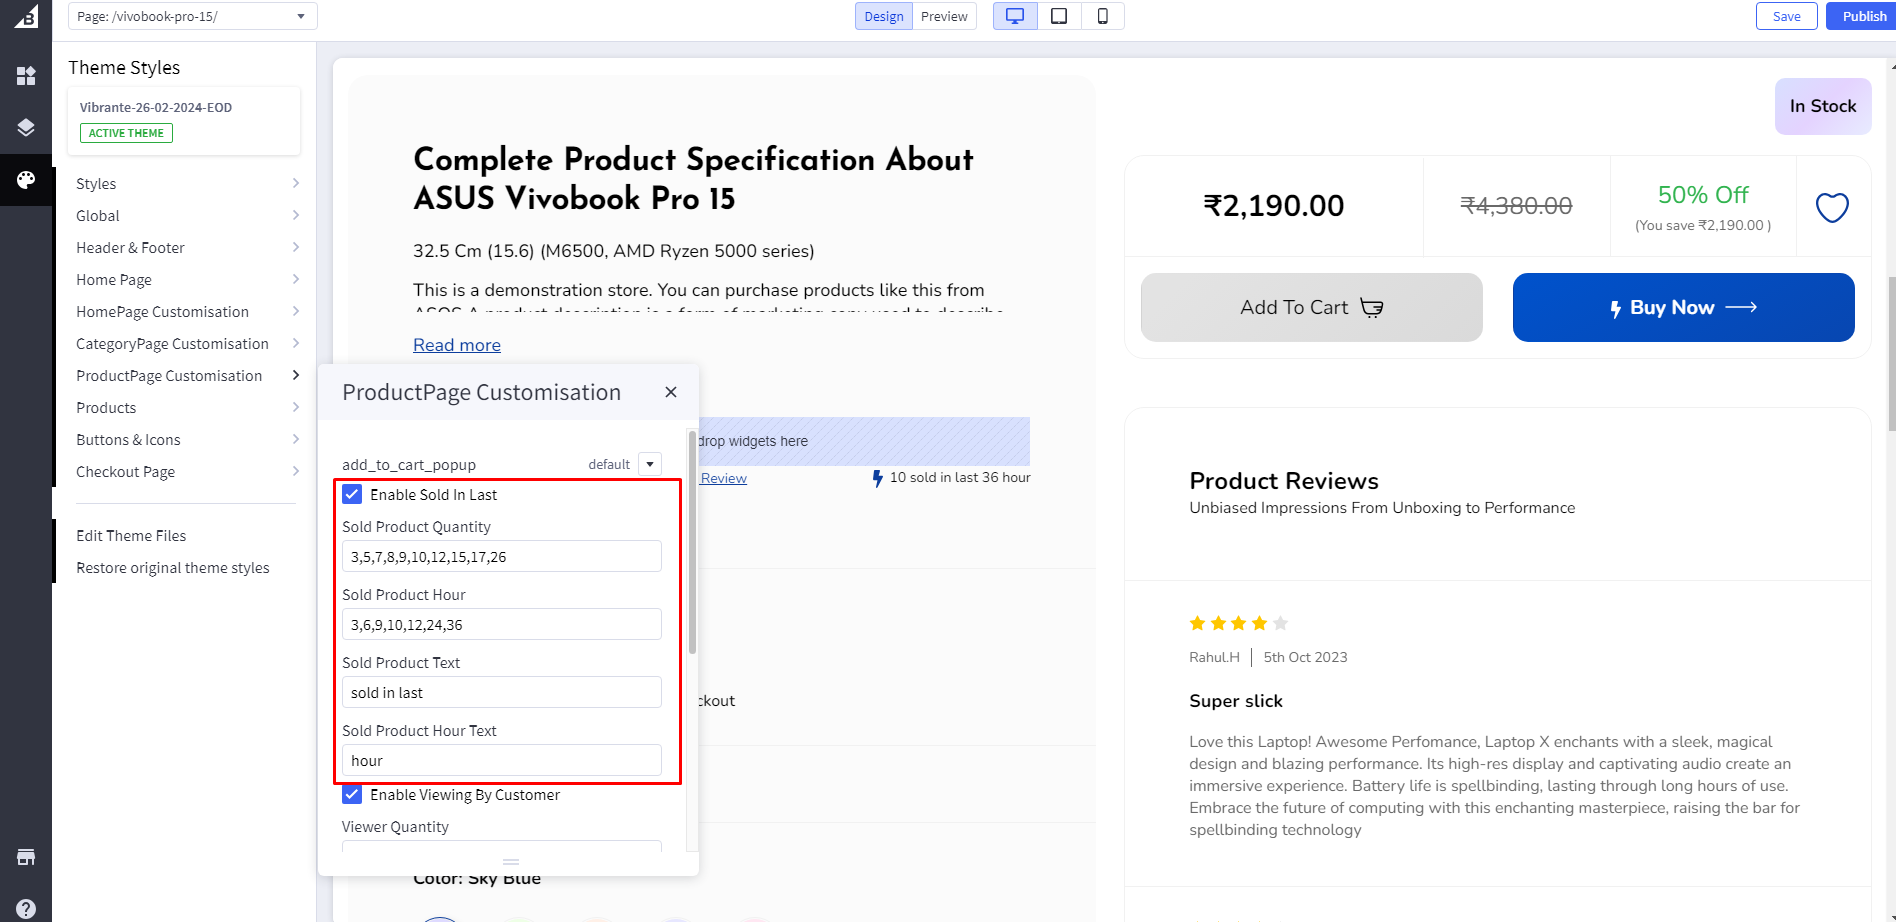
Sold Product counter
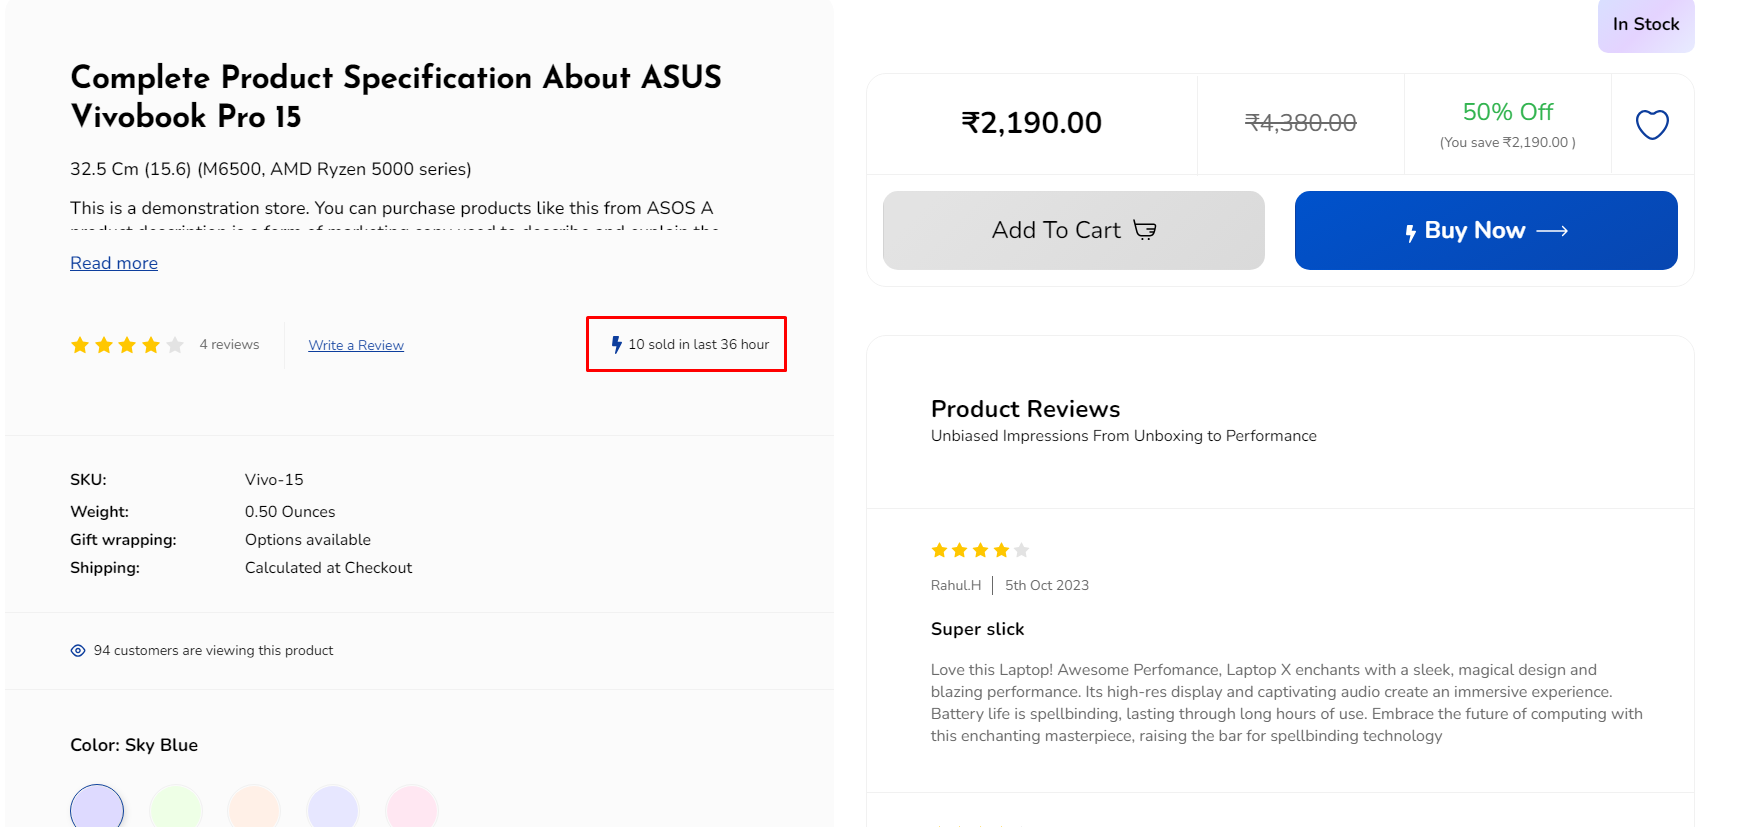
Sold product counter : If checked, it will appear as sold in last . if unchecked then the sold in last will not appear.
Sold Product Quantity : Add sold product Quantity
Sold Product Hour: Add sold product hours
Sold Product Text: Add sold product text
Sold Product Hour Text: Add sold product Hours text
Viewers
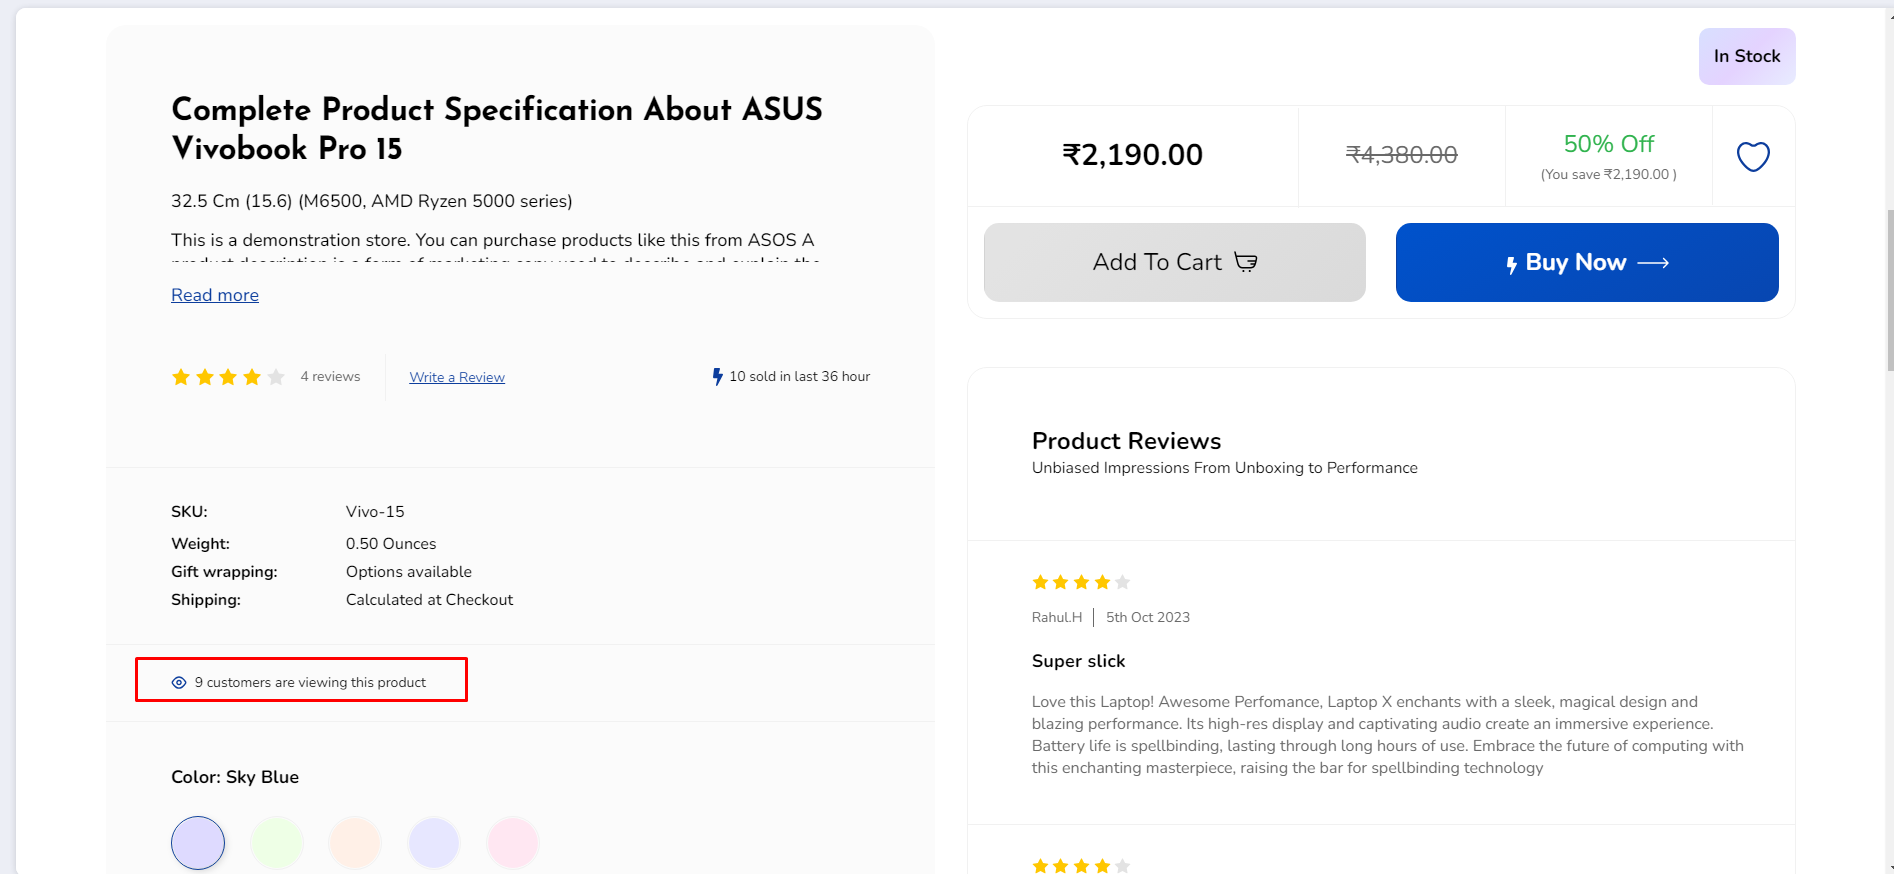
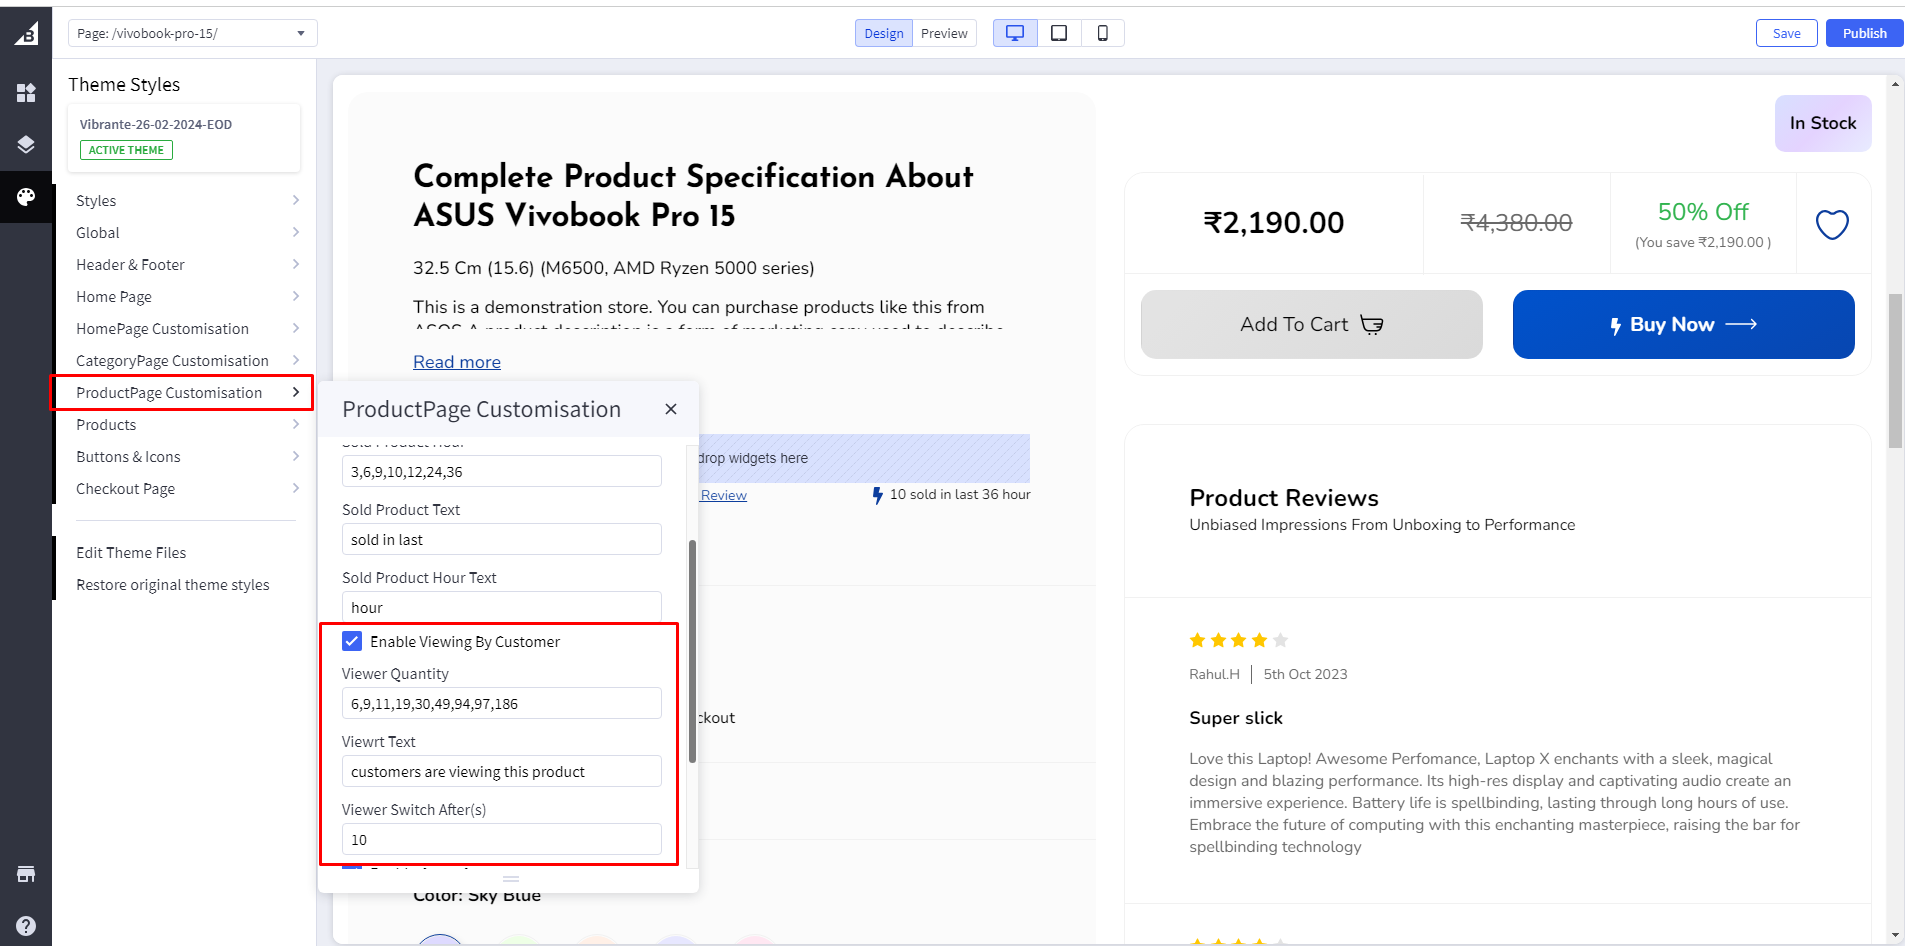
Viewing By Customer : If checked, it will appear as a viewing by customer . if unchecked then the viewing by customer will not appear.
Viewer Quantity : Add Viewer Quantity.
Viewer Text: Add viewer text.
Viewer Switch After(s): Add viewer switch after second.
Note:
- All other settings and features are the same as cornerstone theme.
- All images are added in Storefront > Image Manager, that's why it will show broken elements when you first upload the theme in your store.Steps to add image in Image Manager is mentioned above in USP section.
Recommended Image Dimension
Carousel Image
Hero Carousel Image Desktop: 1720px X 625px
Hero Carousel Image Mobile: 640px X 233px

Top Category image
Top Category Image : 406px X 750px
Shop By Brand Image
Shop by Brand Image : 1720px X 200px

Shop by Brand Image : 1720px X 200px
Shop by Brand Inner Images
One image: 845px X 956px

Two Image : 845px X 625px

Three Image : 845px X 704px
Four Image : 845px X 1035px
Shoy by Collection Image
Shop by Collection Image : 1720px X 200px

Shop by Collection Inner Images
One Image : 1720px X 500px
Two Image : 845px X 1030px

Three Image : 845px X 500px
Four Image : 845px X 500px

Five Image : 1100px X 500px
Six Image : 590px X 1030px
Seven Image : 535px X 500px

Eight Image : 535px X 500px
Nine Image : 845px X 440px

Ten Image : 845px X 440px

Most Popular product Image
Most popular product Image : 848px X 775px

Our Featured Product Image
Our Featured product Image : 848px X 775px
USP Section Image
USP Section Image : 992px X 560px
Feedback Section Image
Feedback Section Image : 292px X 506px

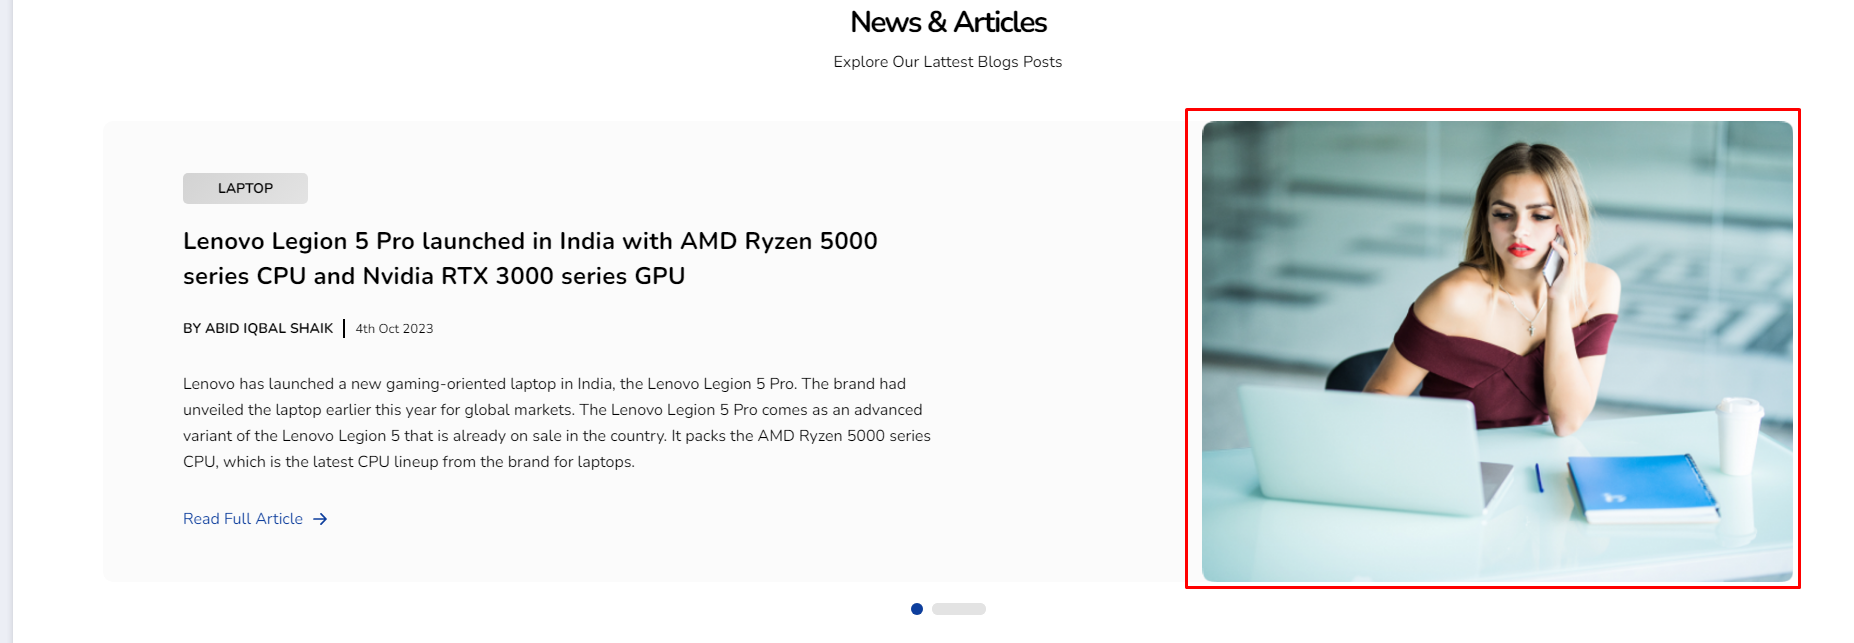
News & Article Section Image
News & Article Section Image : 640px X 499px
Instagram Section Image
Instagram Section Image : 300px X 300px
